Glue is the part of every craft that adults dread. The puddle. The stuck-together fingers. The glue stick with a hole gouged in the middle. But gluing is also a real fine motor skill, one that appears on kindergarten readiness lists, and like every skill it has to be taught rather than assumed.
This guide explains which glue suits which age, how to teach the basic techniques, the tools that reduce mess, and how to handle the usual problems without giving up and doing the gluing yourself.
Why gluing is a skill worth teaching
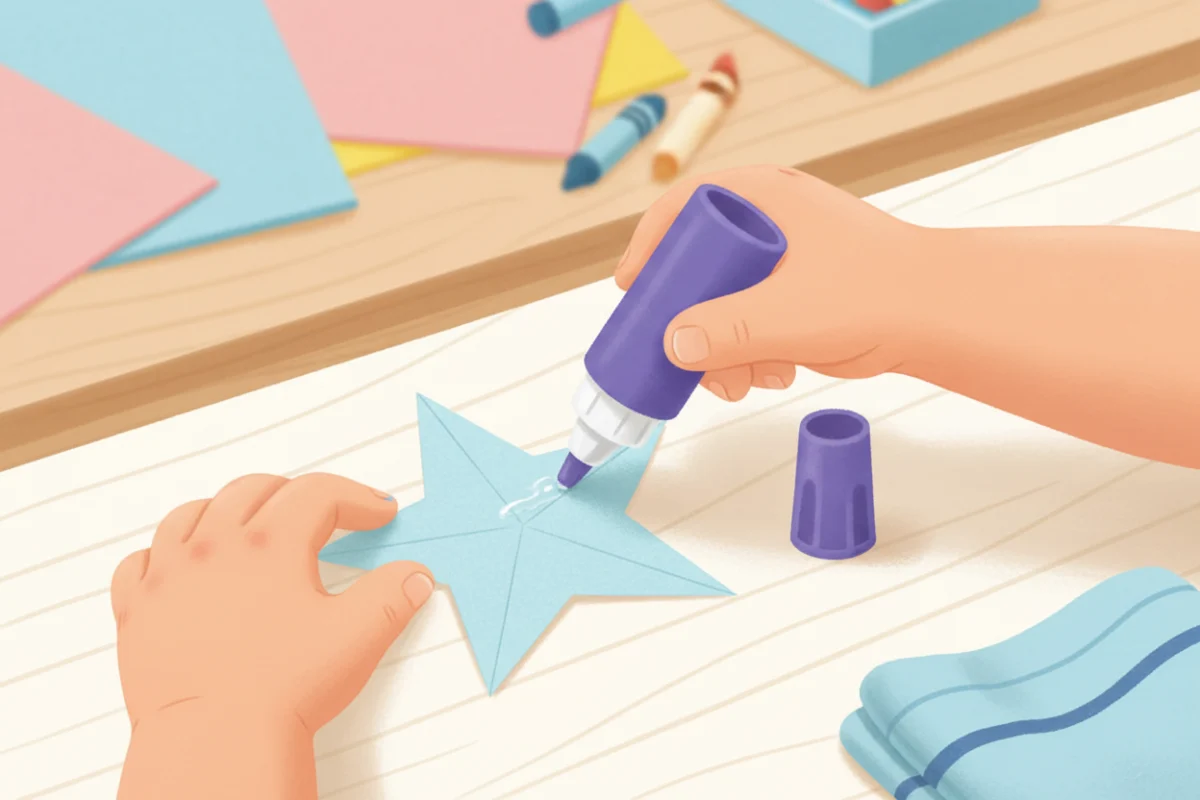
Using a glue stick means holding it with one hand, holding the paper still with the other, applying even pressure, and stopping at the edge. Using a bottle means squeezing with controlled force and moving the tip in a line or a dot. Placing a glued piece means eye-hand coordination and a light touch. Every one of those is a component of the hand control children need for writing, as our guide to graphomotor skills explains. A child who can put three neat dots of glue on a paper strip has better finger control than one who cannot, and the difference shows up in pencil work.
Which glue for which age
Ages 2 to 3: glue sticks and paste
Chunky glue sticks are the right start. They need a whole-hand grasp, they do not spill, and the result appears instantly. Paste in a small pot with a spreader (a craft stick or a cotton swab) is another good option, because spreading is a satisfying movement for toddlers.
Ages 3 to 4: glue sticks, plus bottles with help
Regular glue sticks, and the first tries with a squeeze bottle. Squeeze bottles are hard at this age; the force needed is high and the result is usually a flood. Introduce them with a small bottle and a lot of modeling.
Ages 4 to 5: bottles with the dot method
Children can now manage a squeeze bottle if taught the dot method. Use a small bottle, half full, so it is easy to squeeze. Glue sticks stay for large areas.
Ages 5 to 6: bottles, sticks and choice
Children choose the right glue for the job: stick for paper on paper, bottle for heavier things. They can also use tape and a stapler with supervision, which adds new fine motor demands.
Teaching the glue stick
- Model twisting the glue up “just a little,” about the width of a fingernail. Too much and it breaks.
- Hold the paper flat with the helper hand.
- Rub the stick along the edge of the shape, then across the middle. Say “edges first.”
- Twist it back down and put the lid on. The lid rule matters; a capped stick lasts ten times longer.
- Press the glued piece down with a flat hand and count to five.
Most glue stick problems are from twisting up too much, gouging the stick by pressing at an angle, or gluing the wrong side of the paper. A dot of marker on the back of the shape solves the last one.
Teaching the bottle: dot, dot, not a lot
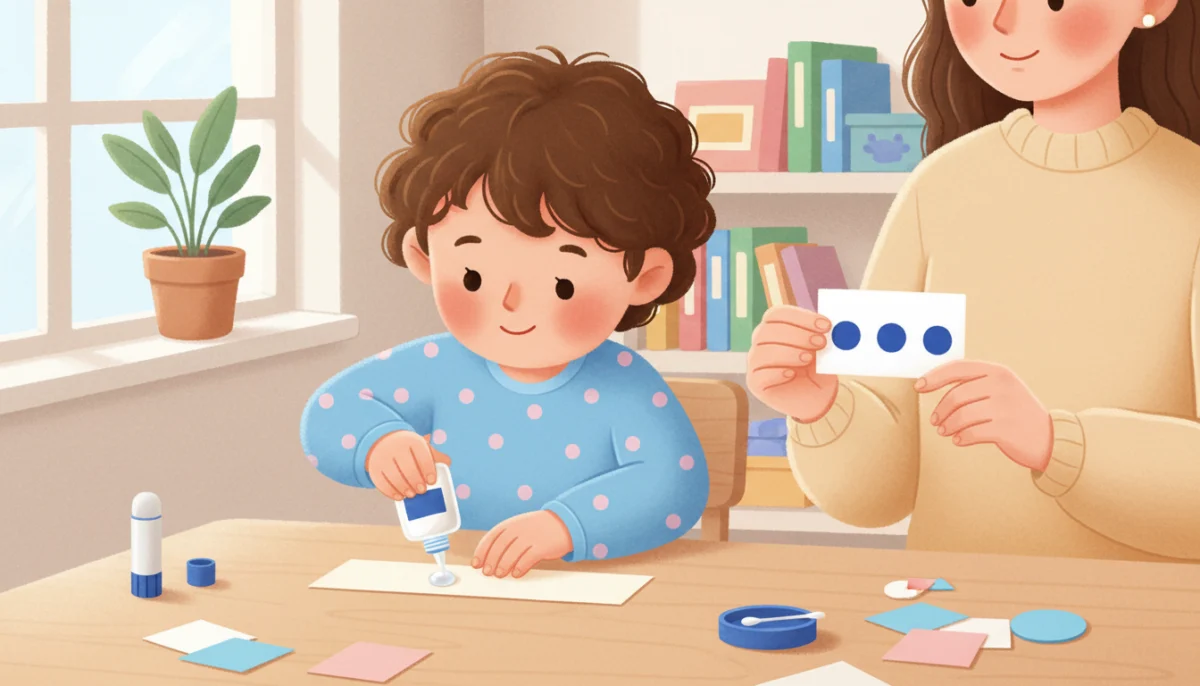
The chant works. “Dot, dot, not a lot.” Practice on scrap paper first: the goal is a dot the size of a pea. Then:
- Hold the bottle upright with one hand, tip down, over the paper.
- Squeeze gently until a dot appears, then stop squeezing and lift.
- Make three or four dots on a small piece, or a dotted line around the edge of a big one.
- Press and count to five.
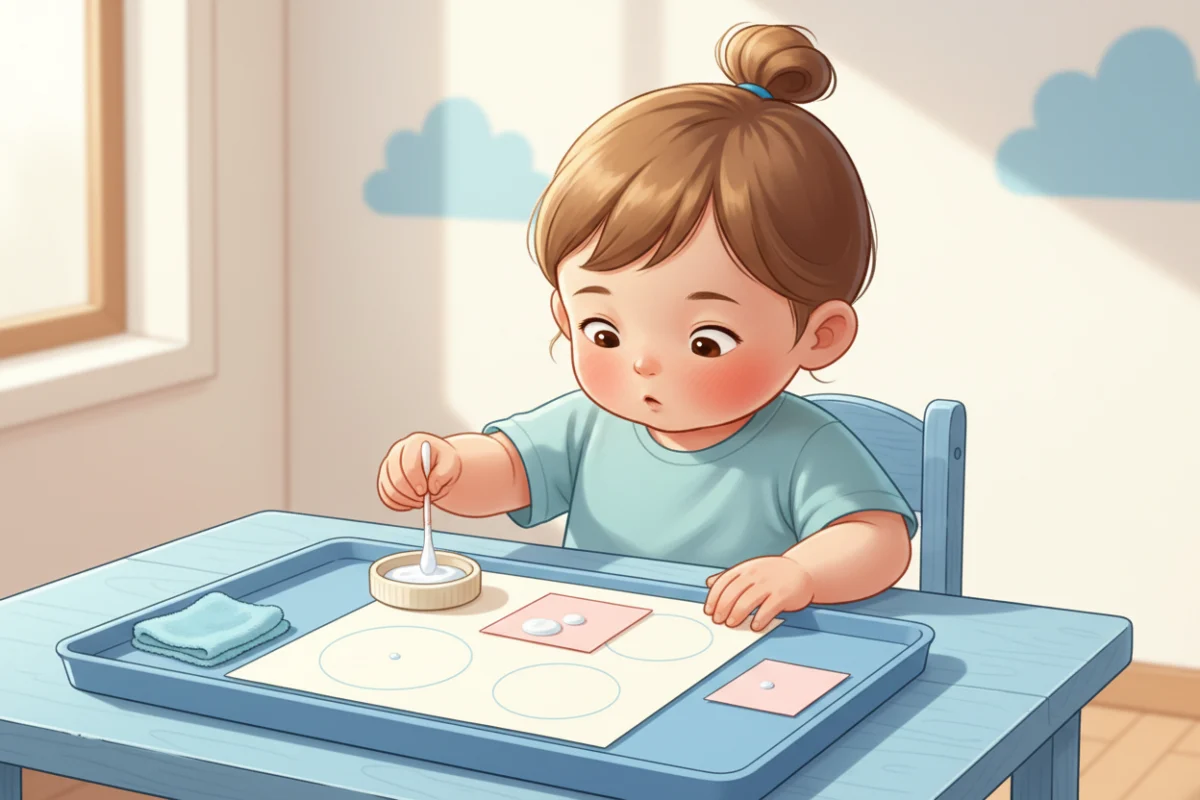
For lines, say “drive the bottle like a car” along the edge. For children who cannot control the squeeze, decant glue into a shallow lid and provide a cotton swab or craft stick to apply it. That removes the squeezing entirely and lets them focus on placement.
Tools that reduce mess
- Small bottles, half full. A full large bottle is impossible for small hands to control.
- Glue in a lid or a small dish with a spreader for the youngest children.
- A damp cloth on the table for sticky fingers, so nobody wipes them on their clothes.
- A scrap of paper under the piece being glued, thrown away afterward.
- A tray to define the work area. Glue stays inside the tray.
- Glue dots or double-sided tape for projects where liquid glue would ruin the result.
A five-minute glue lesson
If you want to teach gluing on purpose, here is a session that takes five minutes. Give your child a sheet of paper with six circles drawn on it and a small pile of paper squares. With a glue stick: rub glue inside one circle, place a square, press and count to five. Repeat for three circles. With a bottle: one dot in the middle of each remaining circle, place a square, press and count. At the end, hold the sheet upside down and shake it. Squares that stay on were glued well. Children love this test and it teaches “enough glue” better than any explanation.
Repeat the lesson with strips instead of squares (a dotted line of glue along the edge) and with big shapes (edges first, then the middle). Three sessions usually settle the technique for good.
Gluing for children who dislike sticky hands
Some children find glue on the fingers distressing, and it stops them crafting. Do not push. Offer a glue stick, which keeps fingers clean, or a spreader with paste. Keep a damp cloth within reach and let them wipe as often as they want. Glue dots and double-sided tape are good alternatives for projects with small pieces. Most children become more tolerant over time, especially when the results are worth it.
Common problems and fixes
Puddles: too much glue, usually because the child kept squeezing while watching the glue appear. Practice dots on scrap paper and use a half-empty bottle. Pieces that fall off: not enough glue, or the child did not press. Teach “press and count to five.” Glue on the front: the child glued the wrong side. Mark the back. Gouged glue sticks: pressing at an angle. Show “flat like a crayon.” Refusal to touch glue: some children dislike the feel. Give a spreader or a glue stick and a damp cloth nearby, and do not force it.
Gluing as part of every craft
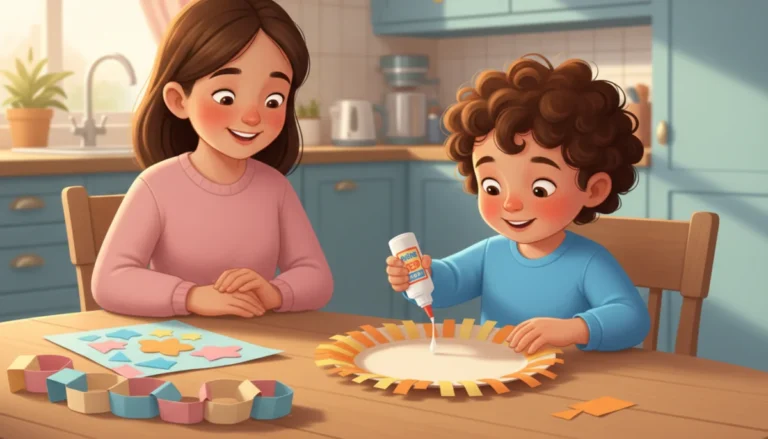
You do not need a separate glue lesson. Every paper craft is a gluing lesson if you name the skill. Our easy paper crafts for preschoolers all involve gluing, and paper chains are essentially twenty gluing repetitions in a row. Once the dot method is automatic, crafts go faster and the results hold together.
Frequently asked questions
What age can a child use a glue stick?
From about two, with a chunky stick and supervision. Most three-year-olds manage a regular glue stick with a little help twisting it up.
What age can a child use a glue bottle?
Around four to five, with a small half-full bottle and the dot method. Before that, decant glue into a lid and give them a spreader.
How do I stop my child using too much glue?
Teach “dot, dot, not a lot,” practice dots on scrap paper, use a small bottle, and for the youngest, switch to a glue stick or a spreader.
Is gluing a fine motor skill?
Yes. It involves controlled squeezing, two-handed coordination, precise placement and pressure control, all of which support later handwriting.