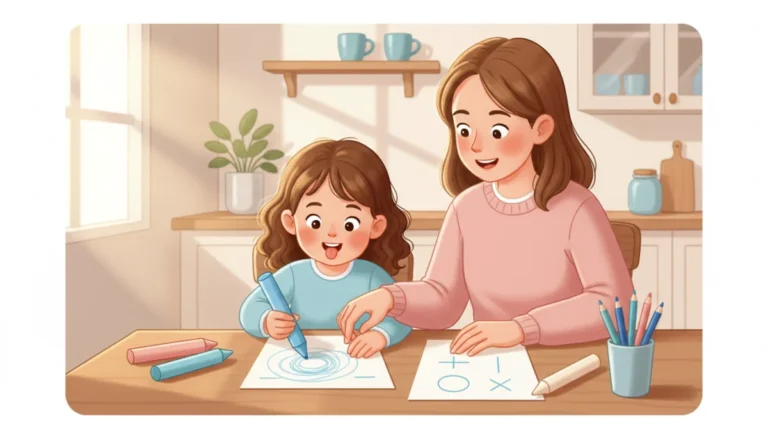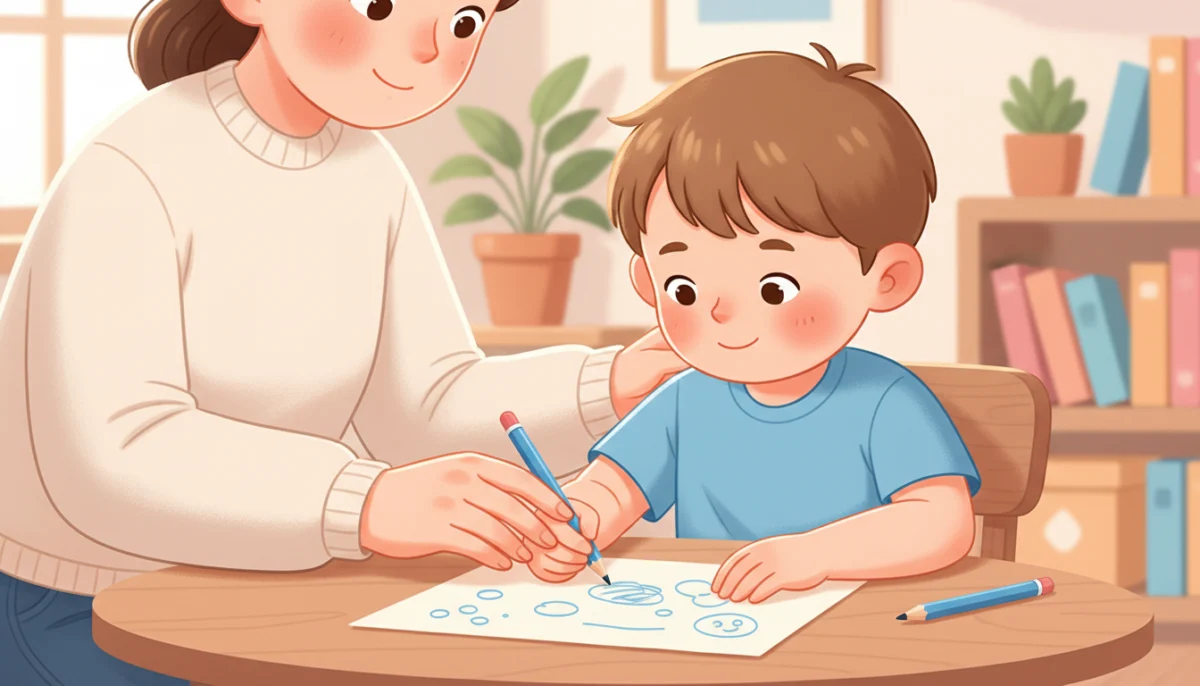
You notice it at the kitchen table. Your child is drawing, and the crayon is clutched in a fist, or pinched by five fingers at once, or held so tightly that the knuckles turn pale. You show them the “right” way. Thirty seconds later, the fist is back.
If this sounds familiar, take a breath. Pencil grip develops slowly, over years, and most of what you are seeing is a normal stage. There is a lot you can do to help, and almost none of it involves saying “hold it properly.”
What is normal at each age
Children’s grips change as their hands grow stronger. The ages here are approximate.
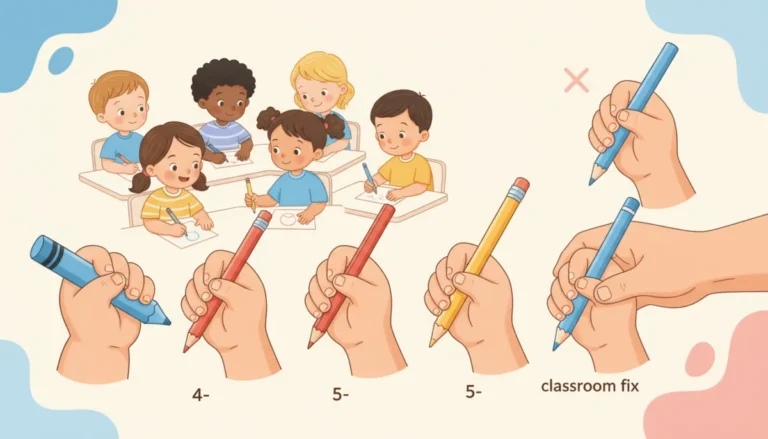
- 1 to 2 years: the crayon is held in a fist, and the whole arm moves.
- 2 to 3 years: the fingers point down toward the paper, with the palm facing the table.
- 3 to 4 years: three or four fingers hold the crayon near the tip, but the wrist and arm still do the moving.
- 4 and a half to 6 years: a mature grip appears, in which the fingers themselves move the pencil.
So a three-year-old with a fisted grip is right on schedule. If you would like the full picture, including the names that teachers and therapists use, see our article on pencil grasp development stages.
What a good grip looks like
The classic grip is the tripod. The pencil is pinched between the pads of the thumb and index finger and rests on the side of the middle finger. The other two fingers curl gently into the palm. The pencil leans back into the soft space between thumb and index finger, and the hand rests on the table.
It is not the only acceptable grip. Some children rest the pencil on the ring finger and use three fingers on top, and that works well. What matters is that the hold is comfortable, the fingertips do the work, and your child can draw and write without pain or exhaustion. Aim for comfortable and efficient, not perfect.
Why nagging does not work
A grip is a habit, and habits follow ability. If a child’s hand is not yet strong enough for a tripod grip, they will return to the grip that feels secure as soon as they stop thinking about it. Repeated correction will not make the hand stronger. It will make drawing feel like a test, and some children respond by avoiding it altogether.
The better approach is to change the tools and the activities so that a good grip happens naturally.
Seven gentle tricks that work
1. Go short
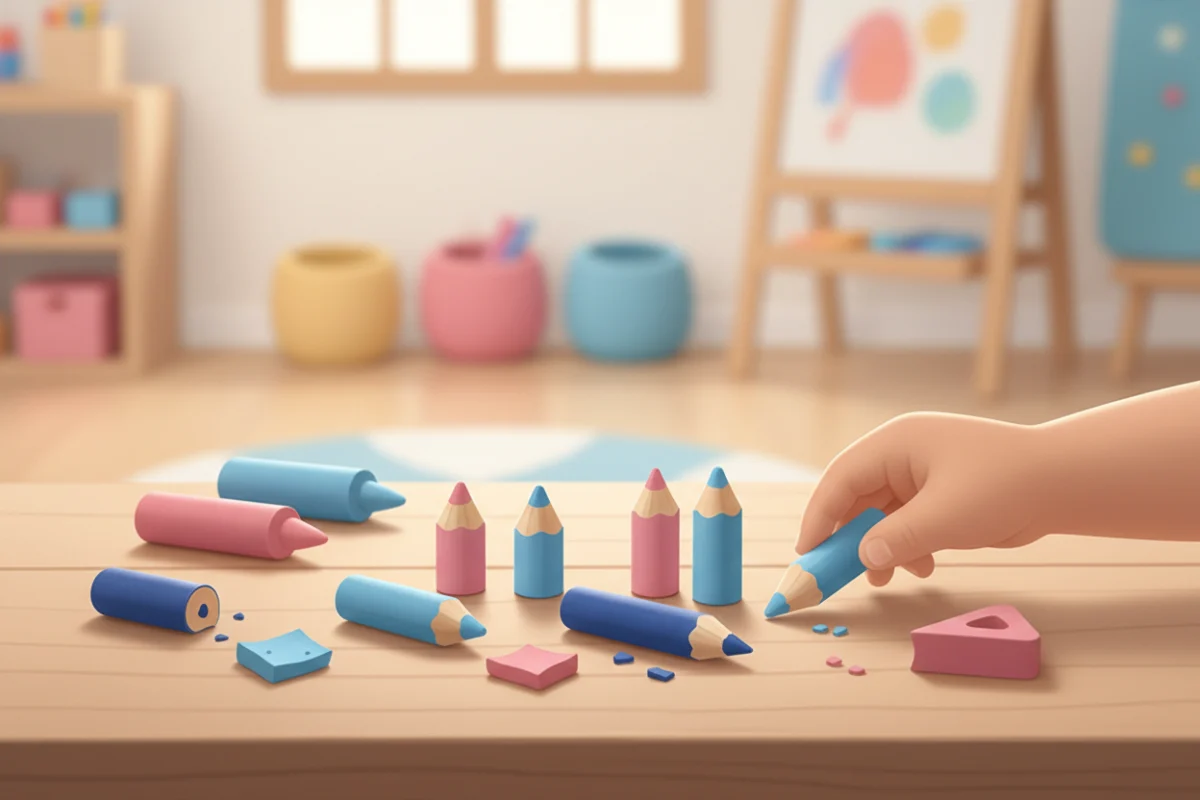
Break crayons in half and sharpen pencils down to about two or three inches, or buy golf pencils. A short tool leaves no room for a fist. Fingertips are the only way to hold it. If you try only one idea from this article, make it this one.
2. Pinch and flip
Place the pencil on the table with the point toward your child. They pinch it close to the point with thumb and index finger, lift it, and use the other hand to flip the long end back so that it rests on the hand. It turns picking up a pencil into a small magic trick, and the fingers land in the right place.
3. Hide a treasure
Tuck a small pom-pom, a cotton ball, or a scrap of tissue under the ring and little fingers, and ask your child to keep it hidden while they draw. Those two fingers stay out of the way, and the other three take over.
4. Put the pencil to bed
Young children love a story. The pencil lies down in its bed, the soft space between thumb and index finger. The thumb and index finger are the pillow that hugs it, and the middle finger is the mattress underneath.
5. Draw on the wall
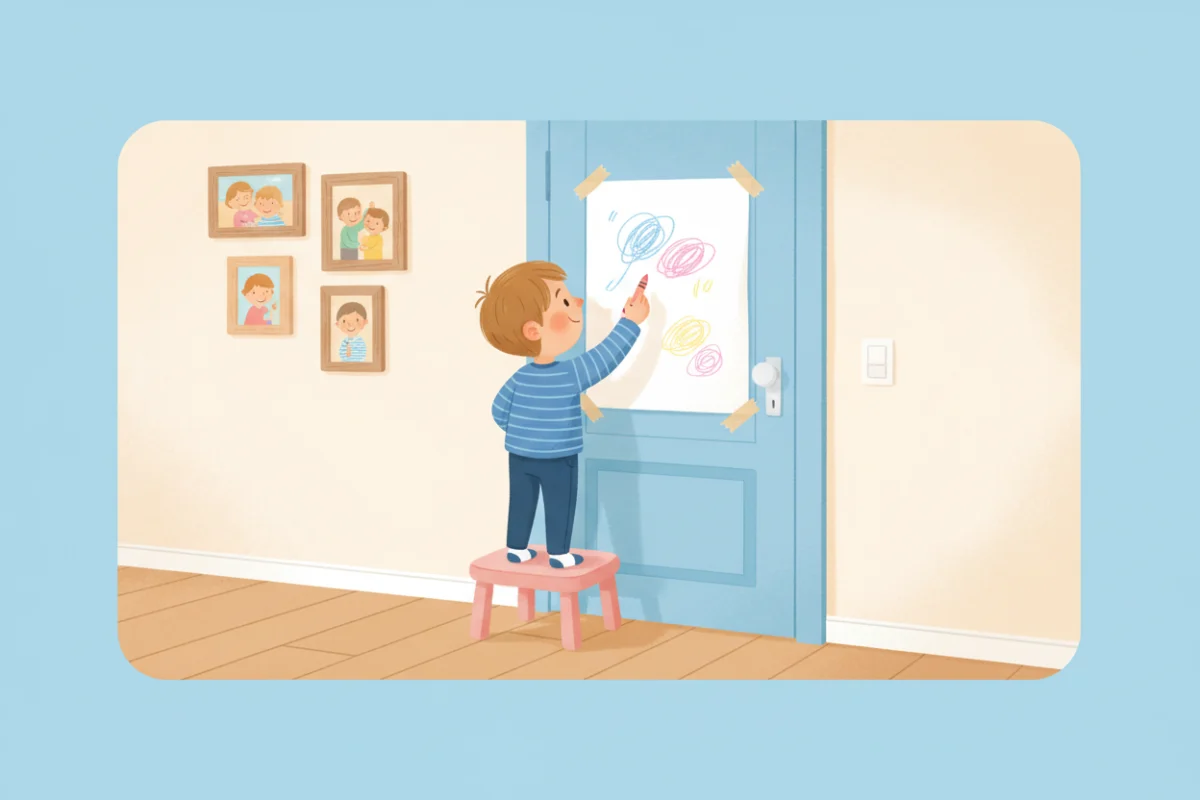
Tape paper to a wall or a door, or use an easel or a chalkboard. Drawing on an upright surface bends the wrist back into the ideal position and strengthens the shoulder. Many awkward grips improve on a vertical surface without a single word of correction.
6. Mark the spot
Put a small sticker or wrap a rubber band around the pencil about an inch from the tip. “Fingers on the sticker” is a friendlier reminder than “not like that.”
7. Warm up first
Before drawing, squeeze playdough, clap, press palms together, and wiggle each finger to touch the thumb. Thirty seconds wakes the hand up.
Build the hand, not just the grip
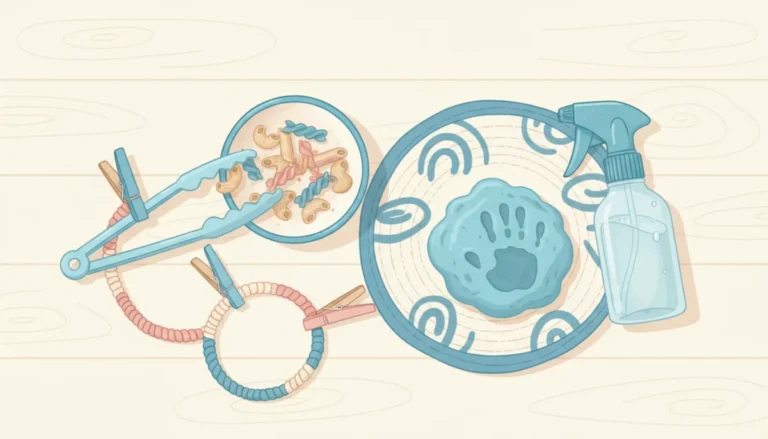
Grip problems are very often strength problems. The most useful thing you can do happens away from paper: tongs, clothespins, spray bottles, playdough, building bricks, climbing, and helping in the kitchen. Our list of fine motor activities at home has fifteen ideas that use things you already own. A few minutes a day adds up quickly.
Choosing crayons and pencils
- For ages 2 to 3: chunky crayons, egg-shaped or rock-shaped crayons, and sidewalk chalk.
- For ages 3 to 5: short, regular-width crayons, broken crayons, and small pieces of chalk. Triangular crayons and pencils can help fingers find their places.
- For ages 5 and up: short pencils, triangular pencils, and a good eraser.
Thick “jumbo” pencils are often sold for beginners, but they can be heavy and hard to control for small hands. Many children manage better with a shorter, lighter tool. Markers glide easily and need little pressure, which makes them encouraging for reluctant drawers, but crayons and pencils build more control. A mix is fine.
Sitting comfortably
A wobbly body makes for a tense hand. Check three things. Your child’s feet should rest flat on the floor or on a box. The table should be at about elbow height. And the paper should be tilted slightly, not straight in front, with the other hand holding it still. For left-handed children the paper tilts the opposite way, as we explain in our guide to helping a left-handed child write.
Should you buy a pencil grip?
Rubber grips that slide onto the pencil can be a helpful reminder for some children. They are not a fix on their own. If the hand is weak, the child will simply hold the grip in the same awkward way. Try short tools and hand-strengthening play first. If you want to try a grip, ask your child’s teacher or an occupational therapist which type might suit them.
If your child is already in school
By age 7 or so, a grip is a firmly set habit. If your child’s grip looks unusual but their writing is readable, reasonably fast, and does not hurt, most therapists would advise leaving it alone. Changing it at that point takes great effort and often makes writing worse before it gets better. Focus instead on comfort, posture, and regular breaks.
When to ask for advice
Talk to your child’s teacher or pediatrician if you notice any of the following.
- A fisted grip that continues past age 4 or 5
- Complaints that the hand hurts or gets tired after a few minutes
- Pressing so hard that pencils break or the paper tears, or lines so faint they can hardly be seen
- Avoiding drawing and writing altogether
- No clear preference for one hand by around age 5 or 6
An occupational therapist can look at what is going on and give you specific exercises. This article is general information, not an assessment of your child.
Frequently asked questions
When should my child hold a pencil correctly?
Most children settle into a mature grip between the ages of 4 and 6. Before that, a changing variety of grips is normal.
Is it bad if my child holds the pencil with four fingers?
Usually not. A four-finger grip can be perfectly functional if it is comfortable and the fingertips control the pencil.
Are triangular pencils worth it?
They help some children find where their fingers go, and they are inexpensive, so they are worth a try. A short pencil often makes a bigger difference.
My child switches hands when drawing. Should I choose one for them?
No. Place crayons in the middle of the table and let your child pick. Hand preference usually settles between the ages of 4 and 6. Check our handwriting readiness signs to see what else to look for.