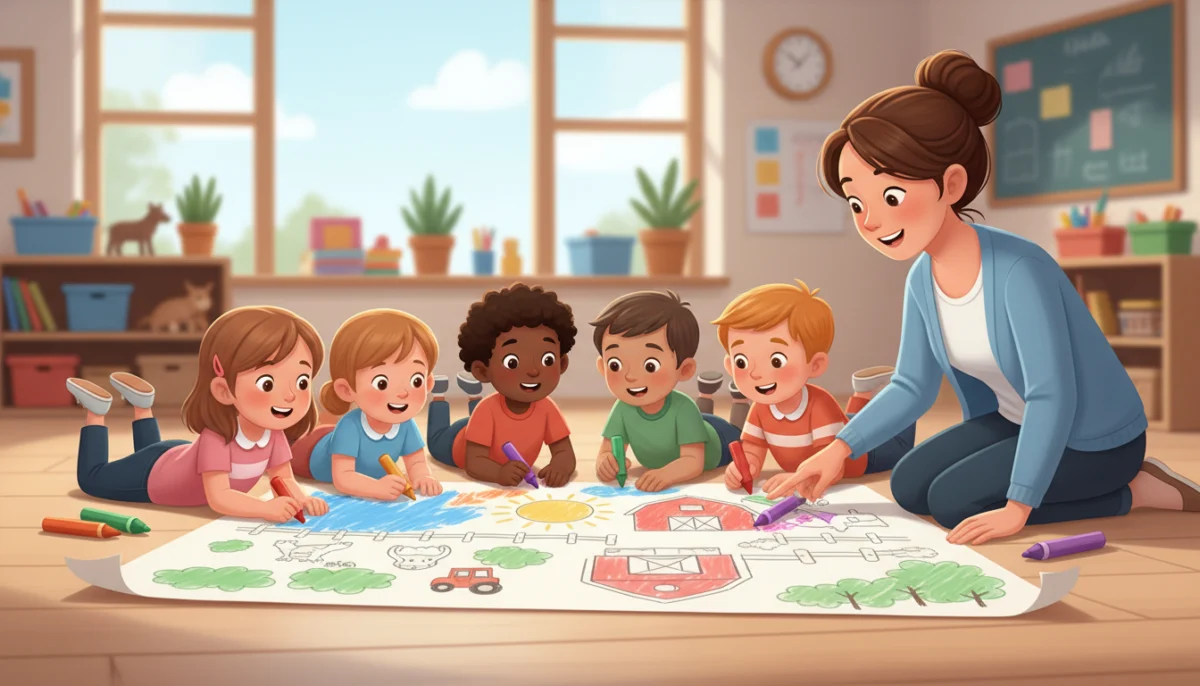
A single sheet of paper gives one child a small task. A poster the size of a table gives eight children a shared project, a reason to talk, and forty minutes of fine motor practice that nobody experiences as work. Giant coloring posters are one of the easiest group activities in early childhood, and one of the most underused.
This guide covers why they work, how to set up a session so it runs itself, what to watch for while children color, and what to do with the poster afterward.
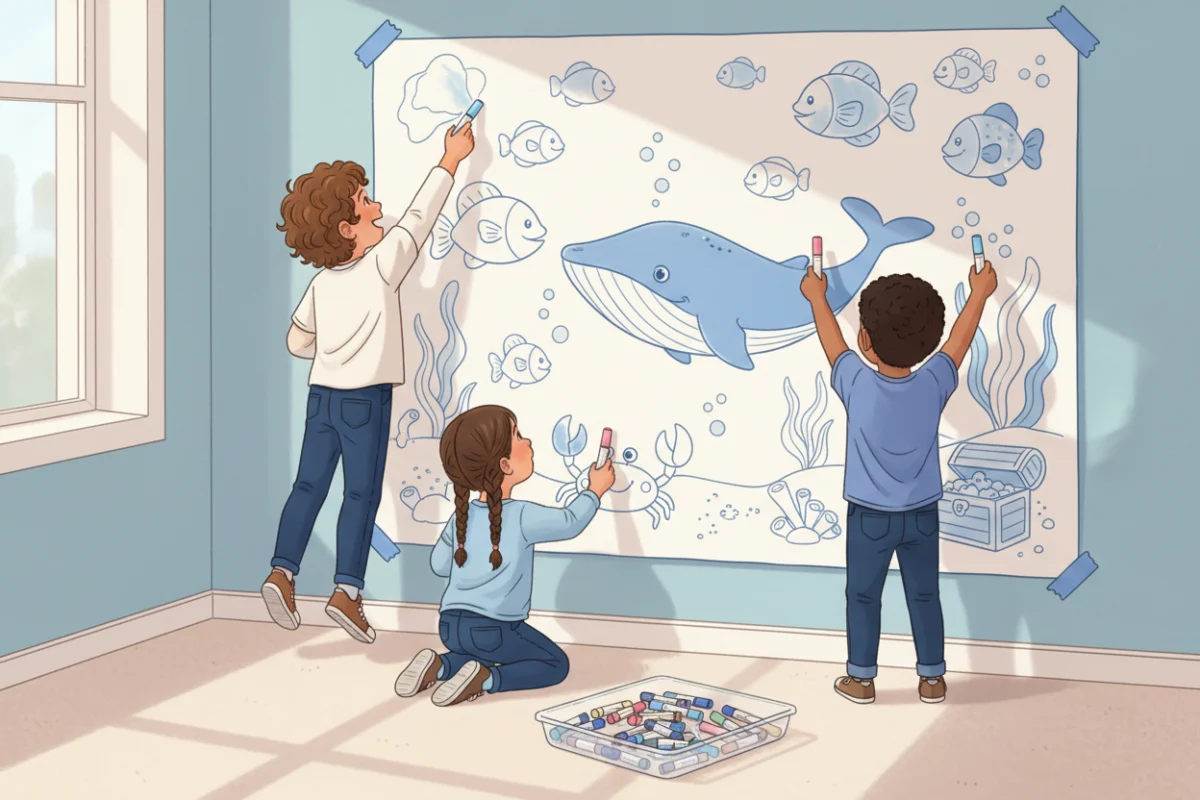
Why giant posters work with young children
The scale changes everything. On a small coloring page, a four-year-old with big arm movements goes outside the lines constantly and gets discouraged. On a poster, the same movements fit inside a shape the size of a dinner plate. Children who “cannot color” suddenly can. Our guide to coloring skills by age explains why area size matters so much at three and four.
Posters also solve the social problem of coloring. Individual pages isolate children; a poster puts them shoulder to shoulder, negotiating who colors what, sharing markers, and admiring each other’s work. That is language, turn-taking and cooperation on top of the motor practice.
And posters let children work on the floor or standing at a wall, which changes the muscles involved. Lying on the tummy and coloring strengthens the shoulder and neck; coloring on a wall builds wrist extension. Both feed handwriting, as our guide to graphomotor skills explains.
Choosing or making a poster
Any large outline drawing works. You can print a poster across several sheets and tape them together, buy printed giant coloring posters, or draw a simple scene on a roll of paper with a thick black marker. The best posters have:
- large areas for young children and smaller details for older ones, so everyone finds something at their level,
- a theme children can talk about (a farm, a town, under the sea, a season),
- thick outlines that forgive overshoots,
- enough distinct areas that six to eight children can each claim a spot.
Avoid posters with tiny details everywhere. They frustrate younger children and take forever.
Setting up a session
Put the poster on the floor with a plastic sheet underneath, or tape it to a wall at child height. Provide chunky crayons, markers and, for the youngest, dot markers. Spread the tools around the poster rather than in one pile so children do not crowd. Six to eight children at a time is right for a table-sized poster; a whole class can rotate through in the course of a morning.
Introduce the poster with a short story about the scene, then set three rules: color the part you are near, share the markers, and keep the lids on. Then let them go.
What to watch for while they color
A group coloring session is a chance to see hands at work without the pressure of a test. Watch for:
- fist or whole-hand grasps on the crayon in children over four, which our pencil grasp development guide explains,
- children who switch hands as they cross the middle of their area, a possible sign of difficulty crossing the midline,
- heavy pressure that tears the poster, or feather-light coloring that barely shows,
- children who avoid the poster entirely or hover at the edge without joining in.
None of these need correcting in the moment. Make a note and follow up one-on-one later.
Running a poster session with the whole class
If you want every child to contribute to one poster in a single morning, run it as a rotation. Divide the class into groups of six. Each group gets fifteen minutes at the poster while the others are at centers, then rotates. Assign each group a region of the poster (the sky, the field, the town) so the whole thing fills evenly and later groups still have space. By the end of the morning the poster is complete and every child can point to their part.
For mixed-age or mixed-ability rooms, pair a confident colorer with a beginner in each group. The beginner takes the big areas, the confident child takes the details next to them, and both learn from watching the other.
Making the most of the motor practice
To get the most out of the session, vary the positions. Start with the poster on the floor so children lie on their tummies, propped on their elbows, which loads the shoulders. After ten minutes, tape the poster to the wall and have them stand to color the top half, which works the wrist. Finish at the table for the small details. Three positions in one activity gives a broader workout than any of them alone, and children rarely notice they have been moved.
Keep a mix of tools out. A child who has been pressing hard with a crayon can switch to a marker, which rewards a lighter touch. A child who barely leaves a mark can pick up a dot marker and see color appear instantly.
Ways to use the finished poster
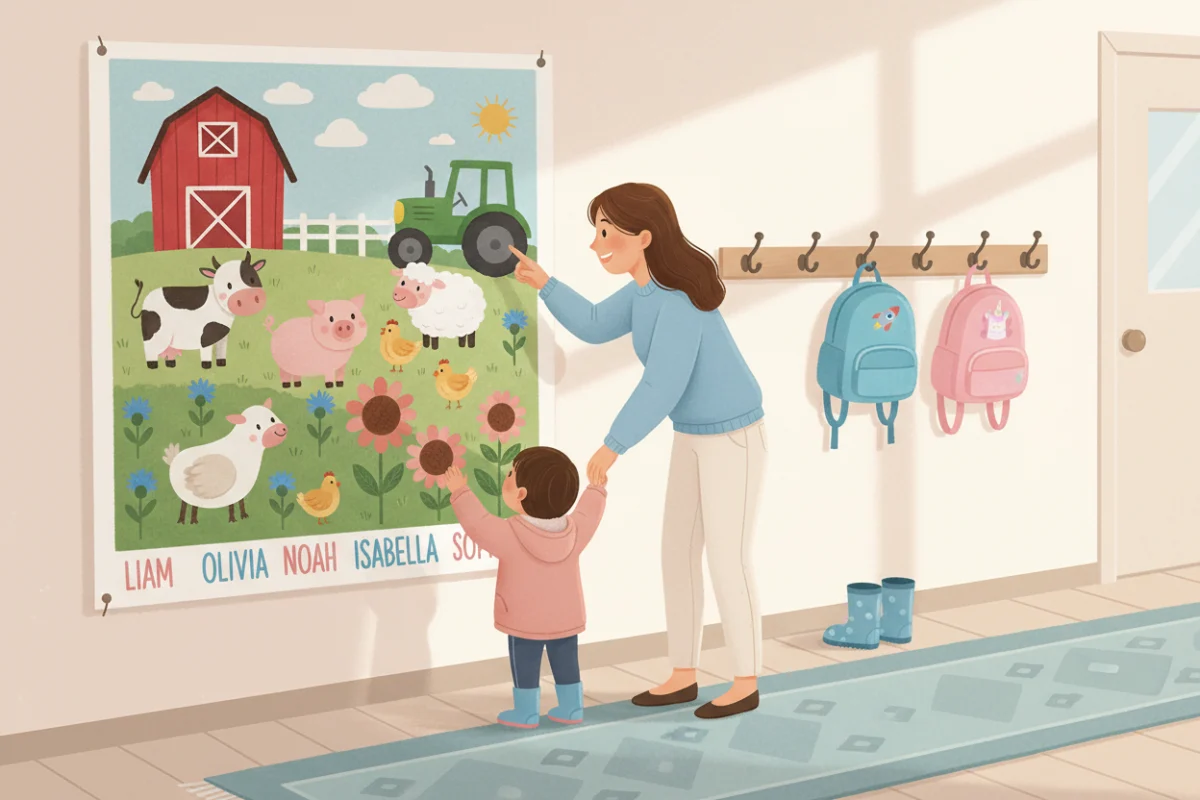
- Hang it in the hallway with every child’s name on it. Families love it.
- Cut it into pieces and turn it into a giant floor puzzle.
- Use it as a backdrop for a puppet show or a class photo.
- Laminate it and use it as a play mat with small toys.
- Cut out individual characters and glue them to a new background for a second project.
- Photograph it and print small versions for each child’s portfolio.
Variations to try
- Color by shape: every circle red, every square blue. It turns coloring into a math activity.
- Add-a-detail: after coloring, children draw one extra thing in the scene and tell the class what it is.
- Story poster: color a scene, then dictate a class story about it for the teacher to write underneath.
- Seasonal posters: one poster each season becomes a visual record of the year on the classroom wall.
- Collage poster: instead of coloring, children glue torn paper or fabric scraps into the areas.
Giant posters at home
Parents can do this too. A roll of brown packaging paper and a black marker make a poster in five minutes, and siblings of different ages can work on it together. Our list of easy paper crafts to make at home has more family activities.
Frequently asked questions
What age are giant coloring posters good for?
From about age two with dot markers and chunky crayons up to age eight or nine, as long as the poster has both big areas and small details.
How many children can color one poster at once?
Six to eight on a table-sized poster. For more, rotate small groups, or use two posters side by side.
What are the best tools for coloring giant posters?
Chunky crayons and washable markers for most children, dot markers for the youngest, and colored pencils for older children who want detail.
How do I stop children fighting over spots on the poster?
Give each child a starting area when they sit down and make “color the part you are near” the first rule. Most conflicts disappear once children see there is more poster than they can finish.