Every paper craft is a fine motor lesson in disguise. Tearing builds pinch strength. Folding builds bilateral coordination and finger control. Cutting trains the hand for a pencil. Gluing small pieces onto a base is pure eye-hand coordination. The trick is choosing crafts where the skill is the point and the product is the reward, rather than crafts where the teacher does most of the work and the child adds one sticker.
Here are twelve that pass that test. All of them use paper, scissors, glue and things you already have. Each comes with the skill it builds, a prep note, and a way to make it easier or harder.
Before you start
A few habits make every paper craft go better. Do a two-minute hand warm-up first; our five-minute handwriting warm-ups work just as well for crafts. Put the materials in the middle of the table in shared trays rather than pre-portioned kits, so children have to reach, pinch and choose. And model each step once, then step back. The craft is theirs.
1. Torn paper collage
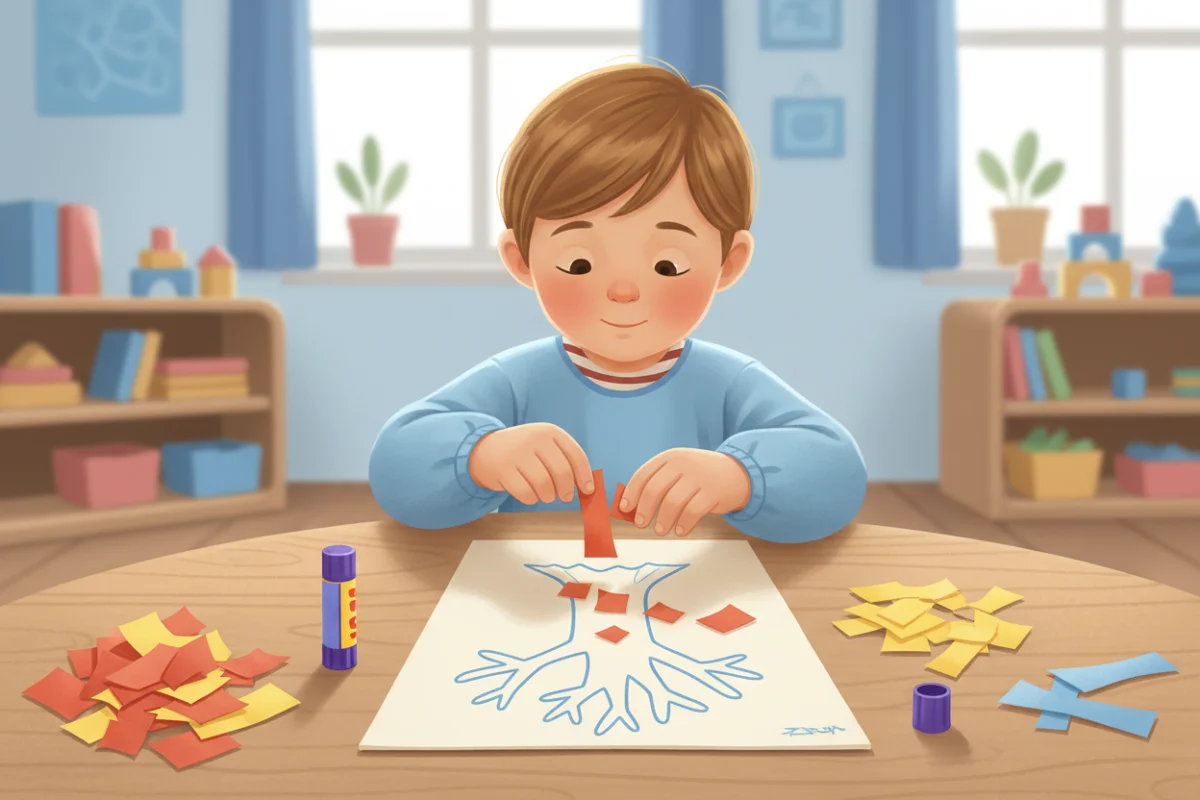
Skill: pinch strength, bilateral coordination. Children tear colored paper into pieces and glue them onto an outline (a tree, a fish, a rainbow). No scissors needed, so it is the perfect first craft of the year. Easier: pre-tear strips so children only tear small pieces. Harder: tear to fill a specific shape without going over the line.
2. Fringe caterpillar
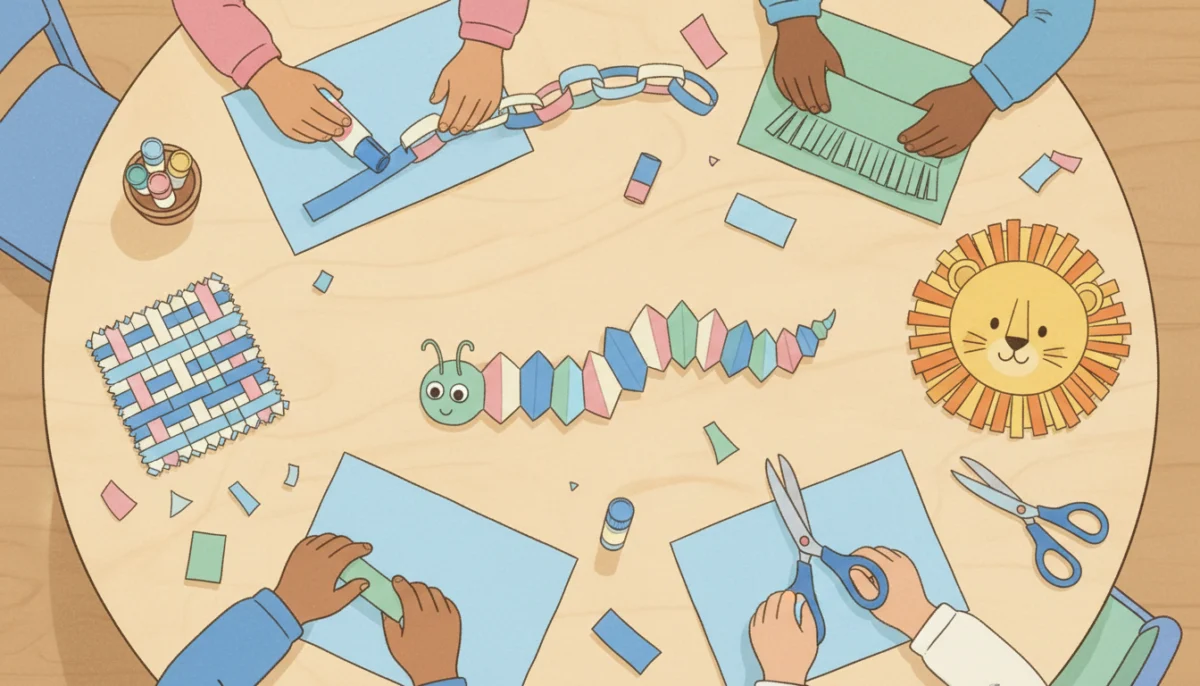
Skill: snipping. A strip of green paper snipped along one edge becomes a fringed caterpillar body; add a circle head and a drawn face. Easier: draw thick snip lines. Harder: snip a fringe on both edges, then curl the fringe around a pencil.
3. Paper chain
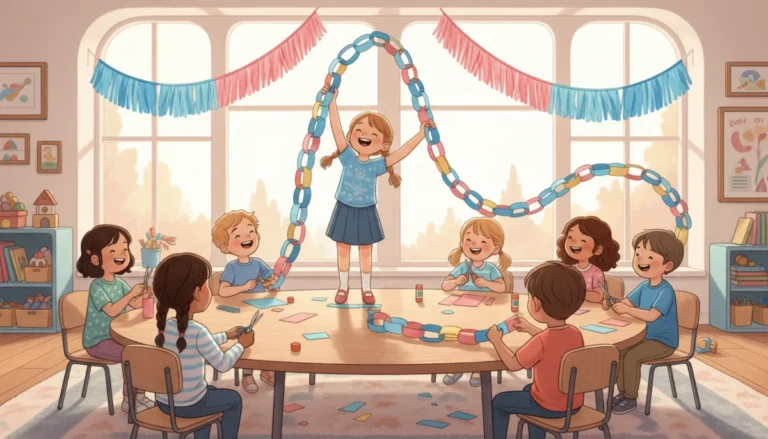
Skill: cutting on a line, gluing, sequencing. Cut strips, loop, glue, repeat. It is the most flexible craft in this list and doubles as classroom decoration; see our guide to paper chains and garlands for a full year of variations.
4. Accordion fold animals
Skill: folding, finger control. Fold a strip back and forth to make a springy body, then add a head and legs. Snakes, caterpillars and dogs all work. Easier: score the fold lines first. Harder: narrower strips and more folds.
5. Cut-and-glue shape pictures
Skill: cutting shapes, spatial planning. Children cut circles, squares and triangles from colored paper and assemble them into a house, a truck or a robot. Easier: provide shapes already cut and focus on gluing. Harder: children draw and cut their own shapes.
6. Paper plate faces
Skill: cutting curves, placement. Cut a mouth and eyes from paper, glue onto a plate, add yarn hair. Easier: glue on pre-cut features. Harder: cut a fringe for hair and curl it.
7. Woven paper mat
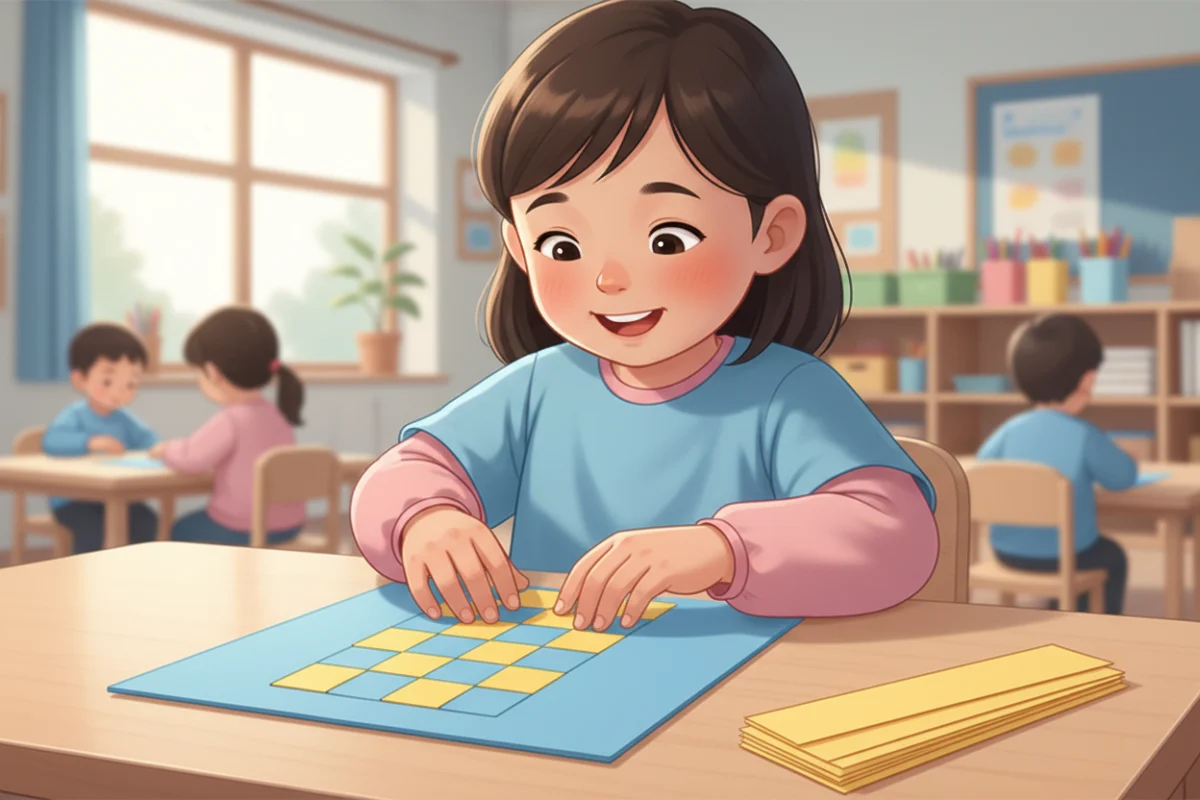
Skill: bilateral coordination, over-under sequencing. Fold a sheet in half, cut slits from the fold, open, and weave strips through. Easier: wide slits and wide strips, with alternate strips pre-woven. Harder: narrow strips in a pattern.
8. Hole-punch threading cards
Skill: pinch strength, threading. Children punch holes around a shape cut from card and thread yarn or a shoelace through. Easier: pre-punch holes and use a thick lace. Harder: punch their own holes in a pattern.
9. Origami cup or boat
Skill: precise folding, following steps. A simple origami cup takes four folds and children can drink water from it, which is a strong motivator. A boat is a step harder. Easier: fold as a whole class, one step at a time. Harder: follow a picture card independently.
10. Paper bag puppets
Skill: cutting, gluing, placement. A lunch bag becomes an animal with cut paper ears, eyes and tongue. Easier: pre-cut features. Harder: children design and cut all the features, then put on a puppet show.
11. Snowflakes and doilies
Skill: folding and cutting through layers. Fold a circle or square several times and cut notches. Opening the paper is a moment of pure delight. Easier: fold twice only and cut big notches from a thicker paper. Harder: fold three or four times and cut small shapes.
12. Paper strip sculptures
Skill: gluing, spatial thinking, bilateral coordination. Children curl, fold and zigzag paper strips and glue the ends to a card base to make a 3D sculpture. Easier: glue only flat loops. Harder: build a sculpture that stands taller than a hand.
Turning a craft into a lesson
A craft becomes teaching when you name the skill out loud. “Today we are pinching with our crab claws” (thumb and first finger) turns tearing into a target. “Thumb up, helper hand holds” turns cutting into a rule children repeat back to you. “Dot, dot, not a lot” becomes the class chant for glue. Naming the skill also helps families: a caterpillar that goes home with the note “we practiced snipping with our thumbs up” tells a parent exactly what to encourage at the kitchen table.
Displays matter too. When a torn paper tree or a row of paper chains goes on the wall, the craft was worth the effort in the child’s eyes, and they will do the next one with more care. Photograph group work before it comes down so children can look back on it.
Materials to keep on hand
A small stock covers all twelve crafts: construction paper in a few colors, white card, paper plates, lunch bags, yarn or shoelaces, glue sticks and a bottle of white glue, a hole punch, and a class set of child scissors including left-handed pairs. Old magazines, wrapping paper and cereal boxes are free additions that children often prefer to new paper. Keep everything in labeled tubs so setup is a matter of putting three tubs on the table.
Fitting crafts into the week
You do not need a craft every day. One well-chosen craft a week, with a cutting station open the rest of the time, gives more skill practice than daily crafts where the teacher does the cutting. Our guide to setting up a cutting station covers the daily practice side.
Match the craft to the term. Early in the year, choose tearing and snipping crafts (1, 2, 3). By mid-year, move to shapes and folding (4, 5, 6, 7). In spring, children are usually ready for the more demanding ones (8 to 12).
Making a craft work for every child
The easier and harder notes above matter. In any class you have children whose cutting is a year ahead and children who are a year behind. Offering two versions of the same craft on the same table lets everyone finish something they are proud of. Our guide to scissor skills by age helps you see which children need which version.
For children who tire quickly, split the craft over two days: cut on day one, assemble on day two. For children who find gluing hard, a glue stick and a “dot, dot, not a lot” rule prevents the puddle problem.
For crafts tied to the school calendar, see our winter holiday crafts for a diverse classroom and Valentine’s Day classroom crafts.
Frequently asked questions
What paper crafts can preschoolers do independently?
Torn paper collage, fringe caterpillars, paper chains and paper plate faces can all be done by three- and four-year-olds with a short demonstration and minimal help.
Which paper crafts build fine motor skills the most?
Tearing, snipping and threading crafts build pinch strength and hand separation; folding and weaving build bilateral coordination; cutting shapes builds eye-hand control. A mix over the term covers all of them.
How much prep do these crafts need?
Most need only paper strips or shapes cut in advance, which takes a few minutes with a paper cutter. Torn paper collage and paper chains need almost none.
What do I do with children who finish fast?
Have the harder version of the same craft ready on the same table, or send them to the cutting station with the leftovers.