Fall is the best season for paper crafts. The shapes are simple (leaves, pumpkins, apples, acorns), the colors are bold, and the theme carries children from the first week of school through to the harvest displays of late October. It is also the season when many children are just learning to use scissors, so crafts that build skill matter more than crafts that look perfect.
Here are ten fall crafts for pre-K and kindergarten, arranged roughly from easiest to hardest, with the fine motor skill each one targets and how to adapt it.
Planning the season
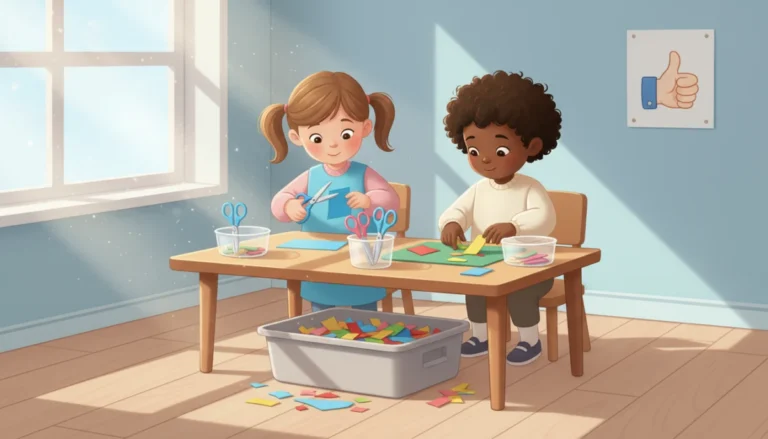
Early fall is for tearing and snipping, since many children arrive without scissor experience. Mid-fall brings cutting on lines and simple shapes. By late October, most children can manage folding and cutting shapes with corners. The crafts below follow that order, and our guide to scissor skills by age helps you see where each child is.
1. Torn paper leaf collage
Skill: pinch and tear. Draw a large leaf outline on card. Children tear red, orange and yellow paper into pieces and glue them inside the outline. Use “crab claw” fingers (thumb and index) for tearing. Easier: pre-tear strips. Harder: fill the outline without gaps.
2. Fringe scarecrow hair
Skill: snipping. A strip of yellow paper snipped along one edge becomes straw hair for a paper plate scarecrow face. Add a hat cut from brown paper. Easier: draw thick snip lines. Harder: snip fringe for hair, hands and feet.
3. Apple with a cut-out bite
Skill: cutting a curve. Children cut a large circle from red paper, then cut a “bite” from one side. Add a stem and a leaf. Easier: pre-cut the circle and only cut the bite. Harder: cut the apple, the stem and the leaf.
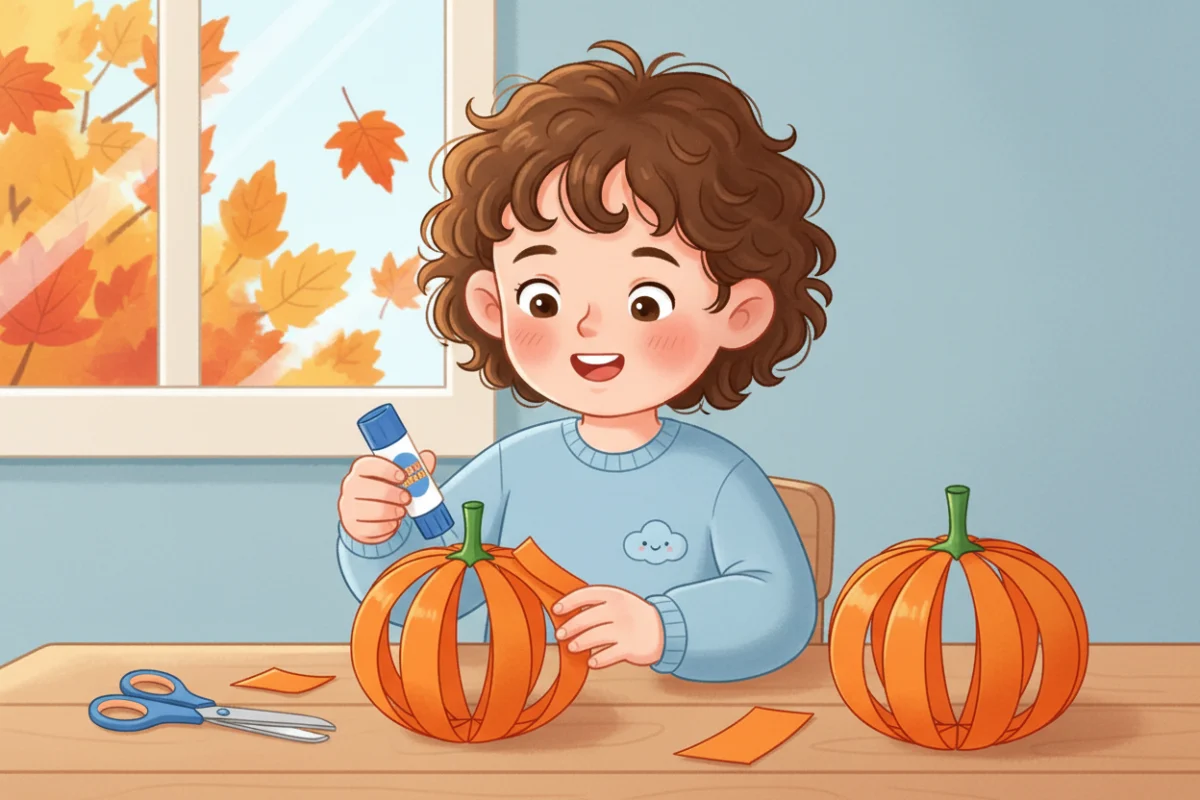
4. Paper strip pumpkin
Skill: cutting strips, gluing, bilateral coordination. Cut six orange strips, glue their ends together at the top and bottom to make a round pumpkin, add a green stem. It stands up on its own. Easier: strips pre-cut. Harder: children cut strips of equal length using a ruler as a guide.
5. Accordion fold leaves
Skill: folding. Fold a square of colored paper back and forth, pinch the middle and fan out the ends to make a leaf. Easier: score the fold lines. Harder: smaller squares and more folds.
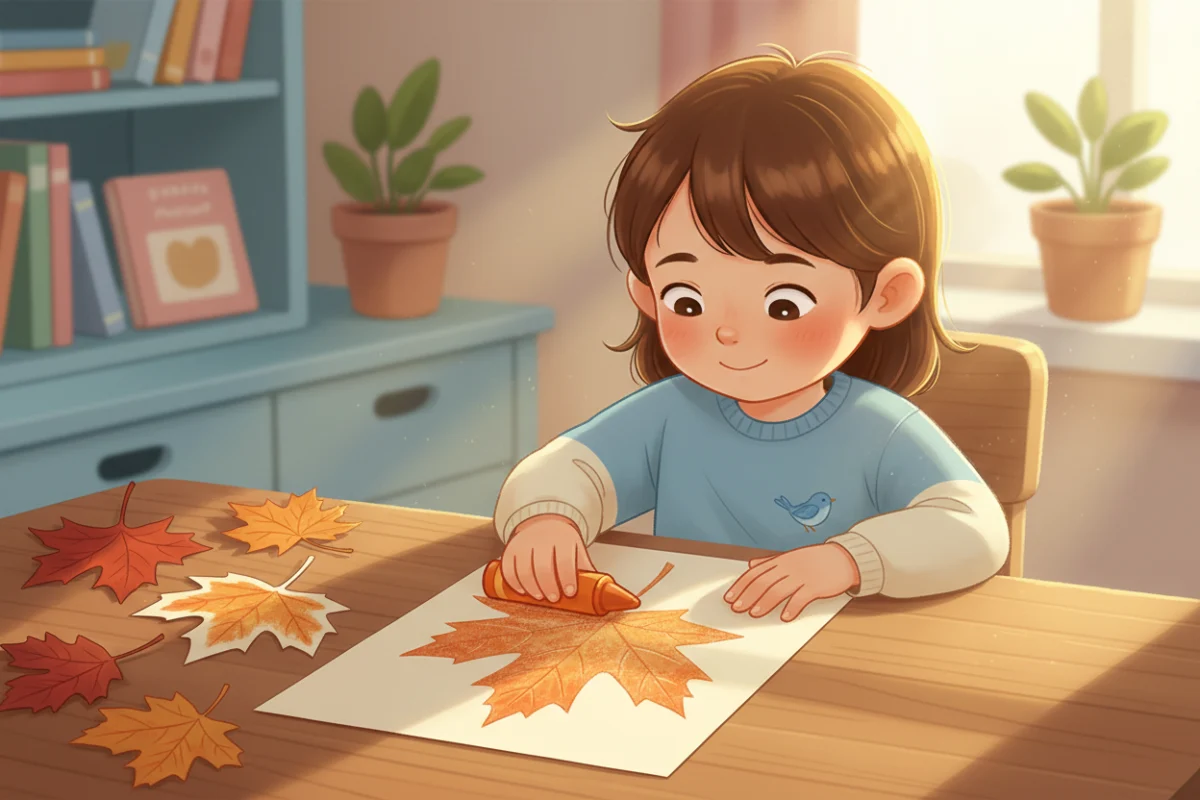
6. Leaf rubbings and cut-outs
Skill: pressure control, cutting on a line. Place a real leaf under paper, rub with the side of a crayon, then cut around the leaf shape that appears. Easier: cut roughly around the rubbing. Harder: follow the edge of the leaf.
7. Paper chain garland in fall colors
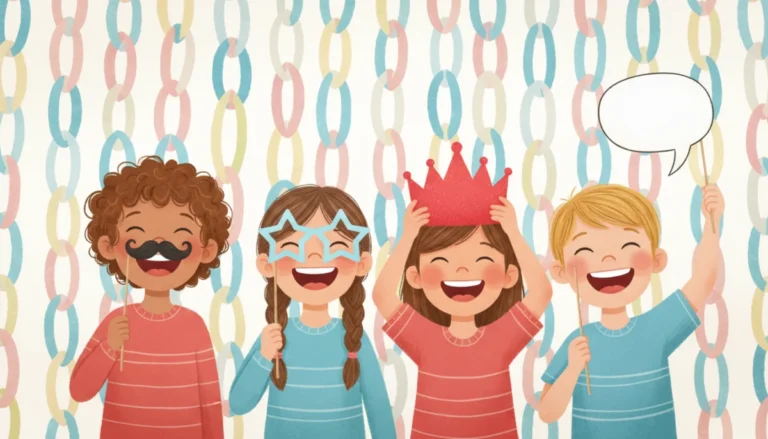
Skill: cutting on a line, gluing, sequencing. Cut strips in red, orange, yellow and brown, then loop them in a repeating pattern. Hang the garland across the classroom. Our guide to paper chains and garlands has more patterns.
8. Acorn with a fringed cap
Skill: cutting a shape and snipping. Cut an oval from brown paper for the acorn, cut a half-circle for the cap, snip the cap’s edge into a fringe, and glue. Easier: pre-cut the shapes and only snip. Harder: children cut everything.
9. Woven paper pumpkin
Skill: over-under weaving, bilateral coordination. Cut slits in an orange pumpkin shape and weave brown or yellow strips through. Easier: wide slits, alternate strips pre-woven. Harder: narrow strips in a pattern.
10. Standing paper tree with torn leaves
Skill: rolling, gluing, tearing. Roll brown paper into a tube for a trunk, snip the top into branches and fold them out, then glue torn paper leaves on. Easier: pre-rolled trunk. Harder: children roll, snip and shape the whole tree.
A four-week fall craft plan
Week one, the first weeks of school: torn paper leaf collage as a whole-class activity, with the fringe scarecrow as the center craft. Both are scissor-light, so children who have never cut before are not left out. Week two: apple with a bite and strip pumpkins, which introduce the first real cutting on lines and curves. Week three: accordion leaves and leaf rubbings, which shift to folding and following an edge. Week four, leading into the harvest display: paper chains, acorns, woven pumpkins and the standing tree for the children who are ready.
Run the crafts as a center rather than a whole-class activity after week one. Six children at a time, one adult nearby, and the rest of the class at other centers. That keeps the adult free to watch grips and helper hands rather than handing out glue.
Adapting for children who are not ready to cut
In the first month there will be children who cannot open scissors with one hand yet. They should still make the crafts. Give them the tearing and gluing parts of every project, offer loop scissors for the snipping parts, and pair them with a confident cutter for the strips and shapes. Keep a note of who needs help and pull them for two minutes of snipping practice at the cutting station each day; our guide to setting up a cutting station explains how. By November, most of them will be cutting.
Sending crafts home
Fall crafts are the first things families see coming home. A one-line note stapled to the back (“We practiced tearing with our crab claws”) tells parents what to encourage. Our guide to fine motor activities at home is worth sharing at fall conferences.
Displays that use the crafts
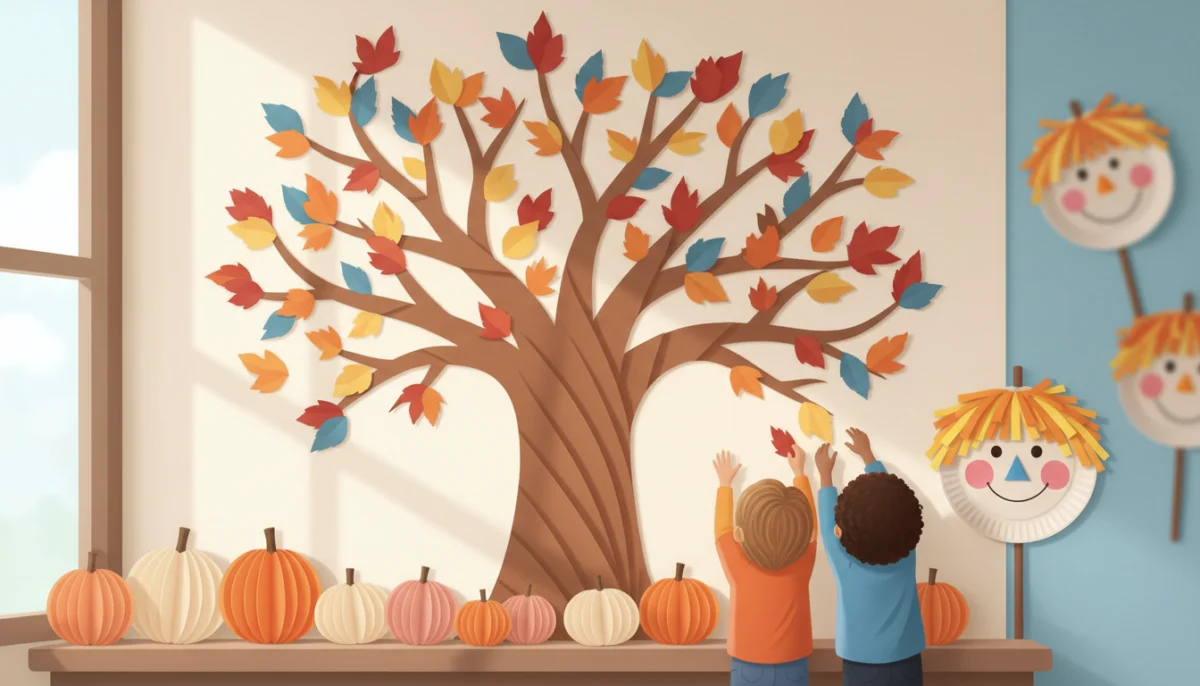
Fall crafts make excellent displays, and the display is part of the motivation. A “class tree” with every child’s torn leaf, a pumpkin patch of strip pumpkins on a windowsill, a line of scarecrows above the coat hooks, and a garland across the reading corner turn a month of fine motor practice into a room that families notice.
Photograph everything before it comes down and keep one piece per child for the portfolio.
Extending the crafts into other areas
Fall crafts link easily to the rest of the day. Count the leaves on the class tree at circle time. Sort strip pumpkins by size. Use the scarecrows as characters in a story dictated by the class. Turn the paper chain into a number line by writing a numeral on every loop. The crafts stop being a separate “art time” and become the material for math and language too, which makes the time spent on them easier to justify in a full schedule.
A note on real leaves
Bring real leaves in for sorting, rubbing and comparing before the crafts. Children who have handled a maple leaf draw and cut a more convincing one. A walk to collect leaves is also a good gross motor break, and gross motor supports fine motor, as our graphomotor skills guide explains.
Fall leads straight into the holidays: see our Halloween classroom activities and Thanksgiving crafts and gratitude activities for the rest of the season.
Frequently asked questions
What are easy fall crafts for preschoolers?
Torn paper leaf collages, fringe scarecrow hair and apple with a bite are all suitable for three- and four-year-olds with minimal cutting.
What fall crafts help with scissor skills?
Apple with a bite (curves), strip pumpkins (straight lines), acorn caps (snipping) and leaf cut-outs (following an edge) each target a specific cutting skill.
How do I run a fall craft with a whole class?
Set up the craft at one table as a center, model it once at circle time, and rotate small groups through it over two or three days. Keep an easier and harder version on the same table.
What materials do I need for fall paper crafts?
Construction paper in fall colors, brown card, paper plates, glue sticks, child scissors and a few real leaves. Everything else is optional.