Scissor practice works best when it is frequent, short and self-directed. That is hard to arrange when cutting only happens during a teacher-led craft once a week. A cutting station solves the problem: a small, permanent spot in the room where children can cut something every day without you setting anything up.
This guide walks through everything you need to launch one: the supplies, the layout, the rules that keep it safe with three- to six-year-olds, and a year of low-prep activities to rotate through it.
Why a permanent cutting station
Cutting builds the same hand skills as handwriting: separation of the two sides of the hand, a stable helper hand, and eye-hand control along a line. Our guide to scissor skills by age explains the progression. The catch is that the skill only develops with regular practice, and regular practice is exactly what a once-a-week craft cannot deliver.
A station changes the math. Five minutes a day, chosen by the child, adds up to more cutting in a month than a whole term of crafts. Children also love the simple satisfaction of making a pile of snips, which means you rarely have to persuade anyone to go there.
What you need
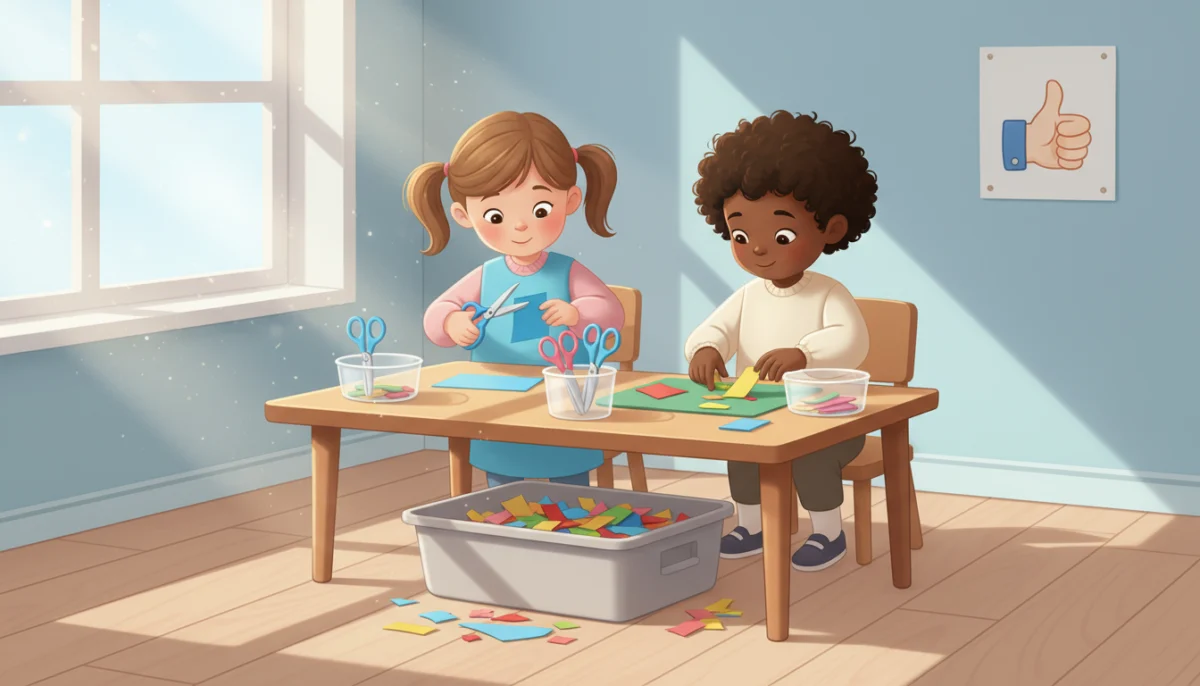
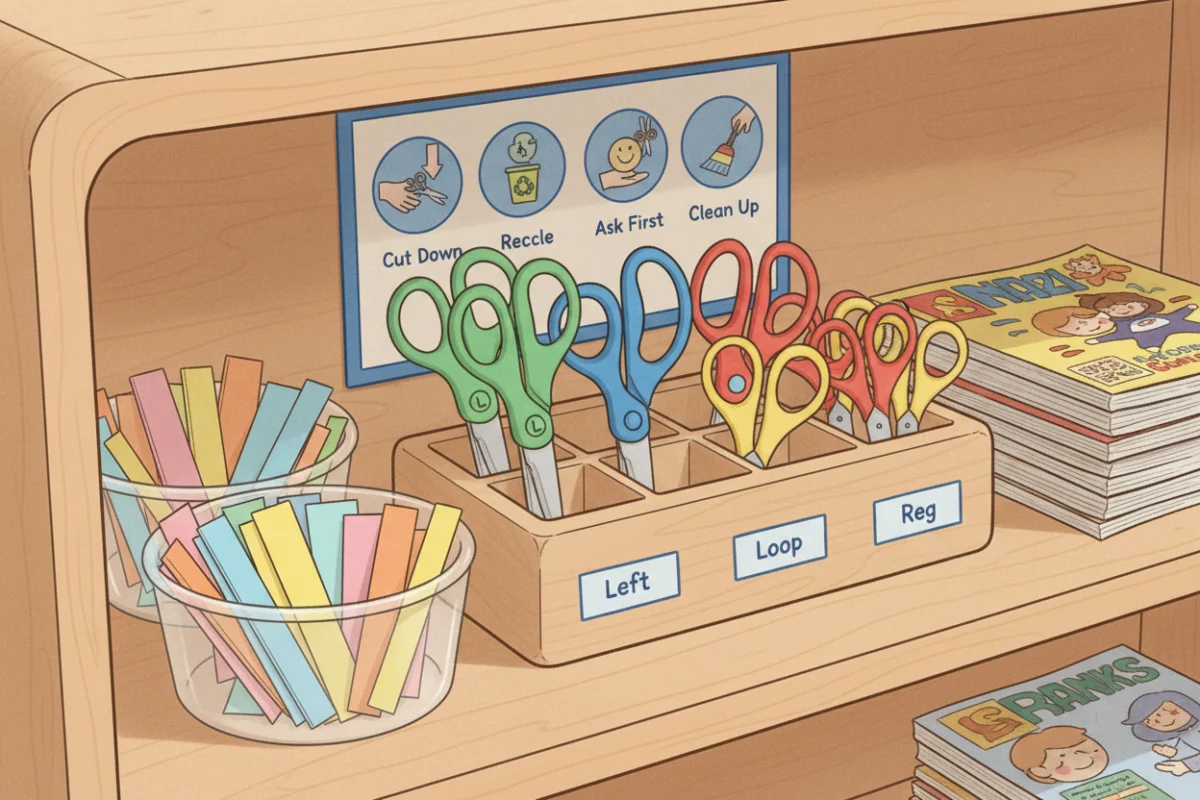
- Child-sized scissors with blunt tips, at least six pairs. Include two pairs of true left-handed scissors, and one or two pairs of loop or spring scissors for children who cannot yet open the blades.
- A scissor caddy or cup with a marked slot for each pair, so you can see at a glance if one is missing.
- Clear tubs of cutting material: paper strips in several colors, card strips, old magazines, wrapping paper, straws, yarn.
- A tray or shallow box that defines the cutting area, and a recycling bin for snips underneath it.
- A picture chart on the wall showing the thumb-up grip and the station rules.
- Envelopes or small bags for children who want to keep their snips.
- Optional: a small laminated set of cutting cards with lines, curves and shapes.
Avoid plastic safety scissors that do not actually cut paper. They teach children that scissors do not work.
Where to put it
Choose a spot with a small table or a low shelf, away from the main traffic path, where you can see it from most of the room. Two children at a time is the right capacity for most classrooms. More than that and supervision gets thin. A corner near your fine motor center is ideal, since children who finish one activity drift to the next. Our guide to fine motor centers has a layout that includes cutting.
Put the recycling bin directly under the cutting tray. Snips that fall into the bin on their own are snips you do not sweep up.
Rules that work with young children
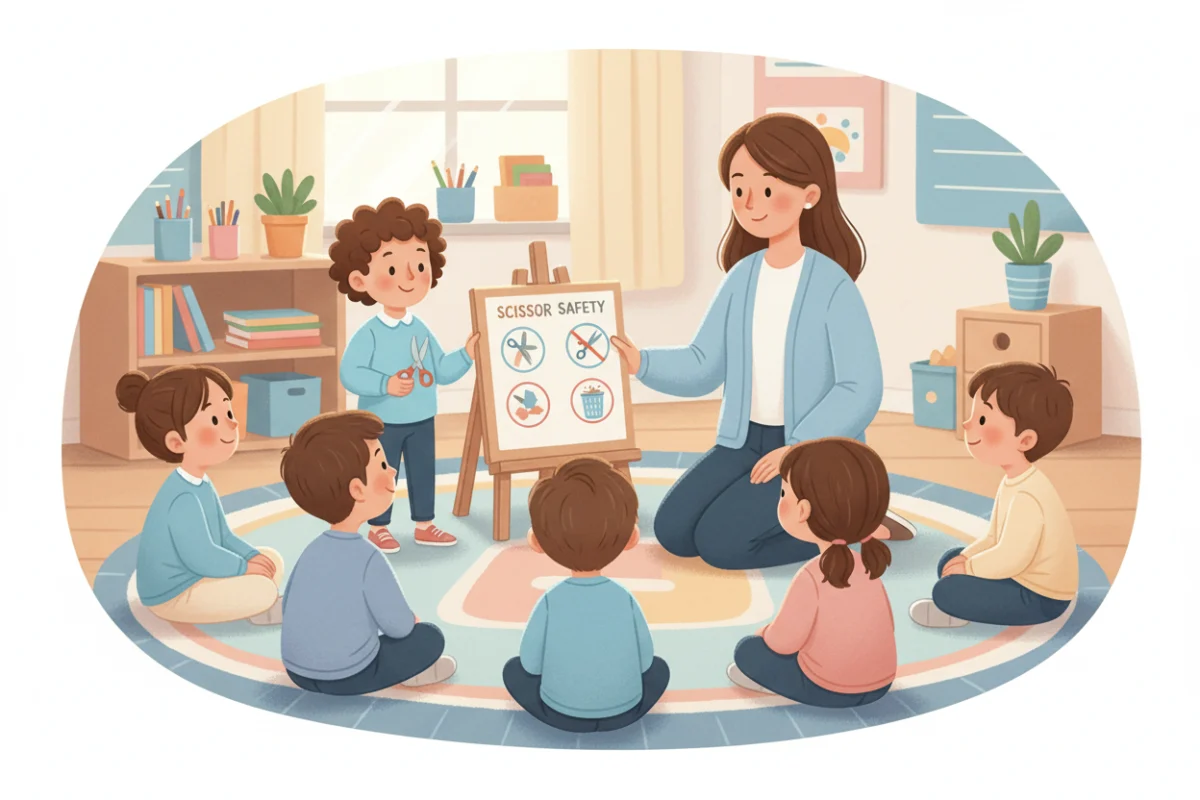
Keep the rules to four, and teach them with pictures.
- Scissors stay at the station. Cutting happens sitting down at the table.
- Thumb up. Point to the chart when you see a thumb-down grip rather than correcting verbally every time.
- Scissors go back in their slot when you are finished.
- We cut paper, not hair, clothes or friends.
Practice the rules in the first week with the whole class before opening the station for free choice. Have children model the right and wrong way to carry scissors (blades in the fist, pointing down) and how to hand them to someone else. It sounds excessive. It saves a great deal of trouble later.
Activities to rotate through the year
The station only needs one activity type at a time. Change it every week or two. Here is a sequence that follows the developmental order.
Early in the year: snipping
Fill the tubs with narrow strips of card and colored paper. The task is simply to snip. Children make “grass,” “confetti,” “fringe” and “spaghetti.” Add a bowl to collect confetti for a future collage.
Next: short cuts on a line
Strips of paper with a thick line across them every inch. Each cut makes a ticket, a coin or a domino. Add a sorting tray so children sort their pieces by color.
Then: longer lines and paths
Wide zigzag and wavy roads drawn on strips. Any cut that stays inside the road is a success. Let children draw their own roads for a friend to cut.
Mid-year: shapes
Large circles, then squares and triangles, printed on card. Turn the results into something: circles become faces, squares become houses. Our list of simple paper crafts for preschool and kindergarten has ideas that use cut shapes.
Later: pictures and puzzles
Old magazines and catalogs to cut out pictures, and colored pages that children cut into puzzle pieces for a friend to reassemble.
Ongoing: decorations
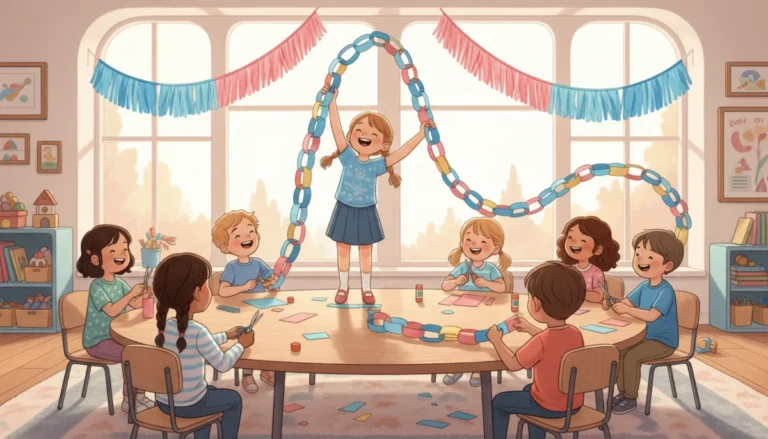
Paper chains, garlands and fringe streamers. They are the most motivating cutting practice there is, because the result goes on the wall. Our guide to paper chains and garlands has a term’s worth.
A sample week at the station
Here is how a typical week might run once the station is established. Monday, you introduce the new material at circle time in two minutes: show the strips with wavy roads, model one cut, and say where the finished pieces go. Tuesday to Thursday, the station is open during center time and morning arrival, two children at a time, with a sand timer if turns get long. Friday, the class uses the week’s cut pieces in a short group collage or display, so the cutting had a visible purpose. The following Monday, the material changes.
That rhythm, introduce, practice, use, takes about ten minutes of your time in a week and gives every child several short cutting sessions. It also builds a natural bridge to the crafts and decorations in the rest of this series.
Adapting the station for mixed abilities
Keep two difficulty levels in the tubs at all times: for example, wide straight lines and narrow curved ones. Children choose their own level, and most choose well. A picture card on each tub (“snip,” “cut the line,” “cut the shape”) lets non-readers pick without asking. For a child who is far behind, a pair of loop scissors and a tub of stiff card strips gives quick success; for a child who is far ahead, a magazine and an envelope to collect cut-out pictures keeps the station interesting.
Managing the mess
A cutting station makes a mess, and the mess is part of the point. A few habits keep it manageable. The bin under the tray catches most snips. A small dustpan and brush at the station lets children clean up themselves at the end of their turn. A “confetti jar” gives the tiny pieces a purpose. And a two-minute tidy at the end of each session, as a whole-class routine, resets the station for tomorrow.
Watching for children who need help
The station is also a quiet assessment tool. As you pass, notice which children hold the scissors thumb-down, which cannot open the blades, which let the paper hang without a helper hand, and which avoid the station altogether. Those are the children to pull for a two-minute one-on-one, and the ones to mention to families. Our guide to pencil grasp development covers the hand skills that cutting difficulties often reveal.
Frequently asked questions
What age can children use a classroom cutting station?
From about age three, once they can open and close scissors with help. Start with snipping only, and supervise closely for the first weeks.
How many pairs of scissors do I need?
Six to eight pairs for a station that seats two, so there are always clean, working pairs, including left-handed and loop scissors.
How do I stop children carrying scissors around the room?
Make “scissors stay at the station” the first rule, teach it with a whole-class demonstration, and keep the scissor caddy with marked slots at the station so a missing pair is obvious.
What should I put in the cutting station?
Paper and card strips in several colors, old magazines, straws and yarn, plus laminated cutting cards with lines, curves and shapes. Rotate one activity type at a time.