Fine motor centers are everywhere: bins of pom-poms, trays of beads, tubs of playdough. They keep small hands busy, and they look good on a classroom tour. But not every busy-hands activity moves a child closer to writing. If the goal is handwriting readiness, it helps to know which skill each center builds and to choose on purpose.
Below are twelve centers that do real work. Each one is low-prep, uses inexpensive materials, and is matched to the specific part of handwriting it supports. At the end you will find tips for rotation, differentiation, and management.
What handwriting actually asks of the hand
Before choosing activities, it helps to name the skills we are trying to build.
- Hand and finger strength, so the child can hold a pencil without fatigue
- Pincer and tripod control, the precise work of thumb, index, and middle fingers
- Separation of the two sides of the hand, where three fingers move and two stay still
- In-hand manipulation, shifting and turning small objects within one hand
- Bilateral coordination, one hand working while the other holds steady
- Wrist stability and shoulder strength, the base that the fingers work from
- Eye-hand coordination, guiding the hand with the eyes
A good set of centers touches all of these over a week.
The 12 centers
1. Tongs and tweezers transfer
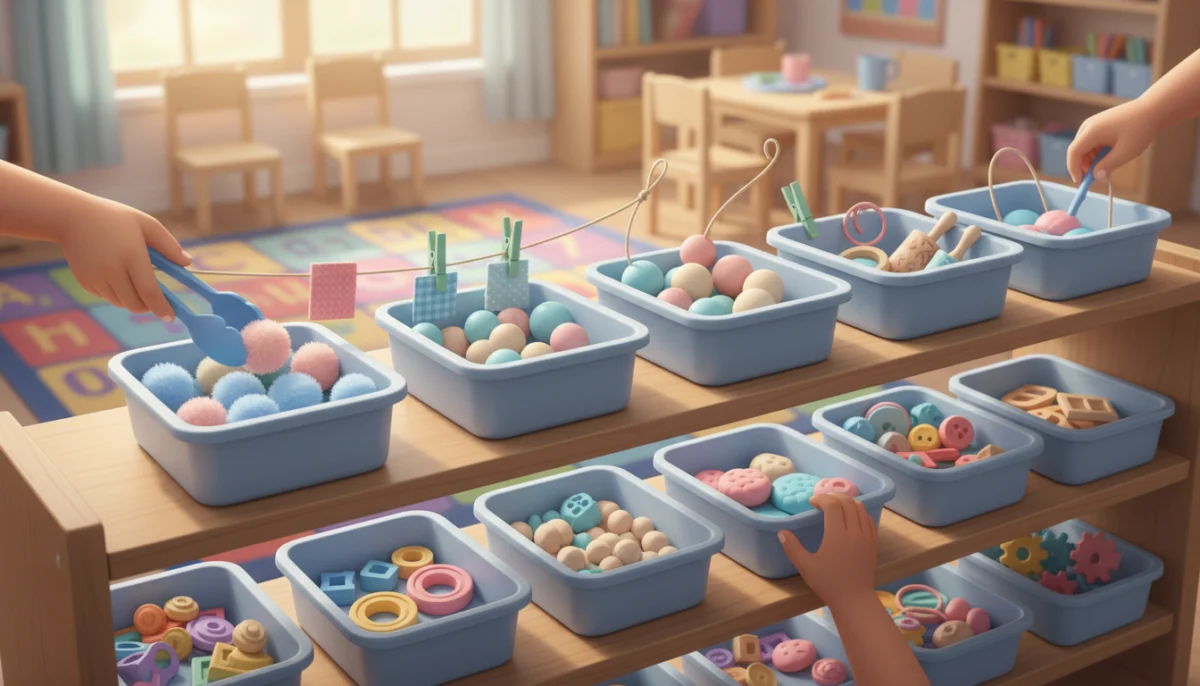
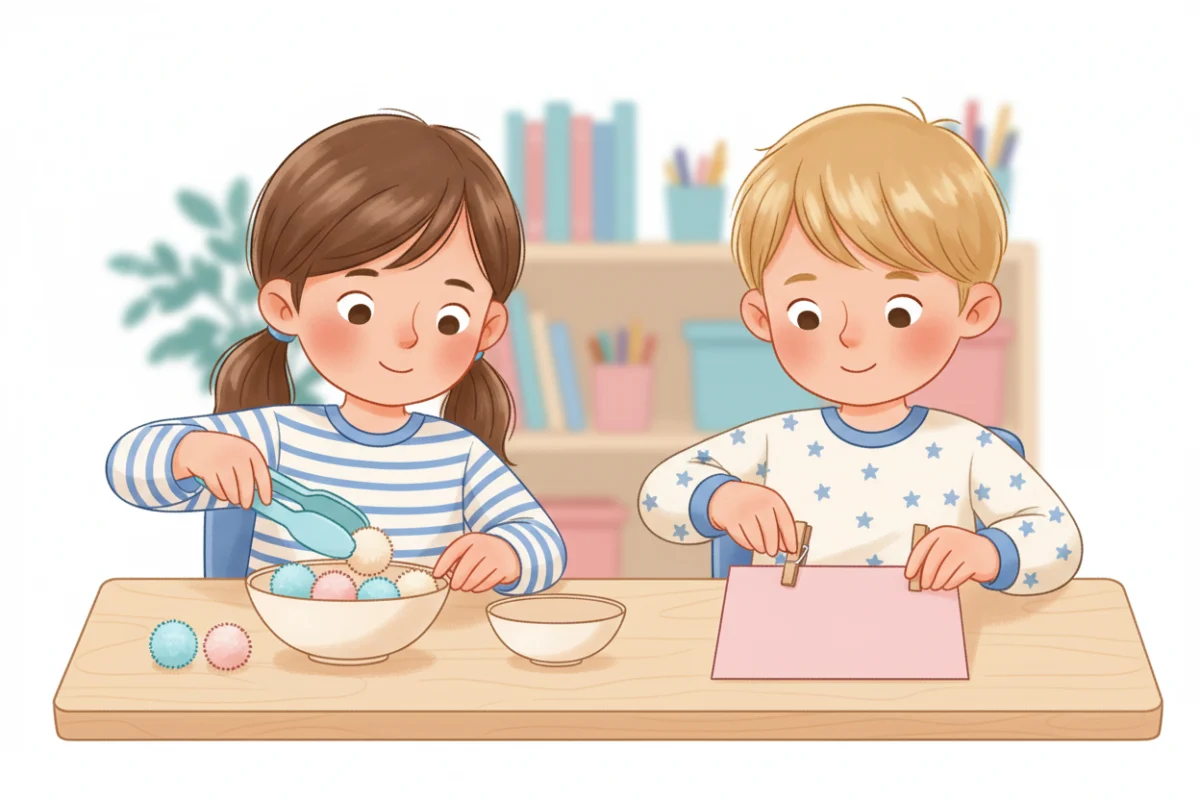
Builds: tripod control and hand strength. Children move pom-poms, cotton balls, or erasers from one container to another with tongs, then tweezers. Ice cube trays and egg cartons make perfect targets. Make it harder with smaller objects, or by sorting by color or counting to match a numeral card.
2. Clothespin clip cards
Builds: pinch strength in exactly the fingers that hold a pencil. Children clip clothespins onto the edge of a card to answer a question: the matching letter, the number of dots, the rhyming picture. It is one of the best ways to combine fine motor work with academic content. Check that children pinch with thumb and fingertips, not the whole hand.
3. Playdough workshop
Builds: overall hand strength and the arches of the hand. Squeezing alone is fine, but specific tasks are better: roll long snakes with flat palms, roll tiny balls between thumb and fingertips, pinch a ridge along a dinosaur’s back, cut snakes with scissors, press in beads and pick them out again. Add mats with shapes or letters to build on top of.
4. Lacing and beading
Builds: bilateral coordination and eye-hand coordination. One hand holds, the other threads. Begin with large beads on pipe cleaners, which stay stiff, then move to laces and smaller beads. Pattern cards add a math connection.
5. Spray bottles and squeezers
Builds: the strength of the whole hand and the skilled side of the hand. Children spray water on a chalkboard to erase it, water plants, or move water between bowls with eye droppers and basters. Ask them to squeeze the trigger with the index and middle fingers only.
6. Hole punch strips
Builds: grip strength. Give children strips of paper with dots to punch out. It is hard work, which is the point. Save the confetti for an art project. For children who find it too hard, use thin paper and a punch with a softer spring.
7. Cutting station
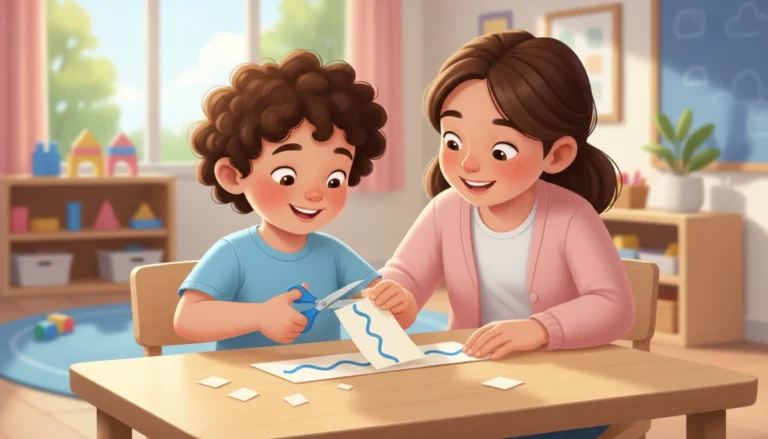
Builds: the separation of the two sides of the hand and bilateral coordination. Progress from snipping the edges of paper strips, to cutting across a strip, to straight lines, then curves, then simple shapes. Teach “thumbs up” for both hands, the one that cuts and the one that holds the paper. Old magazines, straws, and playdough are all good things to cut.
8. Coins and containers
Builds: in-hand manipulation. Children pick up several coins or buttons one at a time, storing them in the palm, then move them back to the fingertips one by one to post through a slot in a lid. It is harder than it sounds, and it is closely related to the small adjustments we make when we shift a pencil in the hand.
9. Vertical surface art
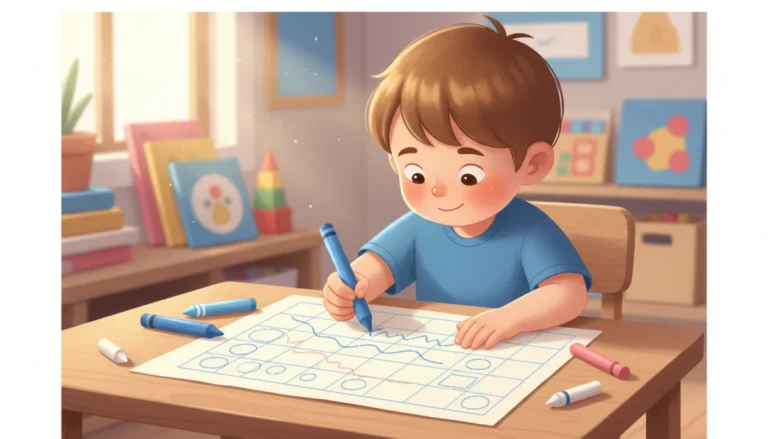
Builds: shoulder and wrist stability. Tape paper to the wall, use an easel, or stick a sheet of contact paper up with the sticky side out for collage. Drawing, stamping, or placing stickers at eye level puts the wrist in the position we want for writing.
10. Sticker lines
Builds: pincer grasp and visual attention to a path. Draw a line, a zigzag, or a letter on paper and have children place small stickers along it. Peeling the sticker is excellent finger work, and following the path is early practice in staying on a line.
11. Sensory writing trays
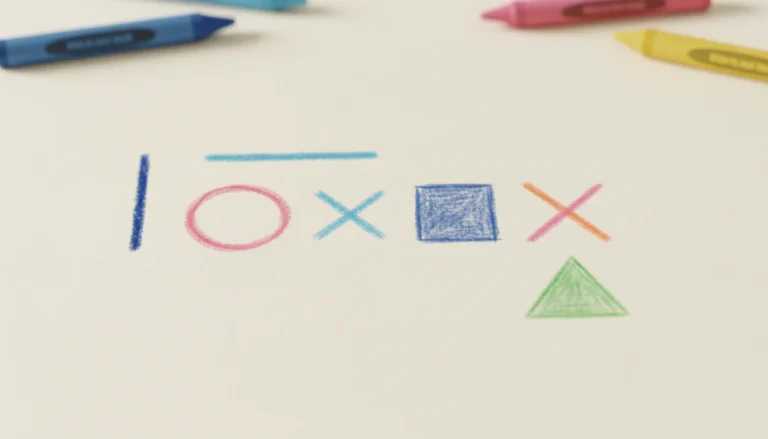
Builds: stroke direction and motor memory. Pour a thin layer of salt, sand, or colored rice into a tray and add cards showing lines, shapes, or letters with a marked starting point. Children draw with a finger, then with a paintbrush or a chopstick, and shake the tray to erase. The order of shapes to offer is in our post on the pre-writing strokes developmental sequence.
12. Short crayons and tiny paper
Builds: mature grasp and finger movement. Offer broken crayons and small pieces of paper, such as sticky notes or index cards. Small paper calls for small movements, which come from the fingers instead of the arm. Drawing tiny pictures for a “mini museum” is always popular.
How to run fine motor centers
Keep them short and daily
Ten to fifteen minutes a day does more than a long block once a week. Many teachers use fine motor tubs as a soft start to the morning, which has the added benefit of a calm arrival routine.
Rotate on a schedule
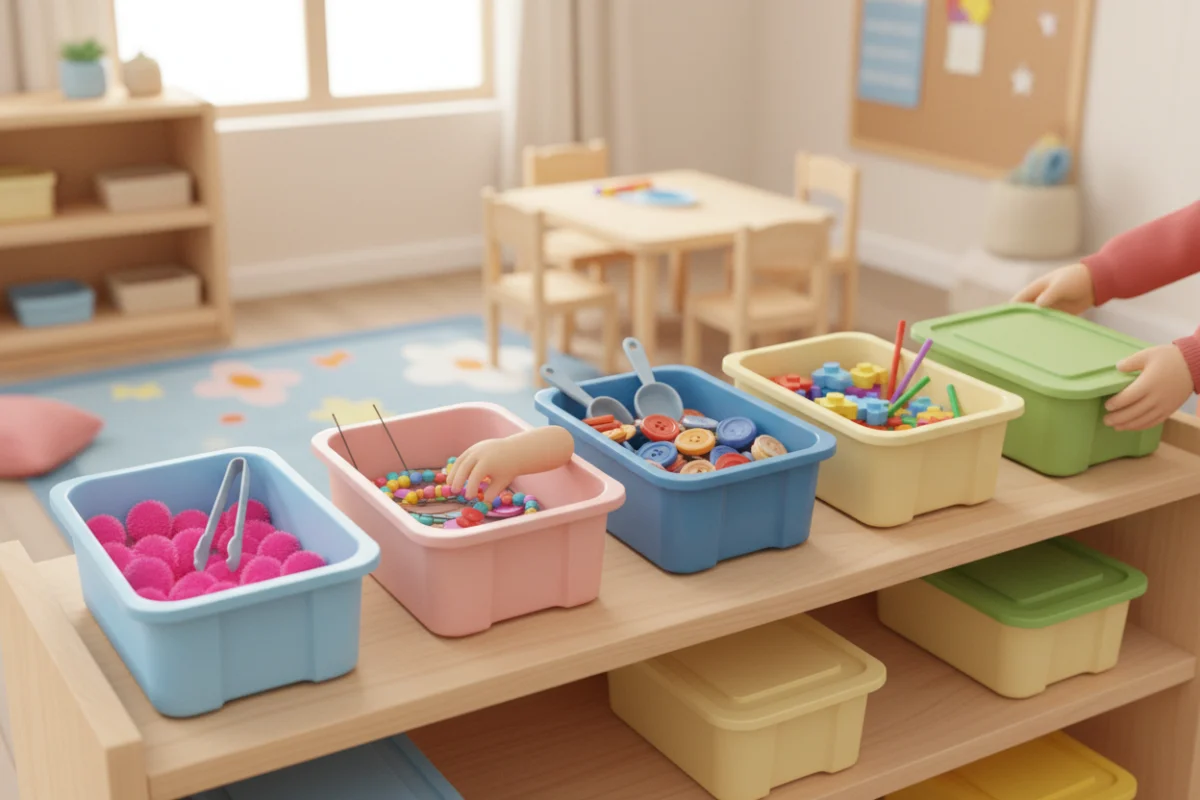
Put out four to six centers at a time and change one or two each week. Keep the structure and swap the theme: the tongs stay, and the pom-poms become acorns in October and snowballs in January. Familiar routines mean you spend less time explaining and children spend more time doing.
Differentiate quietly
The same center can serve very different children. Change the size of the objects, the stiffness of the tool, or the number of steps. A child who needs more support uses large tongs and cotton balls, while a child who needs a challenge uses tweezers and beads and sorts by two attributes.
Watch how, not just whether
The value is in the quality of the movement. A child who grabs beads with the whole hand is practicing a whole-hand grab. Spend a few minutes each day at the fine motor table and coach the position you want: fingertips, thumb opposite the index finger, and a helper hand that holds the container.
Teach the routines
Model each center before it goes out: how to take it, how to use it, and how to tidy it. Use trays to define the workspace. Photographs on the tubs help children put everything back where it belongs.
Connecting centers to writing
Fine motor centers prepare the hand. They do not teach handwriting on their own. Pair them with explicit teaching of strokes and letters, as described in our guide on how to teach letter formation. A helpful routine is to use a fine motor task as a warm-up just before a short handwriting lesson, so the hand is awake when the pencil comes out.
And keep observing. If a child avoids every fine motor center, tires very quickly, or makes little progress over a couple of months, look at our list of pencil grasp red flags and talk with the family about next steps.
A budget shopping list
You can stock all twelve centers for very little: kitchen tongs, clothespins, homemade playdough, pipe cleaners and pony beads, travel-size spray bottles, a single hole punch, child scissors, a jar of buttons, sticker sheets, table salt, and the broken crayons you already have. Families are often happy to donate egg cartons, lids, and containers.
Looking for more center ideas? Cutting deserves its own station: see our scissor skills progression by age, and start each writing block with one of our five-minute handwriting warm-ups.
Crafts count as centers too: our twelve simple paper crafts and fall paper crafts are chosen for the fine motor skill each one builds.
Frequently asked questions
How often should children do fine motor centers?
Every day if possible, for ten to fifteen minutes. Frequency matters more than length.
Are fine motor centers only for pre-K?
No. Kindergarten and first grade students benefit too, especially children who tire quickly when writing. Raise the difficulty and link the tasks to academic content.
Which center helps most with pencil grasp?
Tongs, clothespins, and short crayons work the same three fingers that hold a pencil, so they are a strong place to start.
What if a child refuses fine motor activities?
Avoidance often means the task is hard. Lower the difficulty, connect it to something the child loves, and keep sessions very short. Success is the best motivator. For background on what sits underneath handwriting, see our guide to graphomotor skills.