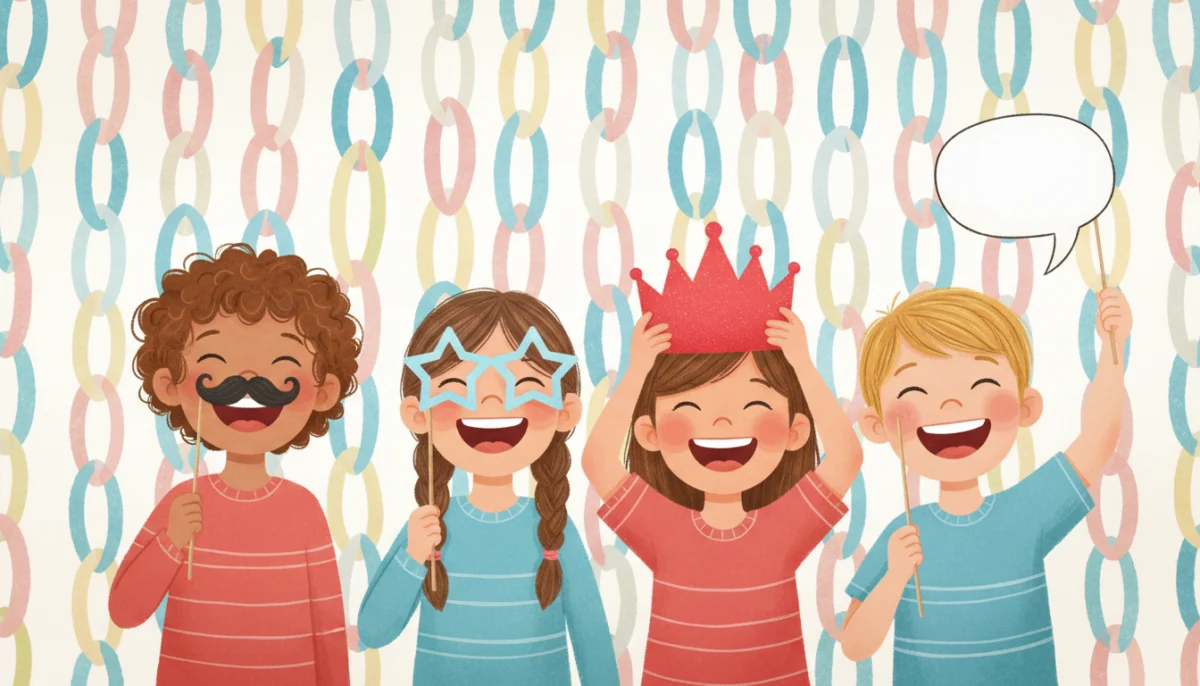
Photo booth props are one of those rare crafts that children want to make, want to use and want to keep. A paper mustache on a stick, a pair of star glasses, a crown, a speech bubble that says “Happy Birthday”: each one takes a few minutes, produces a lot of laughter, and involves real cutting practice along the way.
This guide walks through making props with children of different ages, from three-year-olds who can only snip to seven-year-olds who can cut their own designs, with ideas by occasion and the small tricks that stop props flopping over in the photo.
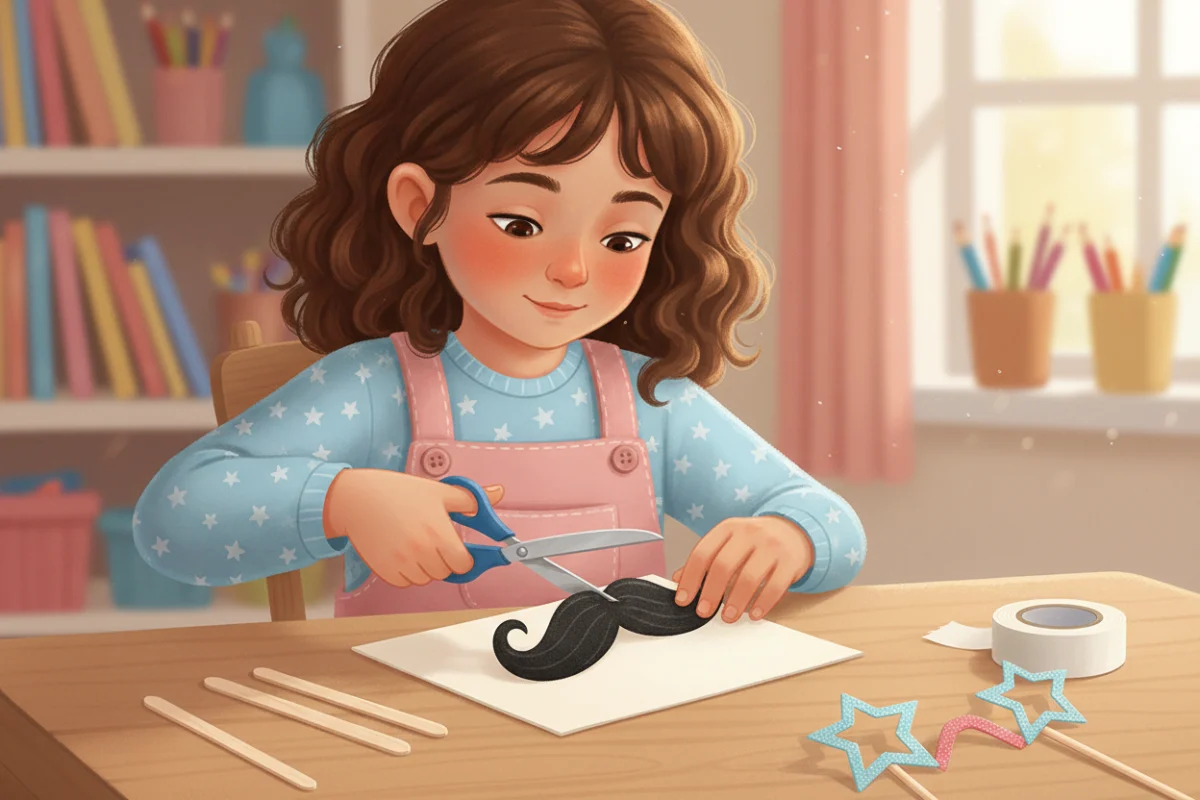
Why props are good fine motor practice
A prop is a shape cut from card, glued to a stick, and decorated. That sequence covers cutting on curves and around corners, holding the card steady with the helper hand, gluing with control, and coloring within a defined area. It is the same skill set as any paper craft, but with a stronger reason to finish, because the prop is going to be in a photo.
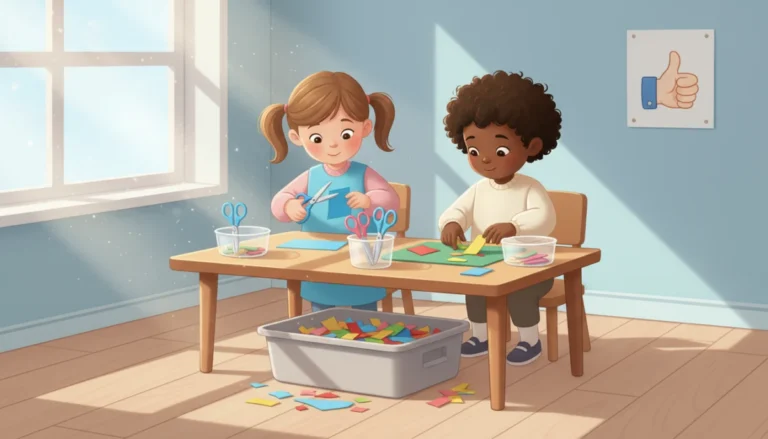
Cutting around a mustache or a pair of glasses is also a genuine challenge for a five- or six-year-old: inside corners, tight curves and thin bridges between shapes. Our guide to scissor skills by age shows why those come last in the progression, and props are a fun way to practice them.
What you need
- Card or thick paper in several colors (cereal boxes work, painted or covered).
- Wooden skewers, craft sticks, straws or thin dowels for handles.
- Tape and a glue stick or white glue.
- Child scissors with blunt tips.
- Markers, crayons, stickers and any sparkle you can tolerate.
- Optional: printed templates, or a thick black marker to draw shapes freehand.
Step by step
- Draw or print the shape on card. Keep it large: a mustache six inches wide, glasses eight inches wide, a crown ten inches wide.
- Your child cuts it out. For younger children, cut the tricky inside parts yourself and let them cut the outline.
- Decorate: color, stripes, dots, stickers, glitter if you dare.
- Tape a stick to the back, running at least halfway up the prop so it does not flop. For glasses, tape the stick to one side so the child holds it at the edge.
- Let it dry, then test in front of a mirror.
Props by age
Ages 3 to 4
Big, simple shapes with no inside cuts: a round nose, a heart, a star, a simple crown with three points, a speech bubble. Pre-cut the shapes and let your child decorate and snip the edges. Fringed edges (snip, snip, snip around a crown) are perfect at this age.
Ages 4 to 5
Outline shapes with gentle curves: a mustache, a bow tie, a top hat, a pair of lips, a cat ear headband. Your child cuts the outline; you cut any inside holes.
Ages 5 to 7
The full prop: glasses with lenses cut out, a mask with eye holes, a crown with a fringed band, a mustache with curled ends. Children design their own props from a blank shape. Let them write on speech bubbles; it is name-writing practice in disguise.
Ideas by occasion
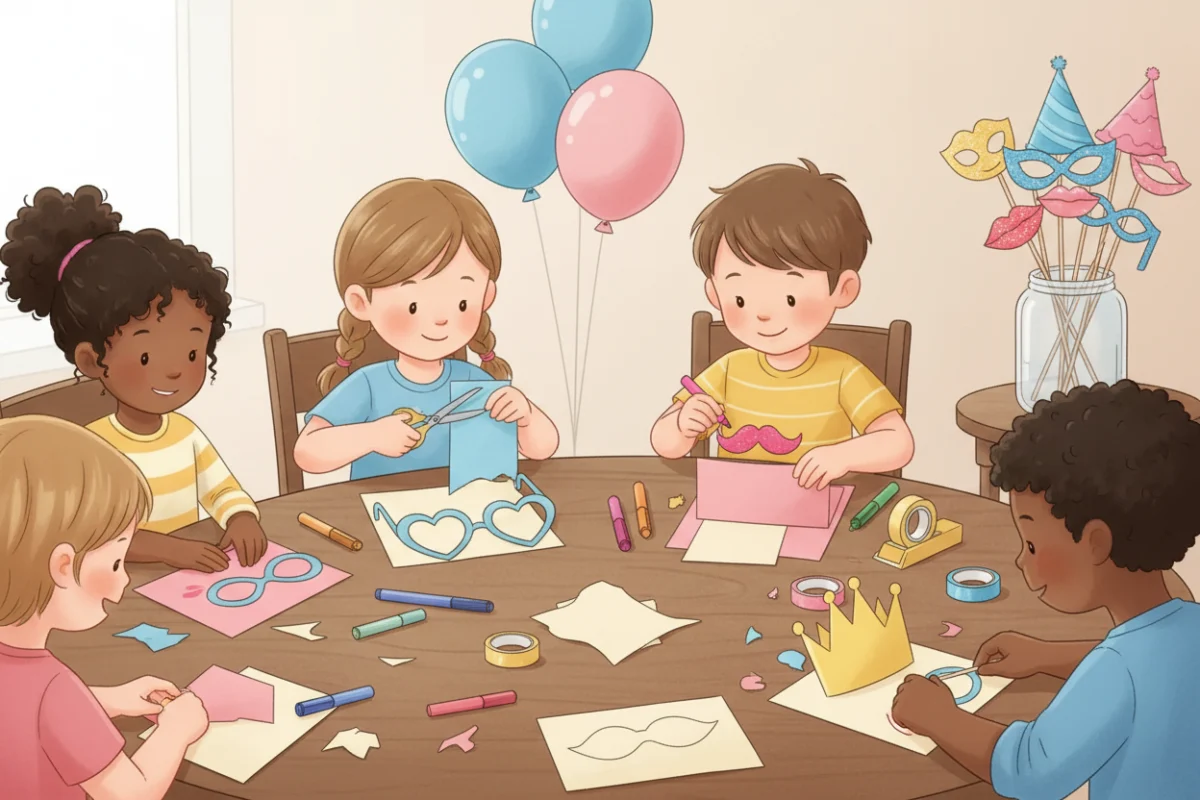
- Birthday: a numeral for the age, a party hat, a “Birthday Girl” or “Birthday Boy” speech bubble, a cake on a stick.
- Halloween: bat wings, a witch hat, cat ears, a pumpkin face, a spider.
- Winter holidays: a snowman nose, reindeer antlers, a snowflake, a mitten, a candy cane.
- Valentine’s Day: lips, hearts, a bow and arrow, “Be Mine” bubbles.
- Summer: sunglasses, a sun, an ice cream cone, a fish, a pineapple.
- Back to school: an apple, a pencil, glasses, a book, “First Day” bubbles.
- Any day: mustaches in five styles, a crown, a tiara, a top hat, a bow tie, a monocle.
Make a set of ten or so for a party and store them upright in a jar.
Turning prop-making into a party activity
Instead of making the props before the party, make them at it. Set up a “prop station” with pre-drawn shapes on card, scissors, markers and sticks, and let each guest make one or two before the photos start. It occupies the first twenty minutes while children arrive, gives every child something to take home, and produces a set of props nobody could have bought. For groups of mixed ages, keep a tray of pre-cut shapes for the youngest and blank card for the oldest, who often want to invent their own.
A prop station also works in a classroom for the end-of-year party or the last day before a break. Eight children at a time, one adult, and a display wall of the photos the next morning.
Props as a fine motor check
Watch how your child cuts a mustache. A child around five who turns the paper with the helper hand, keeps the thumb up and follows the curve fairly closely is on track. A child who lets the paper hang, turns the scissors instead of the paper or gives up at the first curve is telling you something about hand skills. None of it is a problem, but it is worth a look at our fine motor skills checklist by age to see what else to watch for and how to help.
Setting up the booth
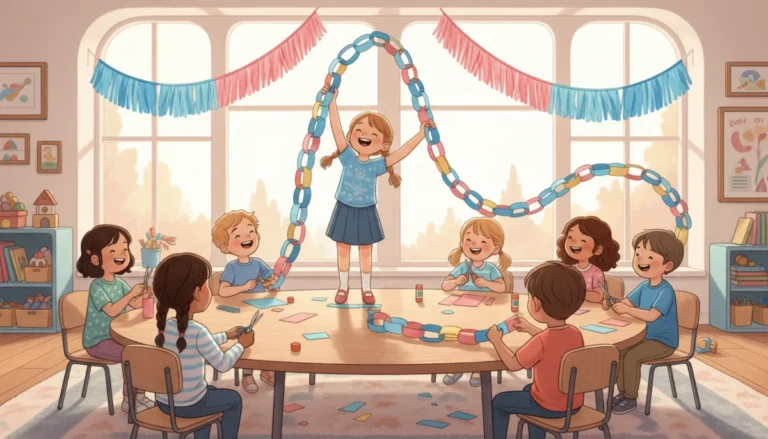
A booth is just a background and a place to stand. Hang a sheet, a paper tablecloth or a string of paper chains (see our guide to paper chains and garlands) on a wall, put the props in a basket, and let the children take turns. A phone on a stack of books with the timer on works as well as any camera. Print a few of the photos afterward; children love seeing themselves with a mustache on the fridge.
Making props last
Card props bend after a party. To make a set that survives, glue the decorated shape to a second layer of card, or cover it with clear packing tape front and back. Tape the stick between the two layers. Store flat in a box with tissue between them.
Troubleshooting
Props that flop: the stick is too short or taped too low. Run it at least halfway up. Glasses that cover the eyes: the lens holes are too small, or the child holds them too close. Cut bigger holes or make the frames without lenses. Children who cannot cut the inside shapes: cut those yourself and give them the outline, or choose props without holes. Sticks that poke: use craft sticks or straws for young children instead of skewers.
Frequently asked questions
What can I use for photo booth prop sticks?
Craft sticks, straws, wooden skewers (cut the sharp end off) or thin dowels. Craft sticks are safest for young children.
How do I make photo booth props sturdy?
Use card rather than paper, glue two layers together with the stick between them, and cover with clear tape if you want them to survive more than one party.
Can toddlers make photo booth props?
Yes, with pre-cut shapes to decorate and snip. Fringing the edge of a crown is ideal for two- and three-year-olds.
Do I need templates?
No. Draw big shapes freehand with a thick marker. Children do not mind a wonky mustache, and cutting a hand-drawn shape is the same practice as cutting a printed one.