A child’s name is the first word they care about. It is on their cubby, their birthday cake and the top of every drawing. Writing it is a milestone that parents and kindergarten teachers both look for, and it is often the first real handwriting a child does.
It is also easy to get wrong. Pushed too early, name writing becomes a source of frustration and a set of bad habits. Done at the right time, in the right order, it takes a few weeks and feels like a triumph. This guide walks you through it.
When to start
Most children are ready to start writing their name somewhere between ages three and a half and five. Age matters less than readiness. Look for these signs:
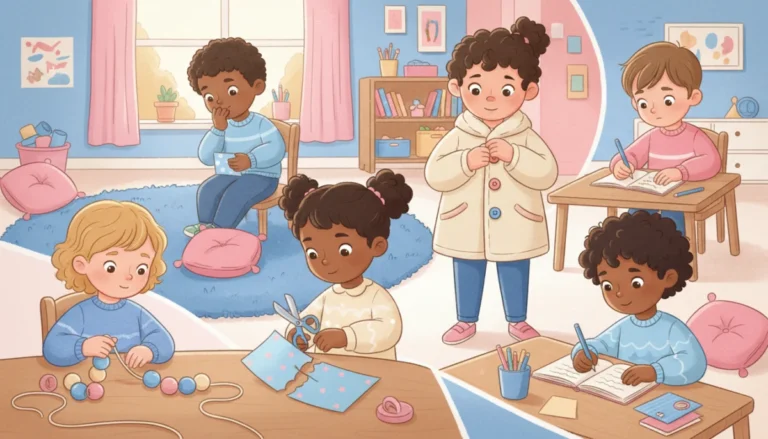
- Your child can draw a circle, a vertical line, a horizontal line and a cross on request.
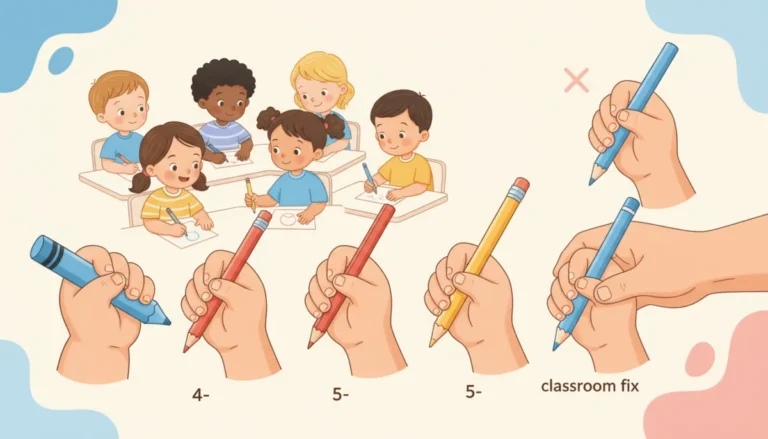
- They hold a crayon with their fingers rather than a fist, even if the grasp is not perfect.
- They recognize their name in print and can point to it among a few other names.
- They show interest: asking how to write it, or trying on their own.
If those are not in place, work on them first. Our guide to handwriting readiness signs covers what to look for, and our list of fine motor activities at home builds the hand.
Uppercase or lowercase?
Write the name the way it appears in print: a capital first letter, then lowercase. It is tempting to teach all capitals because they are easier to form, but a child who learns EMMA will keep writing EMMA well into first grade, and the teacher will have to undo it.
The compromise: the capital first letter is taught first and formally. The lowercase letters follow, one at a time, in the order they appear in the name. If a lowercase letter is very hard (a g or a k for a young child), it is fine to accept an imperfect version for now.
Step by step
Step 1: Know the name
Before writing, make sure your child can recognize their name and name its letters. Put it on the fridge, the bedroom door and their cup. Point out the letters. Say “E, m, m, a spells Emma” often. Play matching games with magnetic letters.
Step 2: Build the letters without a pencil
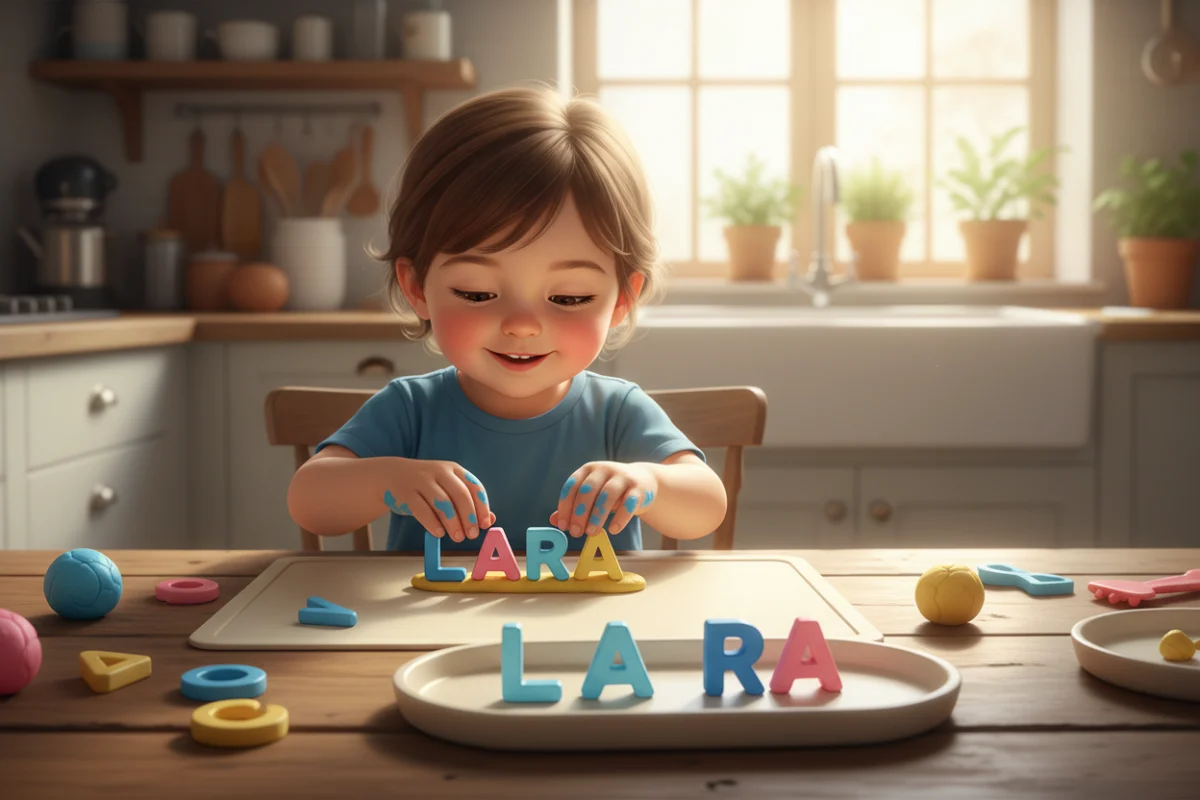
Make each letter of the name with play dough, sticks, pipe cleaners or magnetic pieces. Have your child copy your model. This teaches the shape without demanding fine control yet.
Step 3: Write the letters big
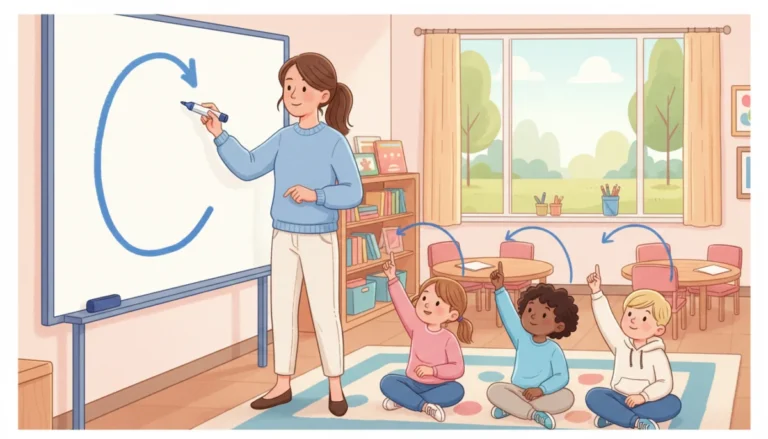
Form each letter large on a whiteboard, a steamy window, a tray of salt or a piece of paper taped to the wall. Say a simple cue for every letter and use the same words every time: “big line down, then around” for a capital D, for example. If your child’s future teacher uses particular cues, ask for them. Our guide to letter formation has a full set.
Start every letter at the top. This is the single most important habit, because letters started at the bottom become a permanent problem.
Step 4: Write one letter at a time on paper
Take the first letter only. Show it, say the cue, have your child trace it once with a finger, then write it once or twice with a chunky crayon or short pencil. Stop. The next day, do the same letter again, then add the second. Build up over a couple of weeks.
Step 5: Put the name together
When your child can write each letter, write the whole name as a model and have them copy it underneath. Then write it on a card they can look at, then from memory. Celebrate. Then keep practicing lightly for months, because early name writing fades if it is not used.
Making practice playful
Worksheets are not necessary. Try these instead:
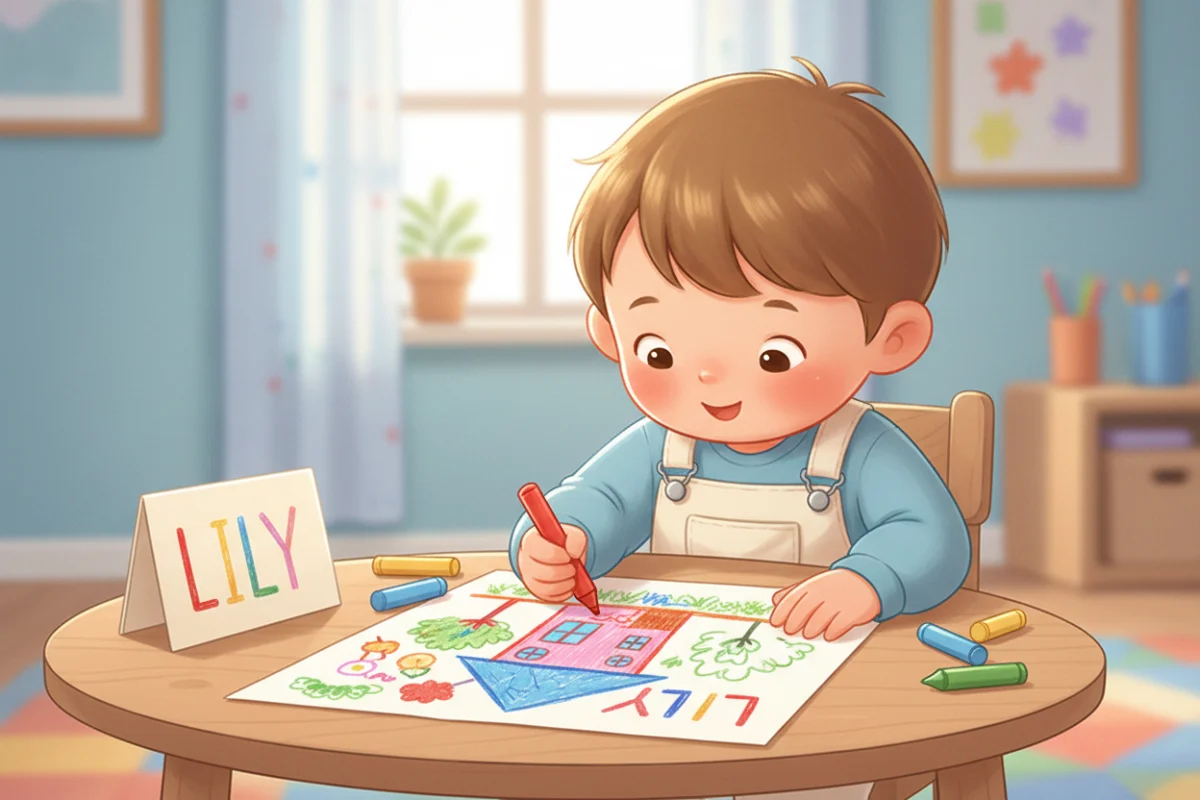
- Sign their artwork. Every drawing gets a name at the bottom, and it is their job.
- Write in unusual materials: shaving cream, finger paint, sand, chalk on the driveway.
- Rainbow name: write the name large, then go over it in several colors.
- Highlighter trick: write the name in yellow highlighter and have your child write on top.
- Name in the world: find each letter on signs, cereal boxes, and books.
- Cards and labels: birthday cards, name tags for toys, a label for their door.
Keep each session to a few minutes. Frequent and short beats long and occasional.
A sample two-week plan
Here is how the steps might look for a child named Leo, aged four, who can already draw basic shapes.
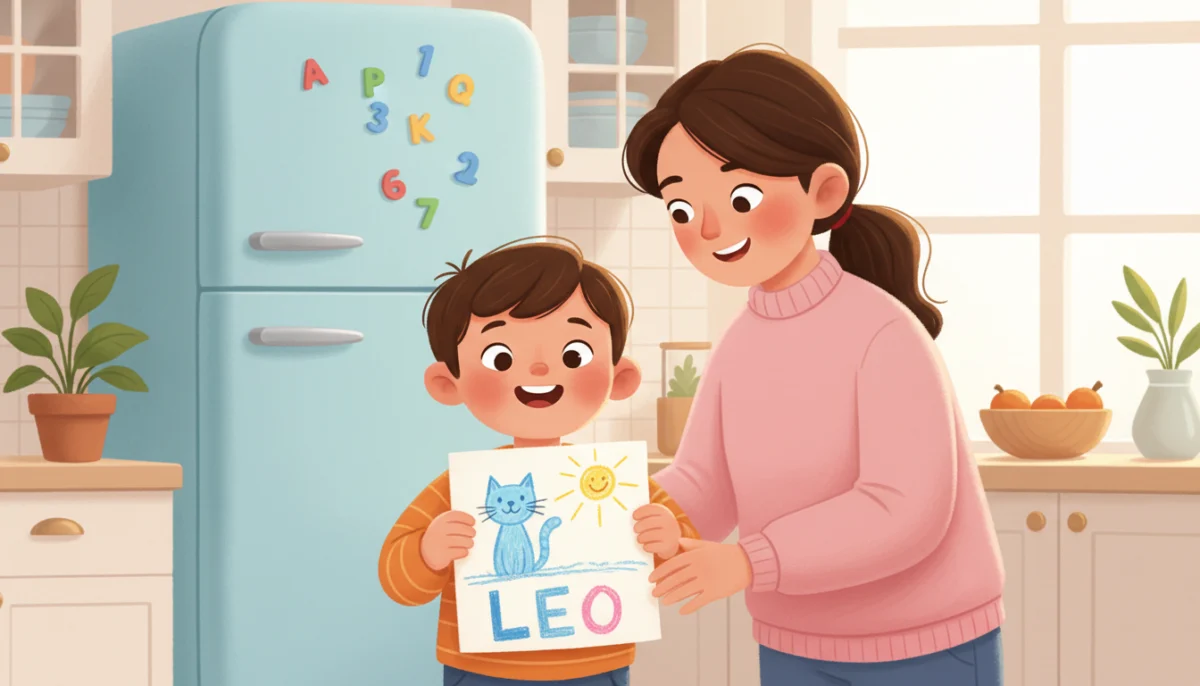
Days one to three: play with the name. Magnetic letters on the fridge, spotting L, e and o in books, building the letters from sticks and play dough. No pencil yet. Days four to six: capital L, big on the whiteboard with the cue “big line down, little line across,” then once or twice on paper with a chunky crayon. Days seven to nine: lowercase e, which is the trickiest of the three. Build it, then write it large, then small. Keep the L going with one quick write each day. Days ten to twelve: lowercase o, which is easy, and the first attempt at the whole name copied under a model. Days thirteen and fourteen: the name from a card, then from memory, then signed on a drawing for the fridge.
For a longer name, stretch the plan and add the letters two or three at a time. The order stays the same: know it, build it, write it big, write it small, put it together.
Common mistakes
- Starting too early. A three-year-old who cannot draw a cross is not ready for a k.
- Starting letters at the bottom. Watch every letter and gently reset: “Start at the top.”
- Teaching all capitals. It is easier now and harder later.
- Correcting every stroke. One reminder per session is enough. Praise the attempt.
- Long names, all at once. A child named Alexander needs weeks, not days. Break the name into chunks.
- Comparing with other children. A name with one hard letter can take much longer than a short easy one.
When it goes wrong
If your child refuses, melts down or seems unable to make progress after a few weeks, stop and go back a step. Build the letters with materials. Play with the name instead of writing it. Work on the hand. Check the grasp with our guide to helping your child hold a pencil. Then try again in a month.
If your child is five and a half or older, has had plenty of practice and still cannot write a recognizable version of their name, mention it to their teacher or pediatrician. It may simply need more time, but it can also be an early sign of fine motor difficulties that are easy to address early.
Two occasions that turn name writing into a real task: Valentine’s cards and Thanksgiving place cards.
Frequently asked questions
At what age should a child write their name?
Most children write a recognizable version of their name between four and five, with a capital first letter and lowercase letters. Some do it at three and a half; some need until kindergarten.
Should my child write their name in capitals?
No. Teach the name as it appears in print: a capital first letter, then lowercase. All-capital names become a hard habit to break in first grade.
How long does it take to learn to write a name?
For a short name and a ready child, two to four weeks of short daily practice. Longer names or younger children can take a couple of months.
What if my child has a very long name?
Break it into chunks of two or three letters and teach the chunks one at a time. Accept a nickname version in the meantime if the child prefers it.