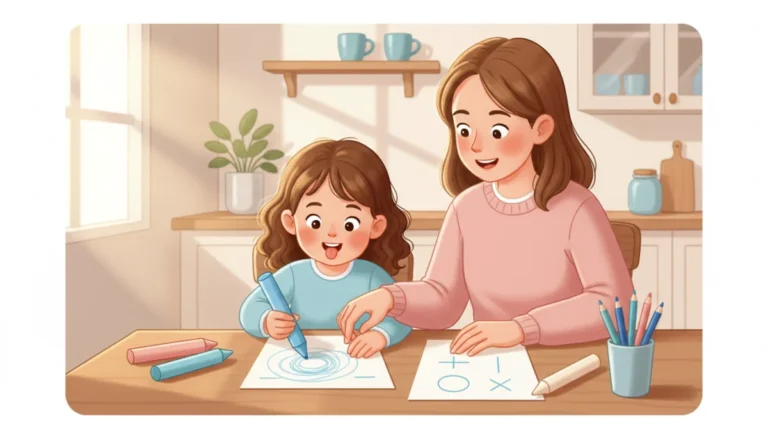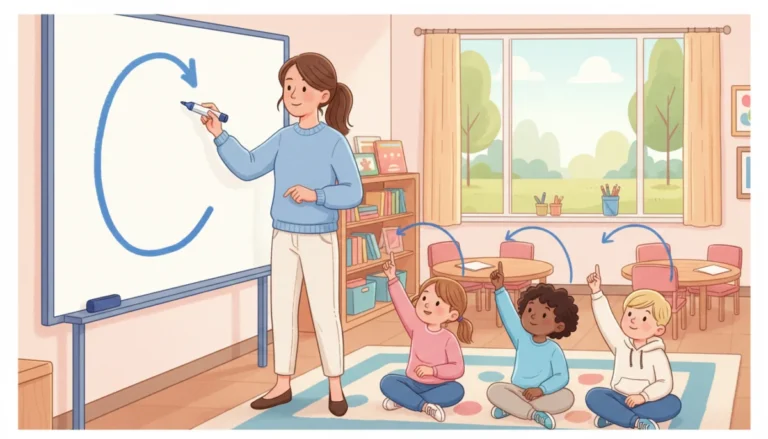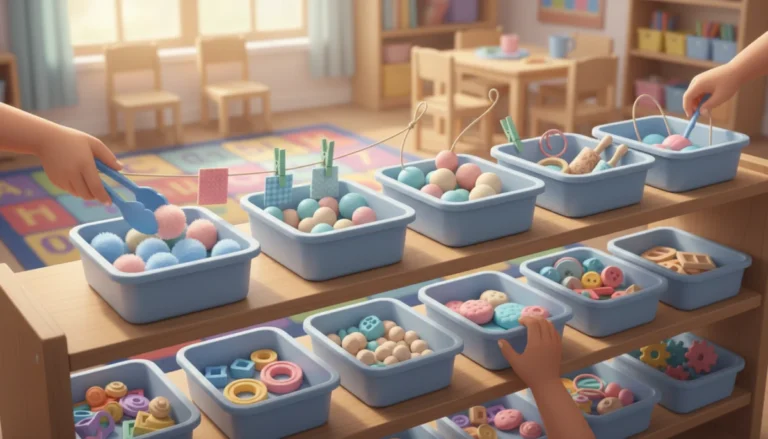
Before a child can write the letter A, she has to be able to draw two diagonal lines that meet at a point and one horizontal line that crosses them. Before she can write a lowercase b, she needs a vertical line and a circle, joined in the right place. Every letter of the alphabet is built from a small set of lines and shapes. Those lines and shapes are called pre-writing strokes, and children learn them in a surprisingly predictable order.
Knowing that order is one of the most practical pieces of knowledge a pre-K or kindergarten teacher can have. It tells you what to teach next, explains why some letters are so hard, and gives you a quick, informal way to see who is ready for letter formation and who needs more time with shapes.
What are pre-writing strokes?
Pre-writing strokes are the basic lines and shapes that make up letters and numbers. Most lists include nine: a vertical line, a horizontal line, a circle, a cross, a square, a right diagonal, a left diagonal, an X, and a triangle.
Children usually go through two steps with each one. First they imitate it: they watch you draw the line and then draw it themselves. Later they copy it: they look at a finished shape and reproduce it without seeing how it was made. Copying is harder, because the child has to work out the movement plan on their own. That is exactly what we ask them to do with letters, so it is the step that matters most for handwriting.
The sequence, with approximate ages
Children develop at different rates. The ages below are typical ranges that many developmental checklists use, and a few months either way is perfectly normal.
1. Vertical line (around age 2)
The first controlled stroke. A top-to-bottom pull toward the body is the easiest movement for a small arm to make.
2. Horizontal line (around 2 and a half)
Moving across the body is a little harder. Watch for children who turn the paper so that they can draw a vertical line instead.
3. Circle (around age 3)
Early circles are wobbly, may not close, and go in either direction. By kindergarten, encourage a circle that starts at the top and travels counterclockwise, because that is the movement behind a, c, d, g, o, and q.
4. Cross (around 3 and a half to 4)
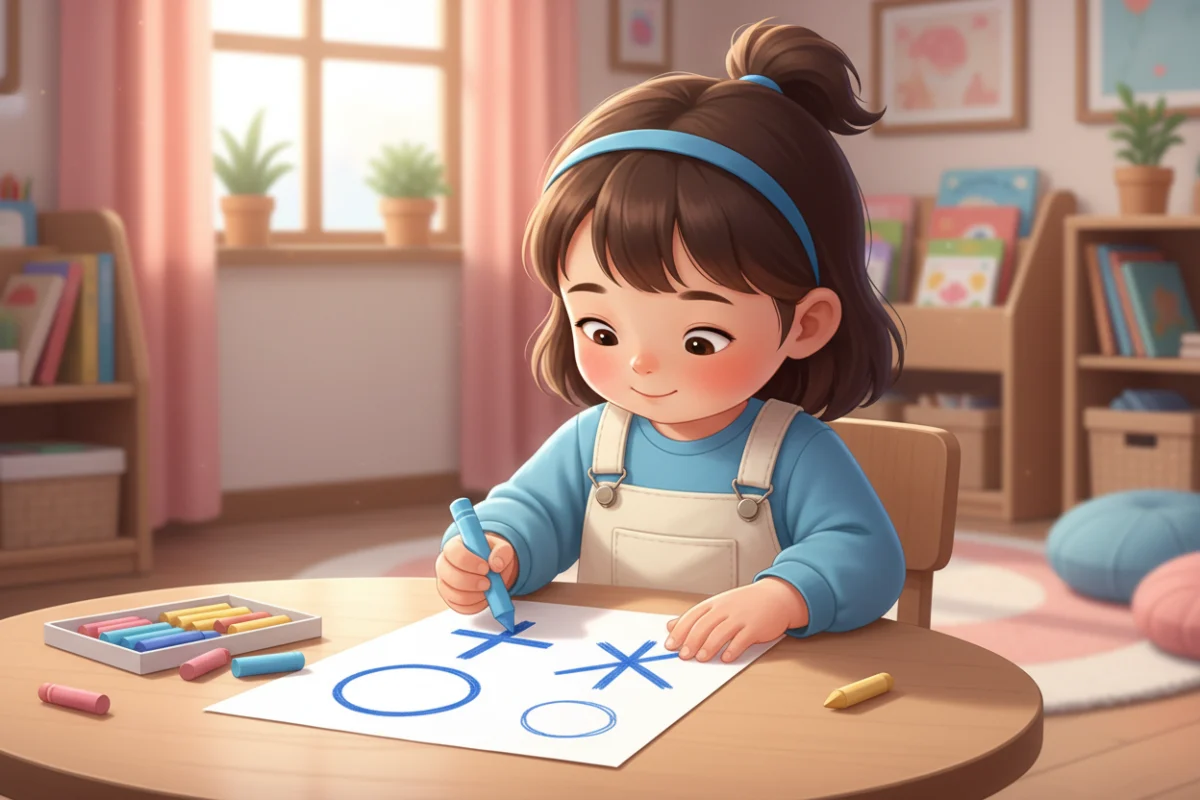
The cross is the first shape that asks a child to make one line, lift the pencil, and place a second line across it. It requires crossing the visual midline, which is a real milestone.
5. Square (around 4 to 4 and a half)
Four lines and four corners. A corner means stopping and changing direction with control. Early squares often have rounded corners or look like circles with ambition.
6. Diagonal lines (around 4 and a half)
Diagonals are difficult. The hand has to move down and across at the same time, and the eyes have to guide it. This is why letters such as A, K, M, N, V, W, X, Y, and Z are among the last capitals to look right.
7. X (around age 5)
Two diagonals that cross in the middle. Children who are not ready will often draw a cross instead.
8. Triangle (around 5 to 5 and a half)
Two diagonals and a horizontal, meeting at three sharp points. When a child can copy a triangle, they have every stroke they need for the alphabet.
Why the sequence matters for letter formation
Here is the practical takeaway: a child who cannot yet copy a shape will struggle with the letters built from it. Asking a four-year-old who cannot draw a diagonal to write a K is not a handwriting lesson. It is a frustration lesson.
This is also why many programs begin with capital letters made of straight lines, such as L, T, H, E, F, and I, before moving to curves and diagonals. The teaching order follows the developmental order. Our guide on how to teach letter formation looks at this in more detail.
A simple classroom check
You can get a useful snapshot of your class in about five minutes per child, with a pencil and a sheet of paper folded into boxes.
- Draw each of the nine strokes in the top row of boxes, one per box, before the child arrives.
- Ask the child to copy each shape in the box below. Do not demonstrate.
- If the child cannot copy a shape, draw it while they watch and ask them to try again. Note whether they can imitate it.
- Record the last shape copied successfully, the hand used, and anything you notice about grasp or posture.
This is an informal observation, not a test, and it should never be used to label a child. Its only purpose is to help you decide what to practice next. Repeat it two or three times a year and you will have a clear picture of growth.
Activities for each group of strokes
Vertical and horizontal lines
- Rain and grass. Draw clouds at the top of the page and let children add rain falling down. Draw a ground line and let them add grass growing up, then talk about why “down” feels easier.
- Roads. Tape long strips of paper to the floor and let children drive toy cars dipped in paint from left to right.
- Ladder building. Provide two long vertical rails and ask children to add the rungs.
Circles
- Bubble pages. Children draw bubbles around stickers or stamps, starting at the top.
- Stir the soup. Large counterclockwise circles on an easel with a fat brush, first in the air, then on paper.
- Dot marker rings. Trace around cups and lids, then try without the cup.
Crosses and squares
- Windows and presents. Draw a square and turn it into a window with a cross, or into a gift with a ribbon.
- Craft stick shapes. Build the shape with sticks first, then draw it. Building helps children see the separate lines.
- Stop at the corner. Put a sticker at each corner of a square. The pencil has to “park” at every sticker before it turns.
Diagonals, X, and triangles
- Slides and mountains. Draw a ladder and let children add the slide. Draw zigzag mountains across a long strip of paper.
- Dot to dot. Place two dots, one high and one low, and ask children to connect them. Start with short distances.
- Treasure maps. X marks the spot. Children love this one and will practice far longer than you expect.
- Pizza slices and party hats. Triangles with a purpose.
From hands-on to paper
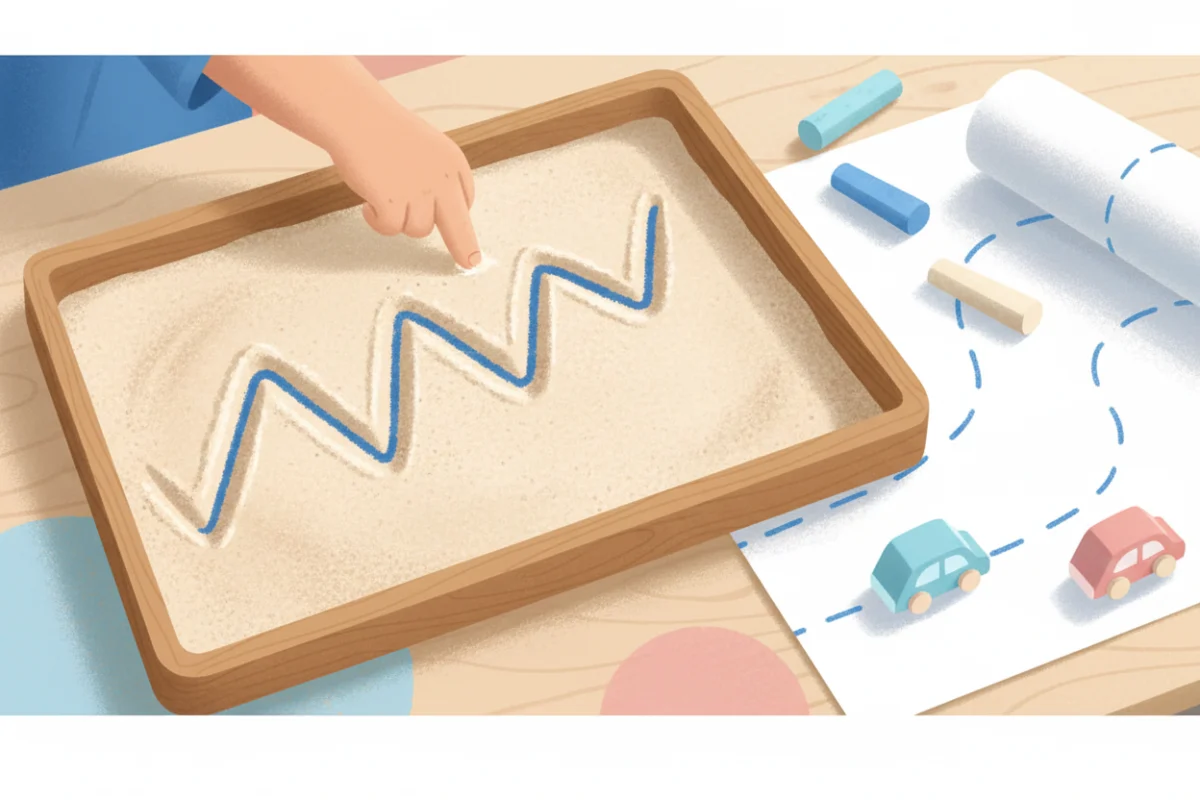
For every stroke, move through the same steps. Start with whole-arm movement in the air or on the floor. Move to a vertical surface such as an easel, whiteboard, or paper taped to the wall. Then go to a tray of sand, salt, or shaving cream. Only after that, use crayon on paper, first large and then small.
Worksheets belong at the end of this path. A good pre-writing page has a clear starting point, enough space for a young hand, and lines thick enough to follow. Watch the first few strokes on every page to make sure children are starting at the top and moving in the right direction, because a page traced in the wrong direction teaches the wrong habit.
Alongside the strokes, keep building the hand itself. The ideas in our post on fine motor centers for handwriting fit easily into a morning rotation.
Common mistakes to avoid
- Starting letters too early. If most of your group cannot copy a cross and a square, spend more time on shapes. You will get that time back later.
- Letting direction slide. Top to bottom and left to right should become automatic now, because they are much harder to fix in first grade.
- Only tracing. Tracing is a support, and it should fade. Make sure children also draw shapes independently.
- Comparing children. A span of a year or more between classmates is normal at this age.
Frequently asked questions
What are the 9 pre-writing strokes?
A vertical line, a horizontal line, a circle, a cross, a square, a right diagonal line, a left diagonal line, an X, and a triangle.
Should a child master all the strokes before learning any letters?
Not necessarily all of them. A child who can copy vertical and horizontal lines, a circle, and a cross can begin letters made of those strokes while continuing to work on diagonals.
My student can write her name but cannot draw a triangle. Is that a problem?
It is common. Many children memorize their name as a picture before they have all the strokes. Keep working on diagonals through play, and her letters will become more accurate.
What if a five-year-old cannot copy a circle or a cross?
Offer plenty of large-scale, playful practice and observe for a few weeks. If there is little change, share your observations with the family and follow your school’s process for involving a specialist such as an occupational therapist. For the wider picture, see our overview of graphomotor skills.