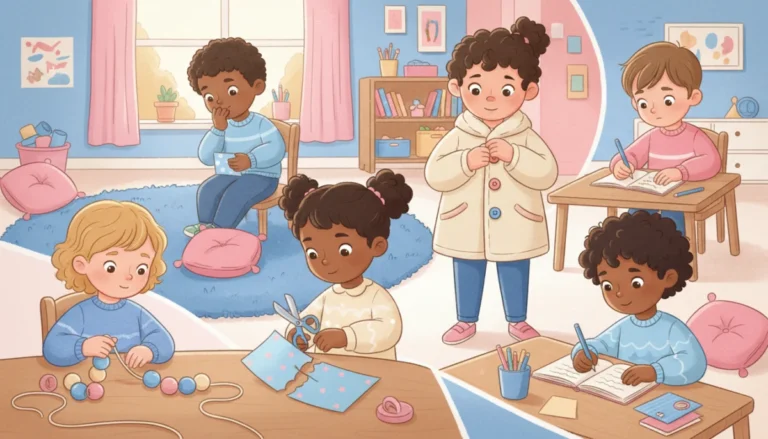
Children do not learn to form letters by looking at them. A finished letter on an alphabet strip shows what the result should be, but it says nothing about where to start, which way to go, or when to lift the pencil. Left to work it out alone, children invent their own routes: letters built from the bottom up, circles drawn clockwise, an “m” made of three separate sticks. Those routes work well enough in kindergarten and then become a real obstacle in second grade, when writing needs to be fast.
Letter formation has to be taught directly. The good news is that it does not take long. Ten focused minutes a day, with a clear order and consistent language, is enough. This guide covers the order, the cues, the lesson routine, and the mistakes worth catching early.
First, check readiness
Formal letter instruction works best when a child can already do the following.
- Copy a vertical line, a horizontal line, a circle, and a cross
- Hold a crayon or pencil with the fingers instead of a fist
- Sit at a table and attend to a short task
- Show a clear hand preference, most of the time
- Recognize at least some letters
Children who are not there yet benefit more from shape and stroke work. Our post on the pre-writing strokes developmental sequence explains what to practice and in what order.
Do not teach from A to Z
Alphabetical order is convenient for singing and useless for handwriting. It puts a hard diagonal letter first and scatters similar movements across the alphabet. Instead, group letters by the way they are formed, so that each new letter reuses a movement the child already knows.
Capitals or lowercase first?
Programs differ, and both approaches can work. Capitals are easier to form: they are all the same height, they all start at the top, and they are harder to reverse. For that reason, many pre-K classrooms begin with capitals. Lowercase letters, on the other hand, make up the great majority of what children read and write, so kindergarten programs often move to them quickly or begin there. If your school has adopted a handwriting program, follow its order and its letter style so that children get the same message every year.
A workable order for capitals
- Straight lines: L, T, I, H, F, E
- Curves: C, O, Q, G, S, U, J
- Lines and curves: D, P, B, R
- Diagonals: A, K, M, N, V, W, X, Y, Z
A workable order for lowercase
- Magic c letters, which all begin like a c: c, a, d, g, o, q
- Tall and short line letters: l, t, i, j, u
- Bump letters, which go down, back up, and over: r, n, m, h, b, p
- Diagonal letters: v, w, x, y, k, z
- The rest: e, f, s
Grouping has a useful side effect. Teaching d as a “magic c” letter and b as a “bump” letter gives them different starting movements, which is one of the most effective ways to reduce b and d confusion.
Verbal cues that stick
A verbal cue is a short script for the movement, said out loud by the teacher and then by the child. It works because it ties the motor plan to language, and language is easier to remember.
Good cues share three features. They are short, only a few words. They are consistent, using the same words every time and in every classroom if possible. And they name the start and the direction.
A few examples:
- l: “Start at the top. Straight line down.”
- c: “Start like a c. Curve back and around.”
- a: “Magic c, up to the top, straight down.”
- d: “Magic c, up tall, straight down.”
- n: “Short line down, back up, over the hump.”
- b: “Tall line down, back up, around the bump.”
Agree on the names for your writing lines, too. Many classrooms use sky line, plane line, grass line, and worm line, or simply top, middle, and bottom. What you call them matters less than calling them the same thing every day.
A ten-minute lesson routine
1. Warm up (1 minute)
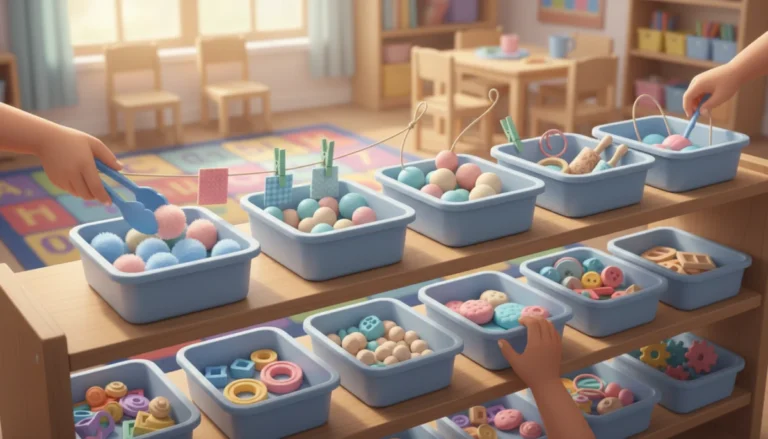
Finger stretches, fist squeezes, or a quick fine motor task. Ideas are in our post on fine motor centers for handwriting.
2. Model (2 minutes)
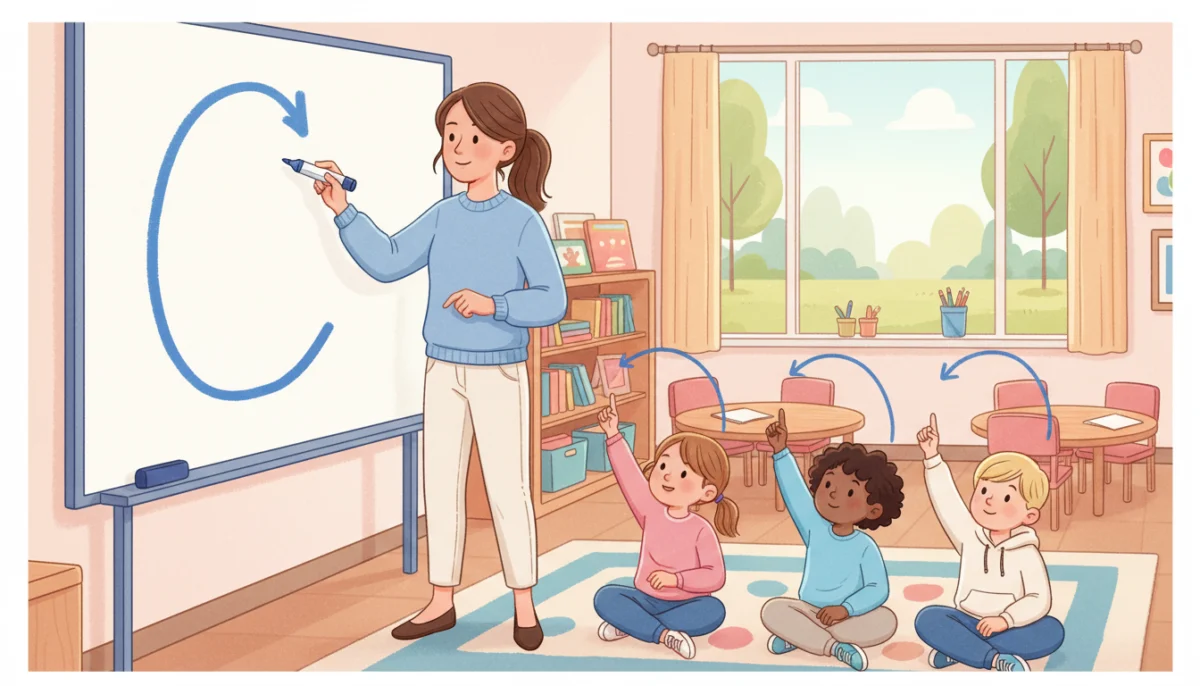
Write the letter large on the board while saying the cue. Do it three times. Then make a deliberate mistake and let children catch it. They love this, and it sharpens their eye.
3. Air and table writing (2 minutes)
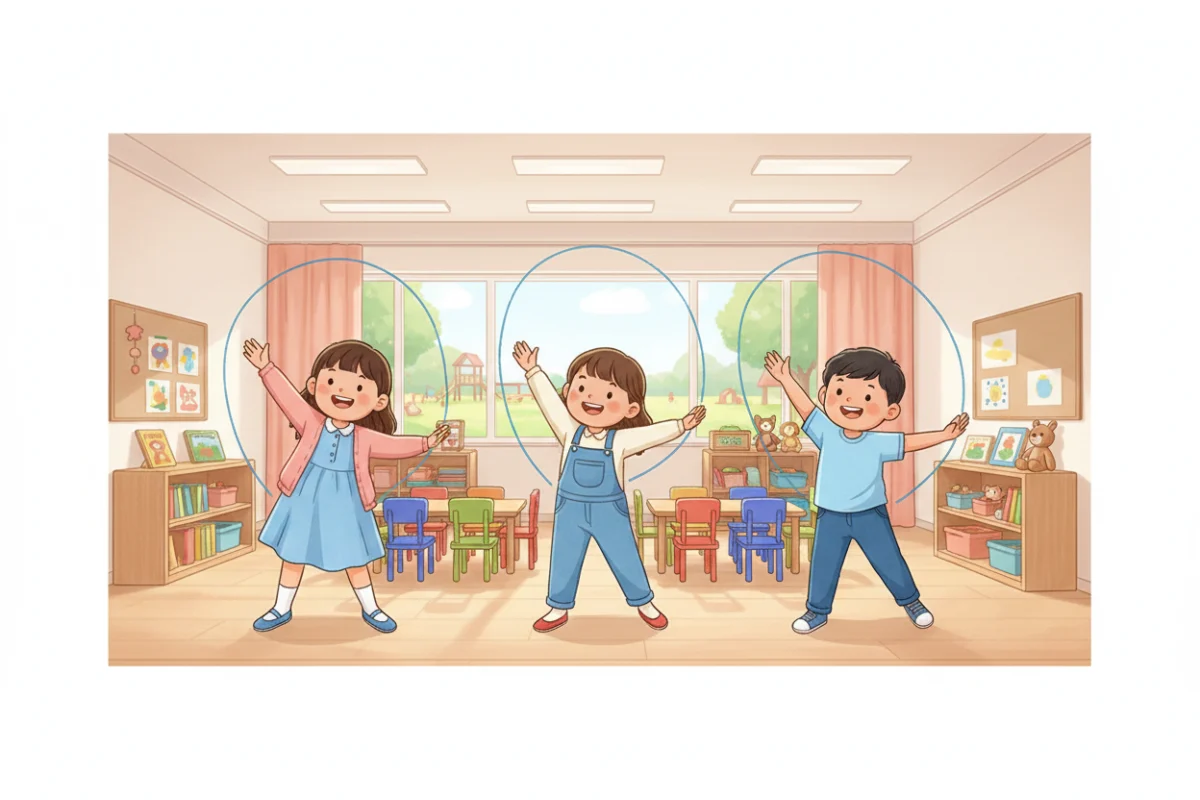
Children stand and write the letter in the air with a straight arm, saying the cue together. Then they trace it with a finger on the table or on a partner’s back.
4. Guided practice (3 minutes)
Children write the letter on a whiteboard or paper while you circulate. Watch the pencils, not the results. You are looking for the starting point and the direction.
5. Circle the best one (1 minute)
Each child circles the best letter on the page and tells a partner why it is the best. Self-assessment builds the habit of looking critically at their own writing.
6. Use it (1 minute)
Write one or two short words using the new letter and letters already taught. Handwriting practiced in real words transfers better than rows of single letters.
Multisensory practice
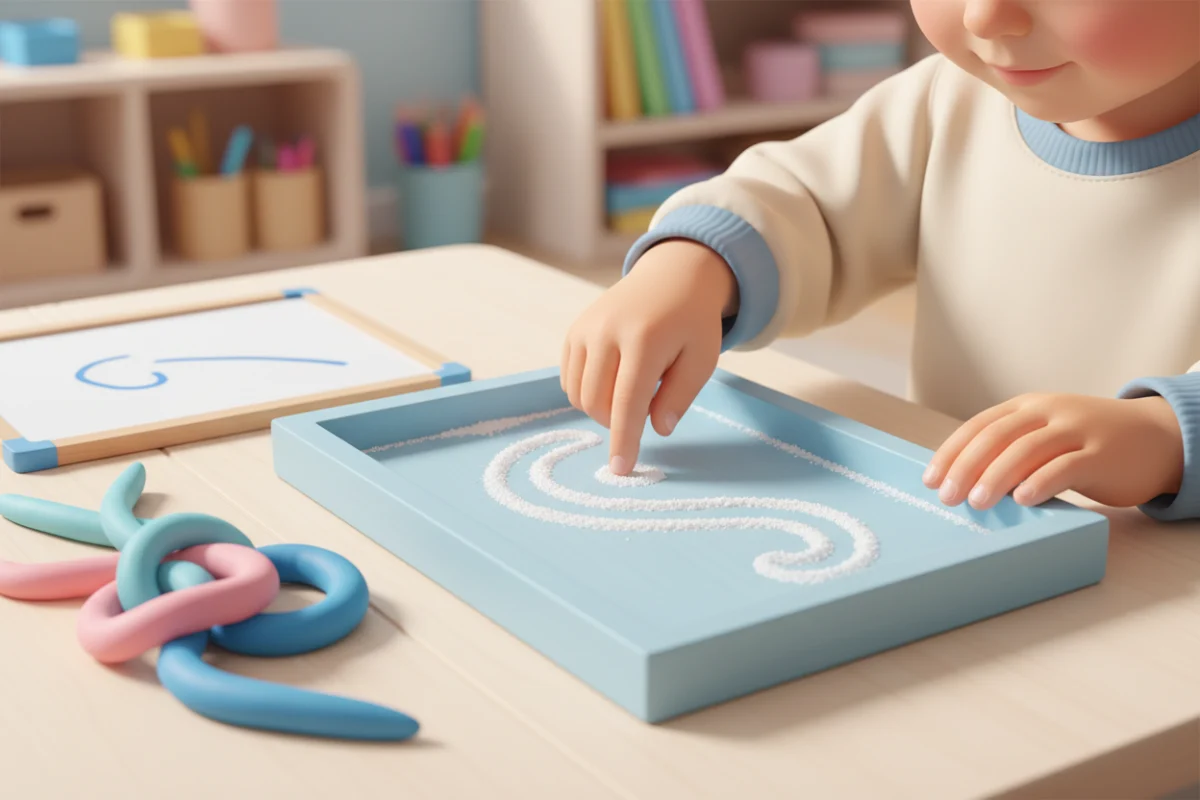
Between lessons, offer many ways to repeat the movement without a pencil: a finger in a salt tray, a wet sponge on a chalkboard, playdough snakes laid on a letter mat, a paintbrush and water on the playground wall. The more ways a child feels the movement, the stronger the memory of it. Short crayons on paper come next, and lined paper last.
Common mistakes to catch early
Starting at the bottom
This is the most common error, and it matters, because bottom-up letters are slower and harder to join later. A green dot at the starting point and the rule “letters start at the top” solve most cases. Only d and e start in the middle, and they need a special mention.
Drawing instead of writing
Some children build letters from separate pieces, like a picture. An “a” becomes a ball and a stick. Teach continuous strokes and say when the pencil lifts and when it stays down.
Clockwise circles
A clockwise o feels natural to some children, particularly left-handers. Counterclockwise is worth insisting on for right-handed writers because it leads into a, d, g, and q. Left-handed writers sometimes need individual flexibility, and you can read more in our guide to helping a left-handed child write.
Reversals
Reversals are typical through kindergarten and much of first grade. They usually fade with explicit formation teaching. Avoid teaching b and d in the same week, give each its own cue, and keep a model visible on the desk.
Too much tracing
Tracing is a useful first step. It should fade quickly: trace, then copy from a model, then write from memory. A child who only traces is following a line, not recalling a movement.
Too much, too fast
A page of thirty letters invites thirty tired letters. Five careful ones are worth more. Stop before quality drops.
Supporting children who struggle
Go back a step: larger size, vertical surface, fewer letters. Check posture, paper position, and grasp, using the pointers in our post on pencil grasp development. Highlight the lower half of the writing line to show where short letters live. Give a desk strip with models and starting dots. If difficulties persist in spite of consistent support, share your observations with the family and follow your school’s referral process.
Two related questions come up in almost every kindergarten: whether to teach uppercase or lowercase first, and how to handle b/d and p/q reversals without making them worse.
Frequently asked questions
Should I teach uppercase or lowercase letters first?
Either can work. Capitals are easier to form and suit younger children. Lowercase letters are used far more often. Follow your school’s program so that children get a consistent approach.
How many letters should I teach each week?
Two to three new letters a week, with daily review, is a comfortable pace for most kindergarten classes. Go slower in pre-K.
When should I worry about letter reversals?
Occasional reversals are typical up to about age 7. If they are frequent beyond the end of first grade, or come with other difficulties in reading or writing, discuss it with the family and your support team.
Is handwriting still worth teaching?
Yes. Children in the early grades still do most of their writing by hand. When letters become automatic, attention is freed for spelling and ideas, and forming letters by hand also supports letter recognition for early readers. For more on the foundations, see our guide to graphomotor skills.