You do not need a craft box, a printer or a trip to the store. A stack of paper, a pair of child scissors and a glue stick are enough for weeks of afternoons, and the crafts below are chosen for one reason: your child can actually do them. Not “do them with you doing most of the work,” but do them.
Each craft comes with the skill it builds, roughly how long it takes, and one tip for helping without taking over. They run from easiest to hardest, so start near the top if your child is three and further down if they are five.
First, how to help
The biggest mistake parents make with crafts is doing the hard parts for the child. The hard parts are where the learning is. Instead, model one step, hand the materials over, and sit on your hands. Accept wonky. A lopsided caterpillar made by a four-year-old is worth more than a perfect one made by you.
Keep sessions short. Ten to twenty minutes is plenty. Stop while your child is still enjoying it. And if your child does not yet hold scissors well, our guide to scissor skills by age shows what to expect and how to help.
1. Torn paper picture
Skill: pinching and tearing. Time: 10 minutes. Draw a big simple shape (a tree, a fish, a heart) on a sheet. Your child tears colored paper into small pieces and glues them inside. Tip: show “crab claw” fingers, thumb and pointer, for tearing.
2. Fringe grass and snip confetti
Skill: snipping. Time: 10 minutes. Cut a strip of green paper and let your child snip along one edge to make grass. Glue a flower on top. Leftover snips become confetti in a jar. Tip: say “thumb up” and hold the paper for them the first few times.
3. Paper chain
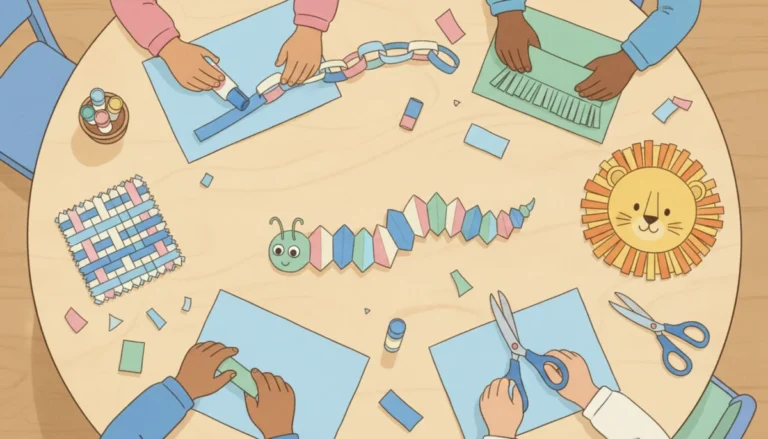
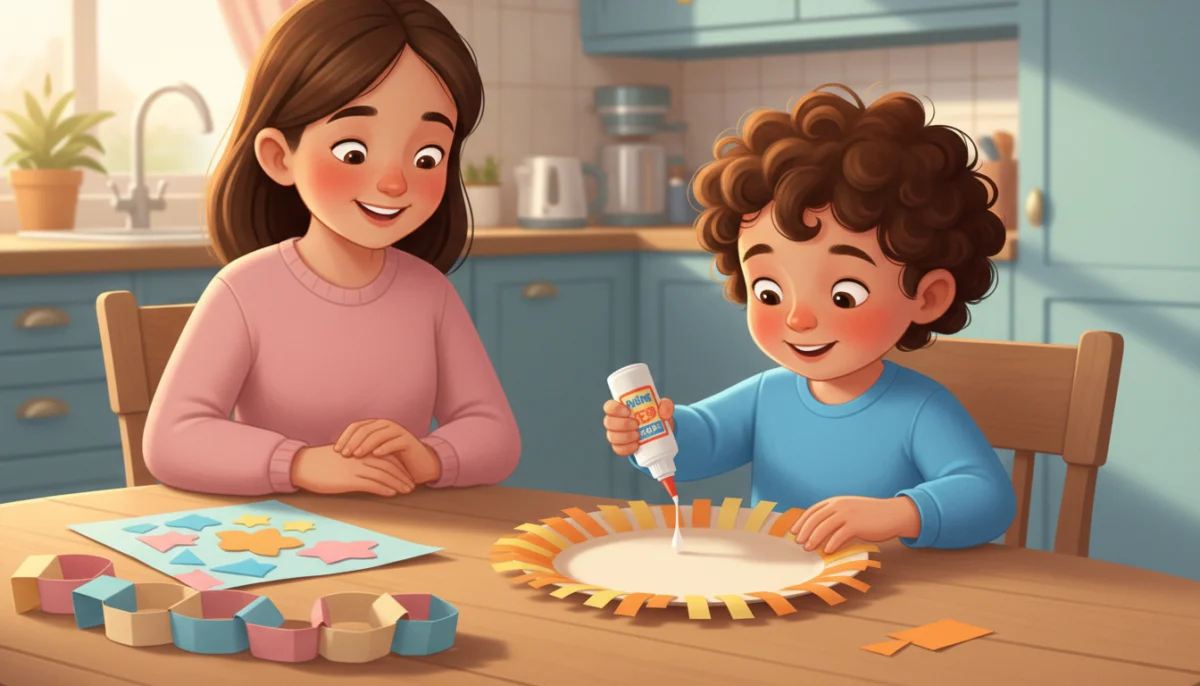
Skill: cutting on a line, gluing. Time: 15 minutes. Cut strips, curl each into a loop, glue and link. Make a countdown to a birthday or a decoration for a doorway. Tip: teach “hold for five” after gluing, or the loops spring open.
4. Paper plate animal
Skill: cutting curves, placement. Time: 15 minutes. A paper plate becomes a lion (fringed mane), a cat (triangle ears) or a bear (round ears). Your child cuts the features and glues them on. Tip: draw the shapes in thick marker so they are easy to follow.
5. Accordion snake
Skill: folding. Time: 10 minutes. Fold a long strip of paper back and forth like a fan, draw a face on one end and a tongue on the other. It bounces. Tip: fold the first two folds together so your child feels the rhythm.
6. Cut-and-glue robot
Skill: cutting shapes, planning. Time: 20 minutes. Your child cuts squares and rectangles from gray or silver paper and assembles a robot on a colored background. Add bottle-cap eyes if you have them. Tip: let them decide where the parts go, even if the arms end up on the head.
7. Paper bag puppet
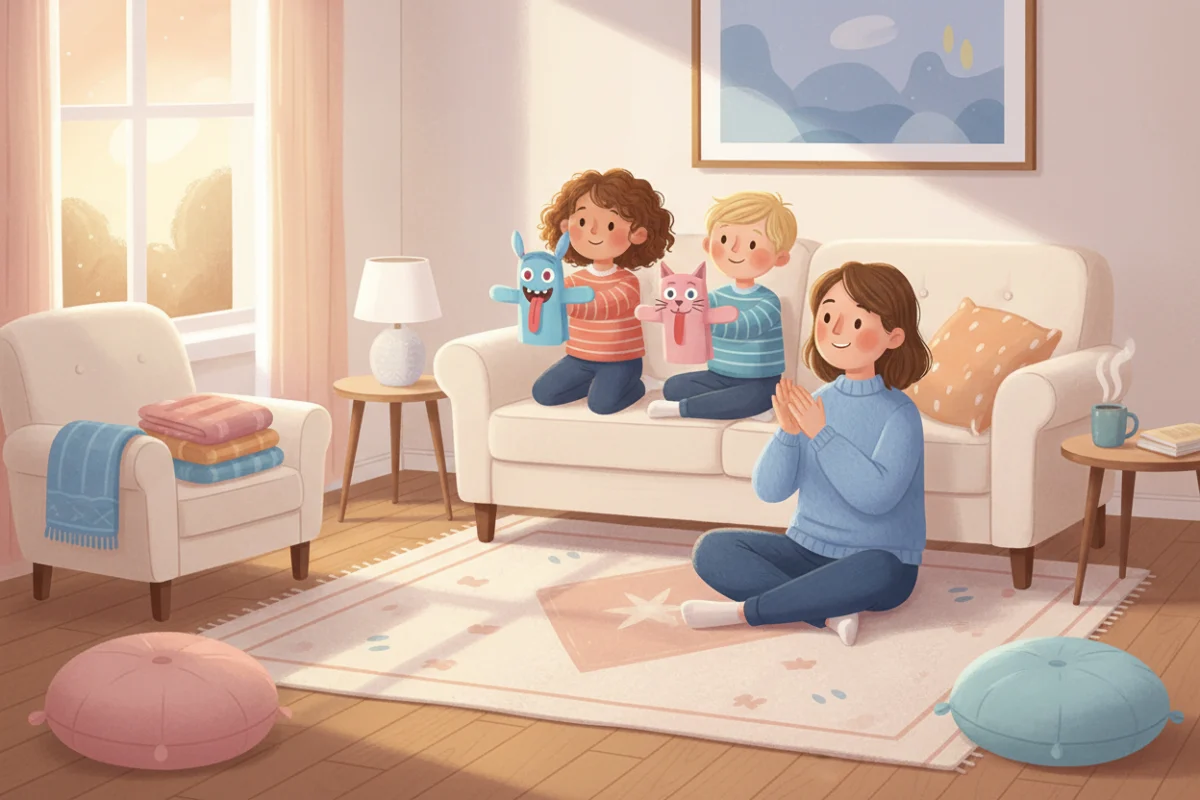
Skill: cutting and gluing, imaginative play. Time: 20 minutes. A lunch bag with cut paper eyes, ears and a tongue on the flap becomes a puppet. The play afterward is half the value. Tip: make two so you can put on a show together.
8. Snowflake or doily
Skill: folding and cutting through layers. Time: 10 minutes. Fold a square of paper in half, in half again, then in half diagonally. Cut notches along the edges and open. Tip: use thin paper and fold only twice for the youngest children, or the layers are too thick to cut.
9. Woven placemat
Skill: bilateral coordination, over-under sequence. Time: 20 minutes. Fold a sheet in half and cut slits from the fold toward the edge, stopping an inch short. Open it and weave strips of a different color through. Tip: say “over, under, over, under” out loud together.
10. Standing paper house
Skill: folding, cutting and gluing in sequence. Time: 20 minutes. Fold a sheet in thirds, cut a door and windows, glue the ends to make a triangle that stands. Add a roof from a folded strip. Tip: this is the hardest one; do it together the first time.
Setting up a craft spot at home
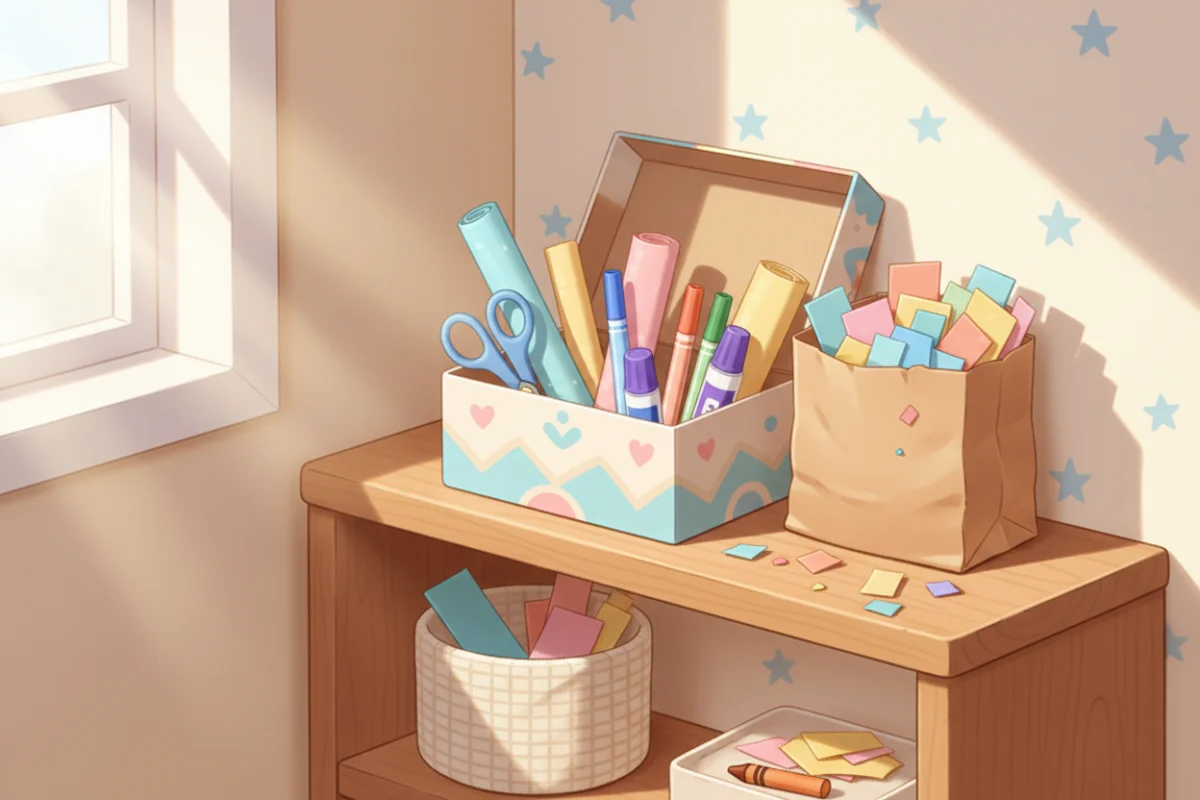
A permanent spot makes crafts happen more often. A shoebox with paper, scissors, a glue stick and a marker, kept where your child can reach it, means a craft can start without you finding supplies. Add a plastic tablecloth or a tray to define the mess zone, and a small bin for scraps. Teach two rules: scissors stay at the table, and scraps go in the bin. That is the whole system.
Keep a “scrap bag” of leftover pieces. Preschoolers often prefer scraps to fresh paper, and the odd shapes prompt more imaginative work. Old birthday cards, wrapping paper, cereal boxes and junk mail are all free craft materials that children find more interesting than a clean sheet.
Crafts for siblings of different ages
If you have a three-year-old and a six-year-old, pick a craft with an easy and a hard version. Both can make a paper plate animal: the younger one glues on features you cut, the older one cuts everything and adds a fringed mane. Both can work on the same paper chain, with the older child cutting strips and the younger one linking. Shared projects reduce the “mine is worse” comparison that comes with separate ones.
Which skills each craft builds
If you want to target a specific skill, tearing and snipping (crafts 1 and 2) build pinch strength and the thumb-up scissor grip. Cutting on lines and curves (3, 4, 6) builds the eye-hand control that later keeps letters on a line. Folding (5, 8, 10) builds finger control and the ability to use both hands together. Weaving (9) builds the over-under sequencing and bilateral coordination behind buttoning and shoelaces. A different craft each week covers all of them.
What to do with the results
Display them. A string across the kitchen with clothespins is a gallery your child will check every day. Take a photo before recycling old ones. Let your child sign each piece, which is name-writing practice in disguise; our guide to teaching your child to write their name explains why it matters.
When crafts are not going well
If your child avoids scissors, melts down or hands everything to you, the craft is probably too hard for today. Go back to tearing and gluing, which almost every child enjoys, and build the hand with play: play dough, threading, tweezers. Our list of fine motor activities at home has fifteen ideas using things you already own. Try scissors again in a few weeks.
For seasonal versions of these crafts, see our Halloween paper crafts, Christmas paper crafts and spring crafts.
Frequently asked questions
What paper crafts can a 3-year-old do?
Torn paper pictures, snip confetti, accordion snakes and simple paper chains with pre-cut strips. Keep cutting to snipping and let them tear and glue freely.
What supplies do I need for paper crafts at home?
Paper (printer paper, construction paper, old magazines), child-sized scissors with blunt tips, a glue stick, and a marker. Everything else is a bonus.
How long should a craft session be?
Ten to twenty minutes for preschoolers. Stop while your child is still enjoying it rather than pushing to finish.
My child wants me to do the cutting. Should I?
Cut the first strip to show how, then hand the scissors back. Hold the paper for them if needed. Doing the cutting for them removes the part that builds the skill.