October afternoons are made for paper crafts. The theme is ready-made, the colors are bold, and children want the results on the window before trick-or-treating. Better still, almost every Halloween shape is good scissor practice: the curve of a pumpkin, the points of a bat, the eight legs of a spider.
Here are twelve crafts for ages three to eight, using only paper, card, scissors, glue and a marker, with the skill each builds and a version for younger and older children. None of them are scary, so they work for the child who loves spooky and the one who does not.
Before you start
Cover the table, put orange, black, white, purple and green paper in one tub, and add a glue stick, child scissors and a black marker. If your child is still learning to cut, our guide to scissor skills by age shows what to expect, and the tearing crafts below need no scissors at all. Keep each session short and let the decorations pile up over the month.
1. Torn paper pumpkin
Ages 3 and up. Skill: pinch and tear. Draw a large pumpkin outline, tear orange paper into pieces and glue inside, add a green stem. Older children add a torn black face.
2. Accordion bat
Ages 4 and up. Skill: folding, cutting. Fold a black strip back and forth for a body, cut two wings with a scalloped bottom edge, glue on, add paper eyes. Hang from string so it bounces.
3. Paper strip spider
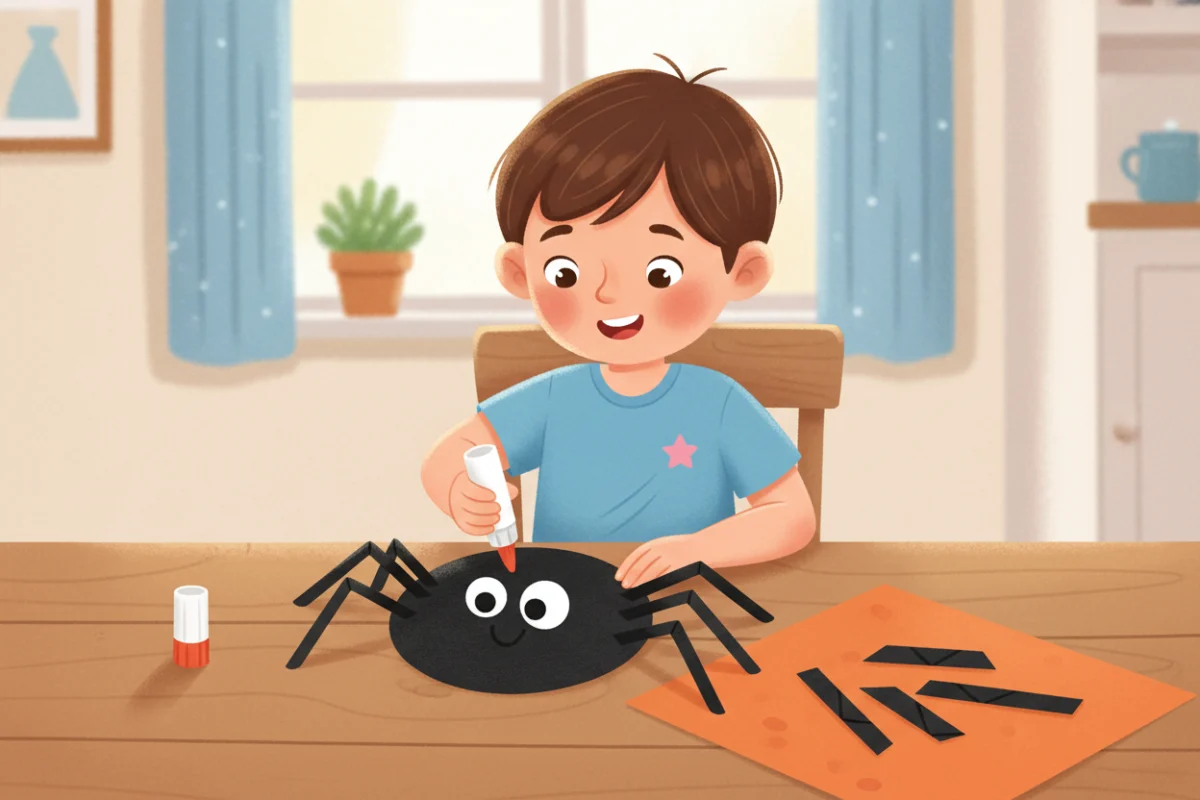
Ages 3 and up. Skill: cutting strips, gluing, counting. A black circle body and eight black strips for legs, folded in the middle so they bend. Count the legs together. Add big paper eyes.
4. Friendly ghost garland
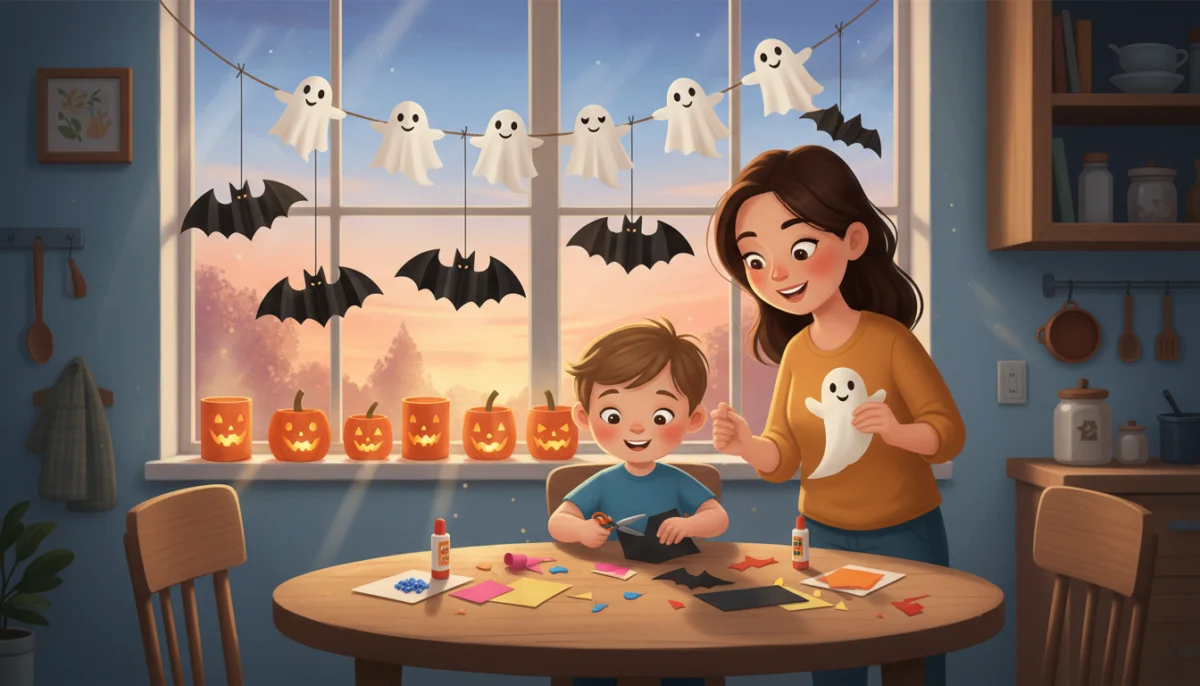
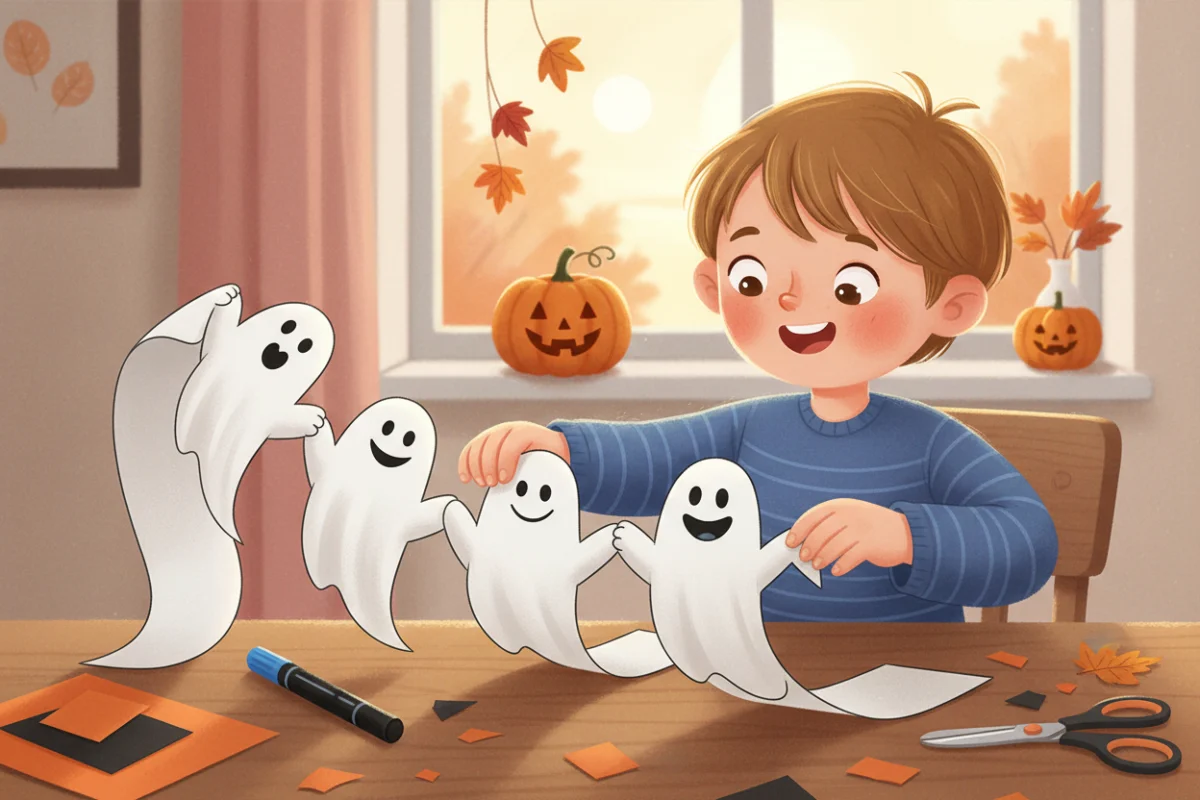
Ages 4 and up. Skill: cutting curves, sequencing. Fold a long strip of white paper accordion-style, draw a ghost with the arms reaching the folds, cut through all layers, open into a chain of holding-hands ghosts. Draw smiling faces. Our guide to paper chains and garlands has more folding tricks.
5. Paper plate jack-o’-lantern
Ages 3 and up. Skill: cutting triangles, placement. Paint or color a plate orange, cut triangle eyes and a zigzag mouth from black paper, glue on. Younger children glue pre-cut shapes; older ones cut their own.
6. Spider web from a paper plate
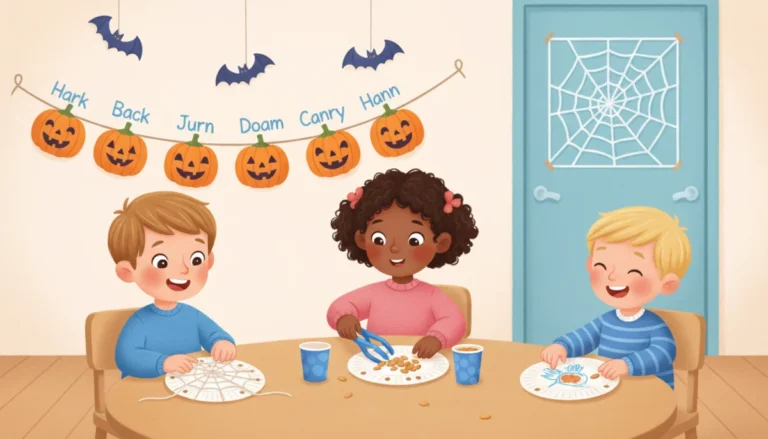
Ages 4 and up. Skill: weaving, bilateral coordination. Cut slits around the plate edge, weave white yarn across in every direction, add a paper spider. The over-under work is great for two-handed control.
7. Toilet paper tube characters
Ages 3 and up. Skill: gluing, wrapping, cutting. Wrap tubes in orange, black or white paper to make a pumpkin, a black cat or a ghost. Add paper ears, faces and tails. Line them up on the windowsill.
8. Black cat with a curled tail
Ages 5 and up. Skill: cutting shapes, curling. Cut a circle head, an oval body, triangle ears and a long strip tail; curl the tail around a pencil before gluing. Add whiskers with a white crayon.
9. Candy corn paper strips
Ages 4 and up. Skill: cutting straight lines, sequencing. Cut white, orange and yellow strips and glue them in order on a triangle. Make a whole row for a garland.
10. Pumpkin patch collage
Ages 3 and up. Skill: tearing, cutting circles, planning. A big green paper field, orange circles (torn or cut) for pumpkins, green strips for vines, a yellow moon. Everyone in the family adds a pumpkin.
11. Treat bag with a paper face
Ages 4 and up. Skill: cutting, gluing, drawing. A paper lunch bag with cut paper features to make a monster, a cat or a pumpkin, with a handle from a folded strip. It holds the treats on the night.
12. Cut paper spider web window
Ages 6 and up. Skill: folding and cutting through layers. Fold a square of white paper like a snowflake, cut notches and lines, open to a web. Tape to a window with a paper spider.
A craft a week through October
You do not need to do all twelve. One craft a week, plus a few extras on rainy days, is plenty. Week one: torn paper pumpkin and the pumpkin patch collage, since the youngest can do both and they set the theme. Week two: spiders, with the paper strip spider for younger children and the web for older ones. Week three: bats and the ghost garland, which are the most satisfying to hang. Week four: the treat bag, made the weekend before Halloween so it is ready for the night, and the tube characters as a last-minute windowsill parade.
Turning crafts into a Halloween countdown
A simple countdown adds a lot of motivation. Make a paper chain of orange and black loops, one loop for each day until Halloween, and remove one each morning. Or make a “spooky tree”: a bare branch in a jar with a paper bat, pumpkin or ghost added each day. Both are fine motor practice in tiny daily doses, and both give your child a visible sense of how long is left, which reduces the daily “is it Halloween yet” question.
Halloween crafts for siblings
If you have children of different ages, pick crafts with two levels. The paper plate jack-o’-lantern works for a three-year-old gluing pre-cut features and a seven-year-old cutting a detailed face. The pumpkin patch collage is designed for the whole family. The spider web and the cut paper web are the same idea at two difficulty levels. Shared projects avoid the “mine is worse” problem that separate crafts bring.
Making it last
Tape crafts to windows with the ghost garland across the top and the bats hanging from string in front. Line the tube characters along the sill. Save the pumpkin patch collage for the fridge. Photograph the window before the crafts come down on November first, and keep one or two in a folder; children love seeing last year’s bat next to this year’s.
Using the crafts for learning
Every craft on the list can carry a little math or language. Count the spider’s legs and compare with a bug’s six. Sort the pumpkin patch by size. Make a pattern on the candy corn garland. Name the shapes on the jack-o’-lantern face. Tell a story about where the bats are flying. Let your child sign each craft with their name, which is the most motivating handwriting practice there is; our guide to teaching your child to write their name explains how to make it stick.
If your child says it is too hard
Choose the tearing crafts (1, 10) and the ones with pre-cut shapes (5, 7), hold the paper while your child cuts, or draw thicker lines. If scissors are a struggle at any age, our list of fine motor activities at home builds the hand with play, and our rainy day paper crafts has more low-pressure options.
Frequently asked questions
What Halloween crafts can a 3-year-old do?
Torn paper pumpkins, paper strip spiders with pre-cut strips, paper plate jack-o’-lanterns with pre-cut features and tube characters. Keep cutting to snipping.
What Halloween crafts build scissor skills?
Accordion bats (curves and points), friendly ghost garlands (cutting through folded layers), candy corn strips (straight lines) and the black cat (shapes).
How do I make Halloween crafts not scary?
Give everything a smile, use bright colors alongside black, stick to pumpkins, cats, bats, spiders and friendly ghosts, and let your child choose which creatures to make.
What supplies do I need?
Orange, black, white, green and purple paper, a few paper plates and lunch bags, toilet paper tubes, yarn, child scissors, a glue stick and a black marker.