You do not need a cupboard full of special toys to get your child’s hands ready for writing. Most of what builds strong, skillful fingers is already in your kitchen drawers, your laundry basket, and your recycling bin.
Below are fifteen activities for children of about 3 to 6 years old. Each one takes a few minutes to set up, uses ordinary household items, and works on the same muscles and movements your child will use to hold and control a pencil. None of them looks like homework, which is part of the point.
Why fine motor skills matter for writing
Fine motor skills are the small, precise movements of the hands and fingers. Writing is one of the most demanding fine motor tasks a young child will face. It takes strength to hold a pencil without tiring, control to steer it, and coordination between the two hands and between the hands and the eyes.
Children build those abilities through years of play, long before the first letter. If you would like to understand how the pieces fit together, our guide to graphomotor skills explains the foundations of handwriting in plain language.
A few things to keep in mind before you start. Keep sessions short, about five to fifteen minutes. Follow your child’s interest. And always supervise young children around small objects, which are a choking hazard, and around scissors.
In the kitchen
1. Tongs at dinner time
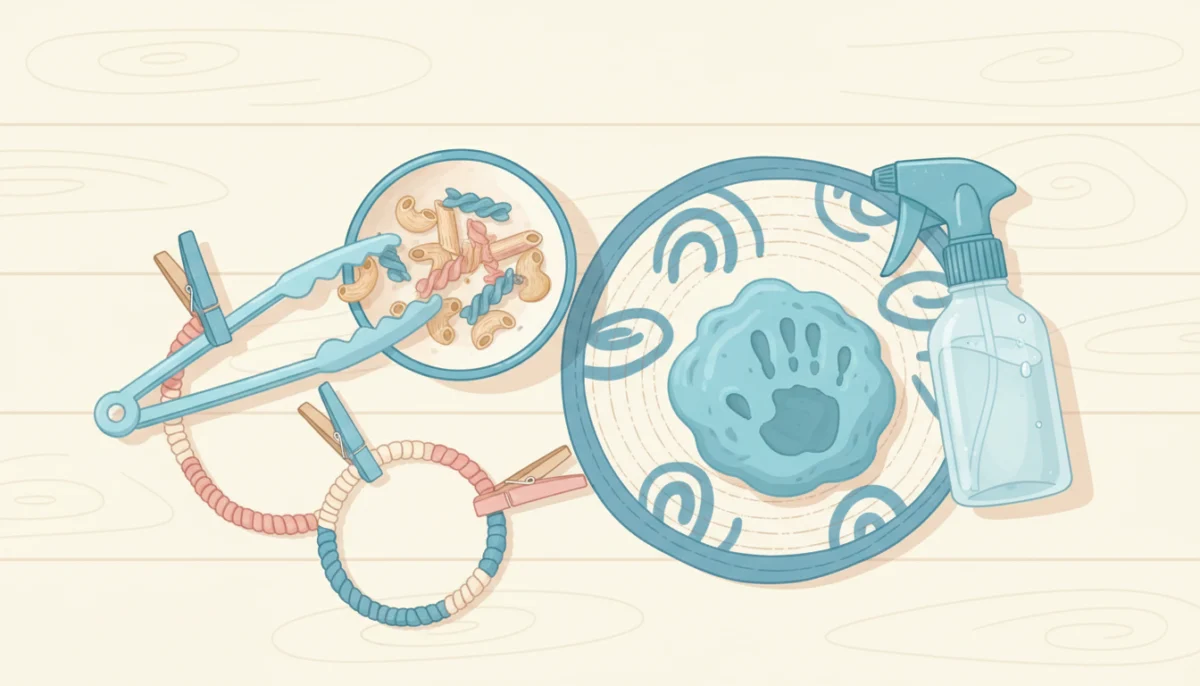
Put your child in charge of serving the bread rolls, the salad, or the ice cubes with kitchen tongs. For play, set out two bowls and let them move cotton balls, pasta shapes, or grapes from one to the other. Tongs work the same three fingers that hold a pencil.
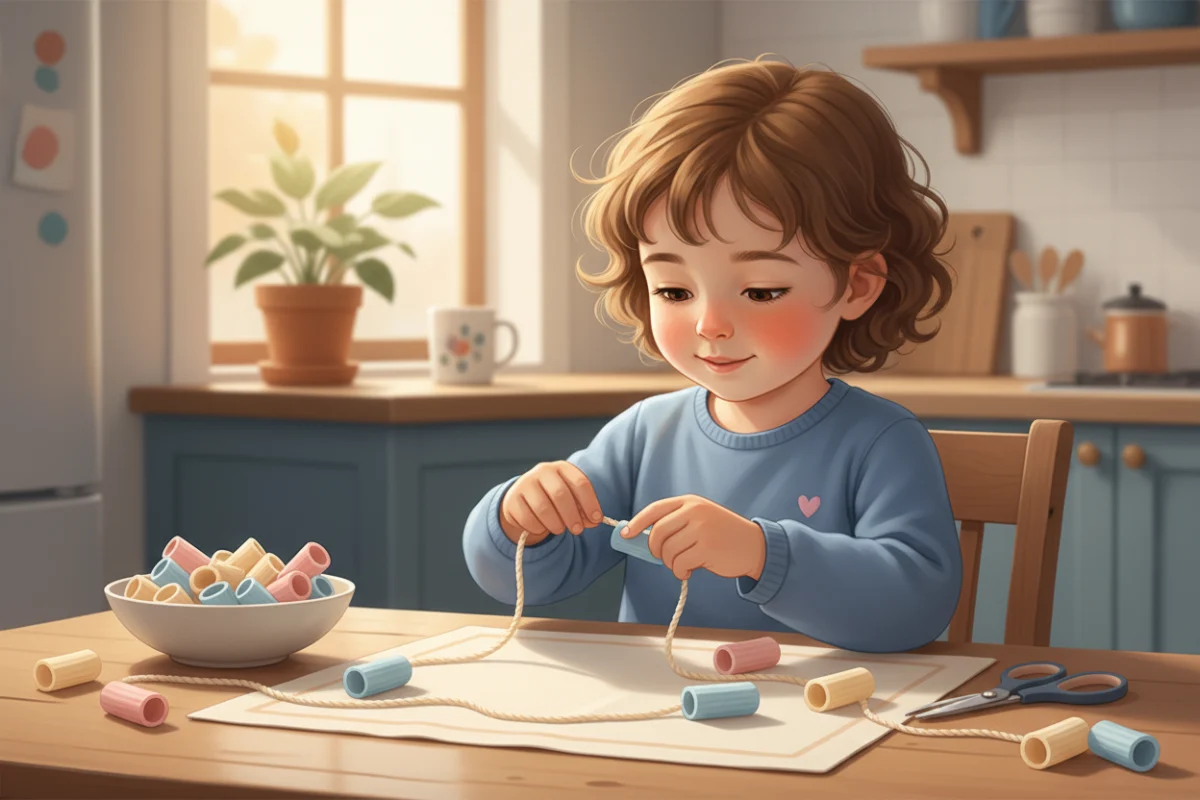
2. Pasta threading
Thread penne or rigatoni onto a shoelace, a piece of yarn with tape wrapped around the end, or dry spaghetti standing upright in a ball of playdough. One hand holds while the other threads, which is precisely the teamwork that writing needs when one hand moves the pencil and the other steadies the paper.
3. Homemade playdough
Mix two cups of flour, one cup of salt, two tablespoons of oil, and about a cup of warm water, and knead. Then roll snakes, pinch little balls, squash pancakes, and cut with a butter knife. Hide coins or beads inside for your child to dig out. Kneading and pinching build strength in the whole hand.
4. Real cooking jobs
Tearing lettuce, peeling a clementine, stirring thick batter, spreading butter, cracking an egg, and kneading dough all count. Real tasks are motivating in a way that made-up exercises are not, and you get dinner out of it.
5. Colander and spaghetti
Turn a colander upside down and let your child poke dry spaghetti or pipe cleaners through the holes. It demands a careful fingertip grip and a steady eye. Younger children are often absorbed by this for a surprisingly long time.
In the laundry room and bathroom
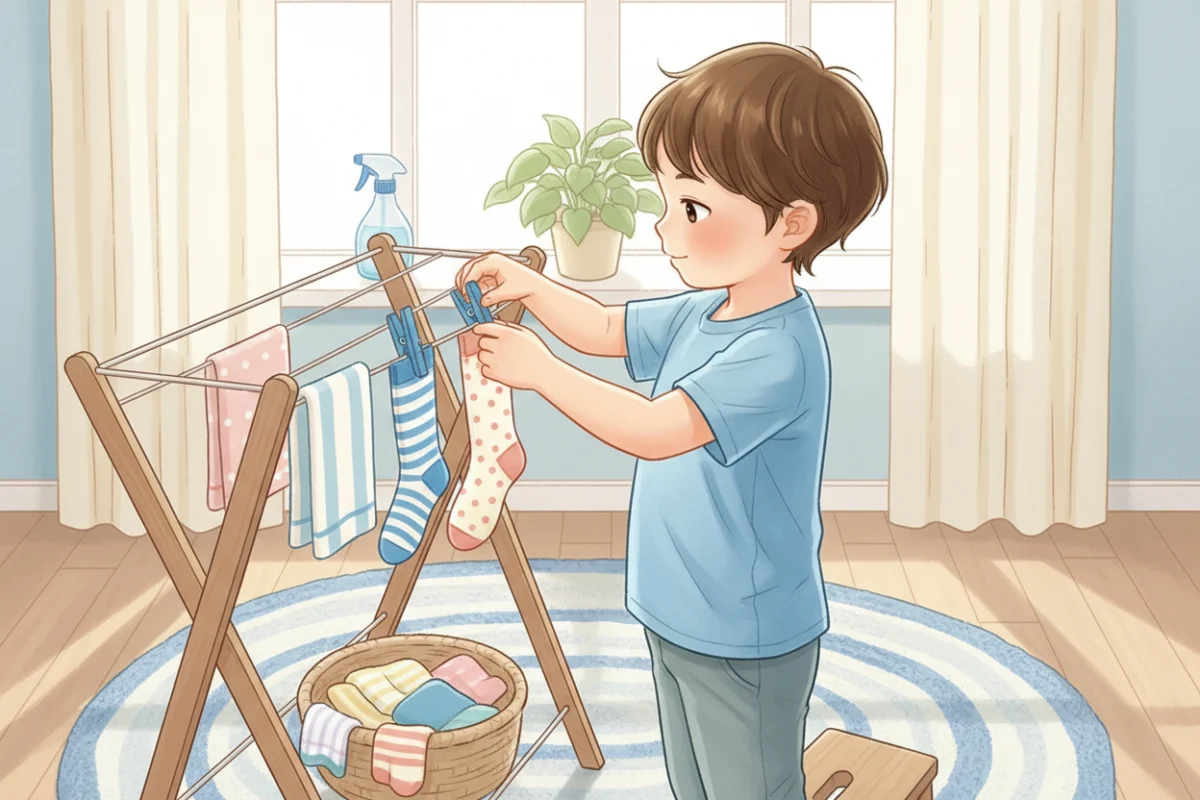
6. Clothespin helpers
Hang socks on a drying rack, clip clothespins around the rim of a box, or pin up artwork on a string. Squeezing a clothespin strengthens the thumb and index finger pinch. Ask your child to use their fingertips instead of the whole hand.
7. Sock matching and rolling
Pairing socks trains the eyes, and rolling them into a ball uses both hands together. Buttoning shirts and zipping jackets on a hanger are excellent extras for older children.
8. Spray bottle cleaning
Fill a small spray bottle with water and let your child clean the windows, wash the bathtub, or water the plants. Squeezing a trigger again and again is a real workout for the hand.
9. Sponge squeeze
Set out two bowls, one of them filled with water, and a sponge. The job is to move all the water to the empty bowl. It is a perfect bath-time or backyard activity. Add an eye dropper or a turkey baster for a finer challenge.
At the table
10. Tear and paste collage
Tearing paper takes more finger strength and coordination than you might think. Tear up old magazines or junk mail and glue the pieces into a picture. Squeezing a glue bottle is good exercise as well.
11. Sticker lines
Draw a wavy line, a zigzag, or the first letter of your child’s name, and let them place small stickers along it. Peeling stickers works the fingertips, and following the line trains the eye to guide the hand.
12. Snipping station
Cut drinking straws into beads, snip a fringe along a strip of paper, and cut up junk mail. When snipping is easy, draw straight lines to cut along, then gentle curves. Teach “thumbs up” for the cutting hand and the helping hand, and stay close by.
13. Coin bank
Cut a slot in the lid of a yogurt tub or a shoebox and let your child post coins or buttons through it. For a harder version, ask them to hold three coins in one hand and post them one at a time without using the other hand. Therapists call this in-hand manipulation, and it is the same skill that lets us adjust a pencil in our fingers.
14. Rubber bands and a can
Stretch rubber bands or hair ties around a can or a cardboard tube. It strengthens the fingers and gives both hands something to do. Add a muffin tray and you have an instant geoboard.
Outside
15. Chalk and water painting
Draw roads, hopscotch grids, and giant circles with small pieces of sidewalk chalk. Then hand over a bucket of water and a paintbrush to “paint” the fence or the patio. Large movements on upright surfaces strengthen the shoulder and wrist and teach the top-to-bottom direction that letters will use later. A squirt bottle for washing the chalk away is a bonus.
Making it a habit
You do not need to schedule a therapy session. Tuck one or two of these activities into everyday life.
- Keep a “busy hands” box with tongs, clothespins, stickers, and a tub of playdough, and bring it out while you cook.
- Give your child a regular household job that uses their hands, such as hanging socks, watering plants, or serving at dinner.
- Rotate activities every week or so to keep them fresh.
- Make things a little harder as they become easy, with smaller objects, tighter clips, and thinner lines.
- Put screens away for these few minutes. Swiping is not the same as squeezing, pinching, and turning.
Most of all, keep it cheerful. If something is too hard today, simplify it or try again next month.
From play to pencil
How do you know the play is working? Watch for small changes. Your child chooses to draw more often, holds a crayon with the fingers instead of a fist, colors for longer without tiring, and starts to draw shapes you can recognize.
When you see those signs, check our list of handwriting readiness signs and our gentle guide on how to help your child hold a pencil. Activities like these continue to help all the way through the first years of school, so there is no need to stop once writing begins.
If your child strongly avoids all hand activities, tires very quickly, or seems much less skillful than other children of the same age, mention it to their teacher or pediatrician. A little support at the right time can make a big difference.
Two more foundations worth playing with at home: crossing the midline and coloring. And before you print another worksheet, read whether tracing worksheets actually work.
For crafts that build the same skills, try our easy paper crafts for preschoolers and rainy day paper crafts.
Frequently asked questions
How much time should we spend on fine motor activities?
Ten to fifteen minutes a day, spread through ordinary routines, is plenty. Little and often works better than one long session.
What age are these activities for?
Most suit children from about 3 to 6. For three-year-olds, use bigger objects and simpler tools. Older children can use tweezers, smaller beads, and more complex cutting.
My child gets frustrated quickly. What should I do?
Make the task easier, with bigger objects and fewer steps, and do it alongside them. Stop while it is still fun. Confidence grows from small successes.
Do building bricks and puzzles count?
Yes. Construction toys, puzzles, board games with small pieces, and dressing dolls are all excellent fine motor practice.