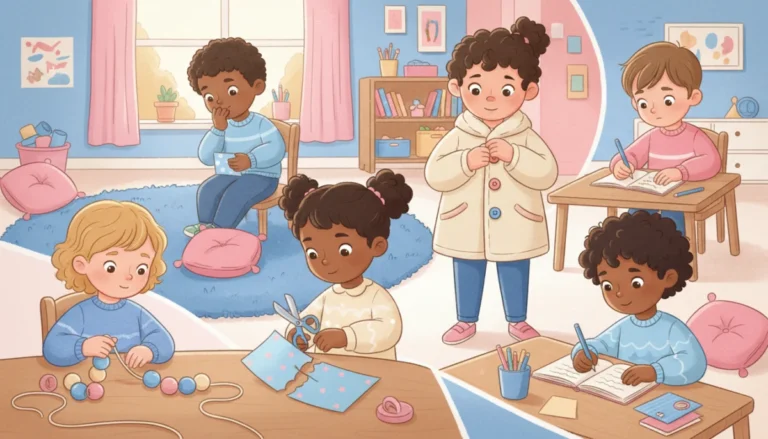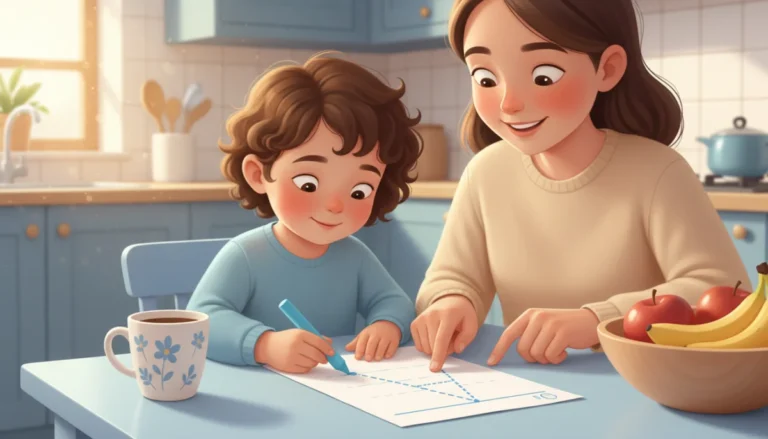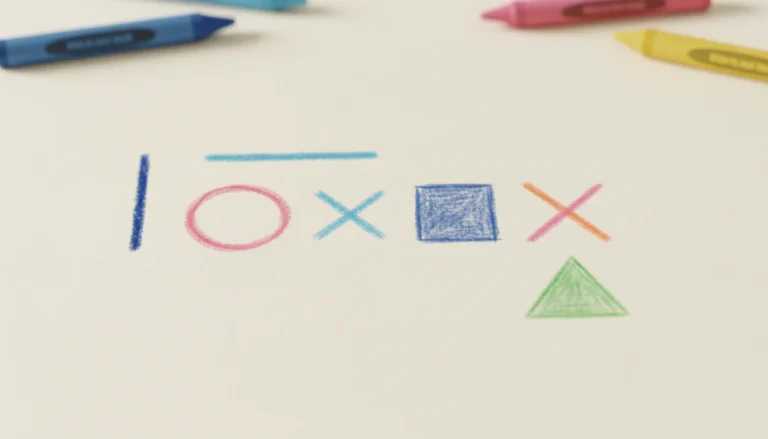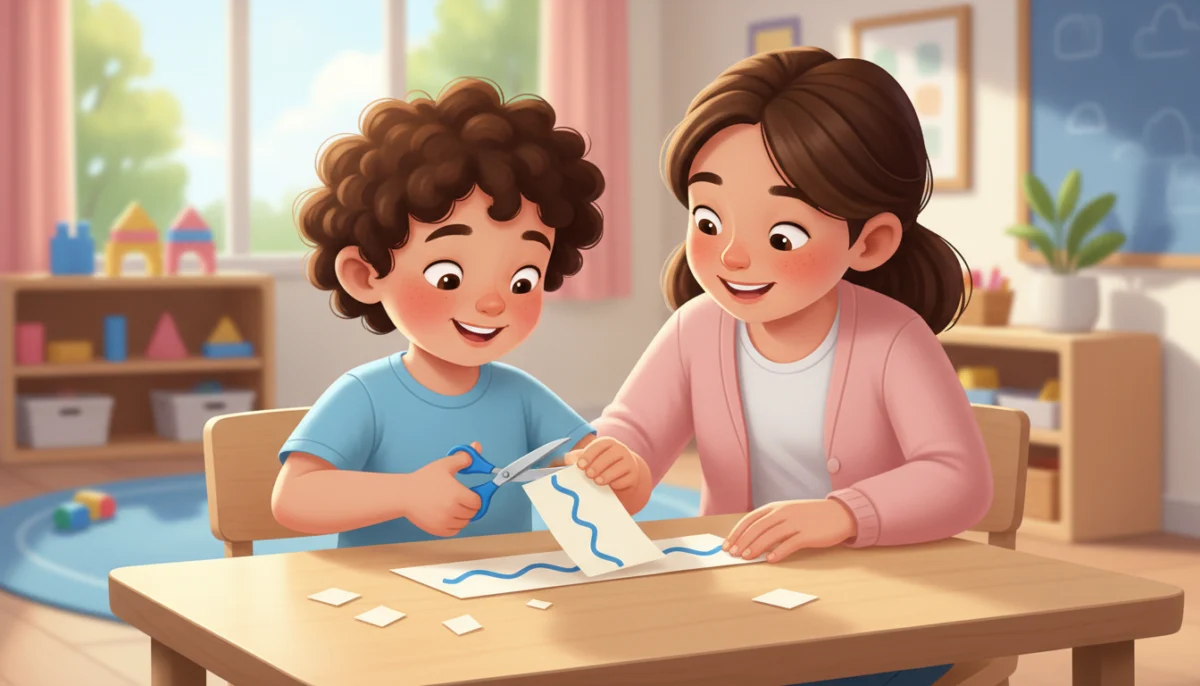
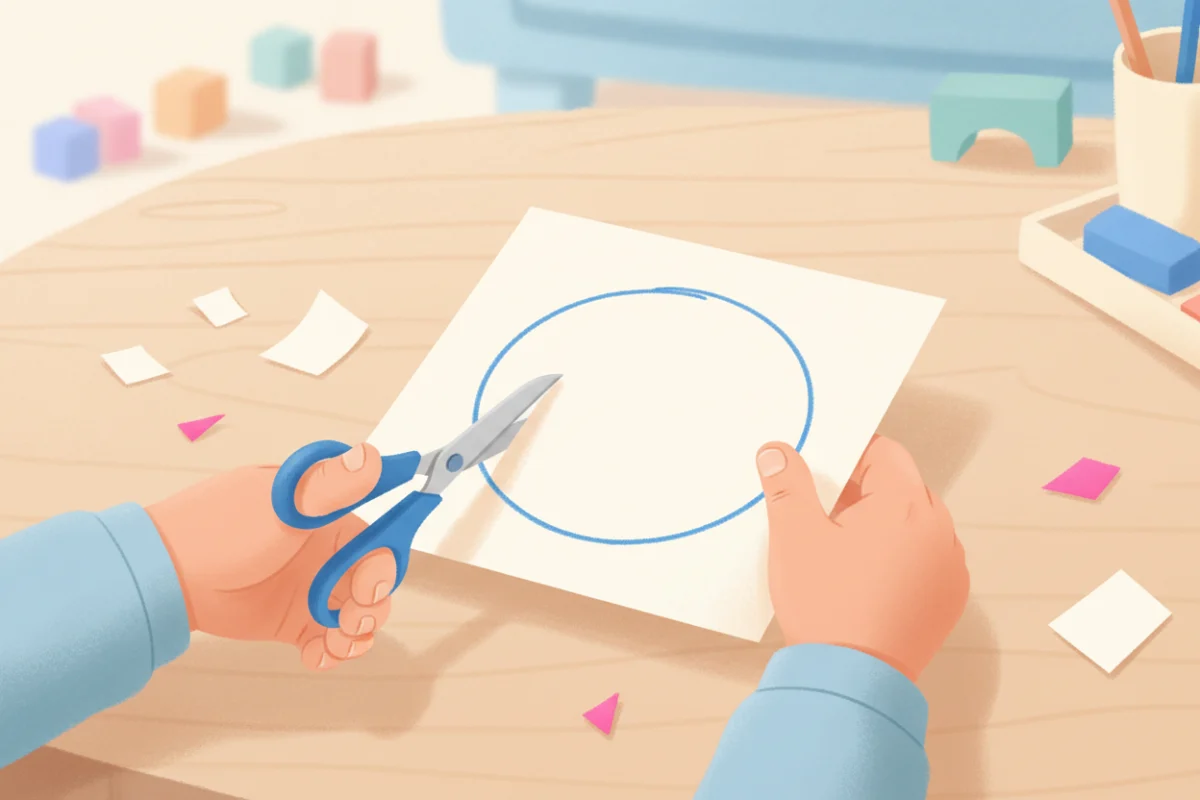
Cutting with scissors looks like a craft-time extra. It is actually one of the most demanding fine motor tasks a young child does all day. Both hands work at once, doing different jobs. The eyes have to guide a blade along a line. The small muscles of the hand open and close in a steady rhythm. Every one of those pieces is also a building block for handwriting.
That is why scissor skills deserve a place in your planning, not just on the supply list. This guide walks through the typical progression from age 3 to 6, explains what to teach at each stage, and gives you cutting activities that fit into a normal preschool or kindergarten week.
Why scissor skills matter for handwriting
Scissors use the same “skilled side” of the hand as a pencil. The thumb, index and middle fingers do the work while the ring and pinky fingers fold in to stabilize. Children who cut well usually show a more mature pencil grasp, because the same separation of the two sides of the hand is in place.
Cutting also trains bilateral coordination. The helper hand has to hold and turn the paper while the cutting hand moves the blades. Later, that same helper hand steadies the page while the other hand writes. And following a line with scissors is direct practice in visual-motor control, the skill that lets a child keep letters on the baseline.
If you have read our guide to graphomotor skills, you will recognize all three of these. Scissors simply train them in a way most children find more fun than tracing.
The typical scissor skills progression
Ages are approximate. Children who have had a lot of practice will be ahead of this timeline, and children who have never held scissors will be behind it regardless of age. Use the sequence, not the birthday.
Around age 2 to 3: opening and closing
- Holds scissors with two hands or with a whole-hand grip.
- Opens and closes the blades, often with the scissors turned sideways.
- Makes single snips into the edge of paper held by an adult.
At this stage the goal is simply to make the blades move. Expect snips, not cuts. Stiff paper, card strips and play dough all give a satisfying result from one squeeze.
Around age 3 to 4: snipping and short cuts
- Holds scissors in one hand with thumb up, though the grip may still be awkward.
- Snips across a narrow strip of paper.
- Cuts forward a few inches on a thick straight line.
- Begins to hold the paper with the helper hand.
The big jump here is the helper hand. Many three-year-olds let the paper hang while they cut, and the blades just push it away. Teaching “thumb up, other hand holds” becomes the main lesson.
Around age 4 to 5: lines, curves and shapes
- Cuts along a straight line, staying within a quarter inch of it.
- Cuts a large circle and other simple curves.
- Cuts out a square or triangle with corners.
- Turns the paper with the helper hand rather than twisting the cutting hand.
This is the age where most cutting worksheets are pitched. Lines should still be thick, and shapes should be large. Small, fiddly shapes frustrate children who are otherwise on track.
Around age 5 to 6: complex shapes and control
- Cuts out more complex figures with inside and outside corners.
- Follows thinner lines with good accuracy.
- Cuts thin materials like tissue paper and thicker ones like light card.
- Uses scissors as a tool inside larger projects without needing help to set up.
By kindergarten, cutting should be a means to an end. A child who still struggles with the mechanics at this age will benefit from going back a stage or two, which is easier to do than it sounds.
How to teach the scissor grip
A good scissor grip has the thumb in the small loop, pointing up toward the ceiling, and the middle finger in the large loop. The index finger rests outside the loop along the blade as a guide. The ring and pinky fingers tuck into the palm.
The two most common problems are a thumb-down grip, where the child turns the scissors over, and a whole-hand grip, where several fingers crowd into the large loop. Both make it hard to see the line and hard to control the blades.
A few fixes that work in a real classroom:
- Put a small sticker on the child’s thumbnail and say “sticker to the sky.” The visual cue does more than repeated verbal correction.
- Use loop scissors or spring-loaded scissors with children who cannot yet open the blades on their own. They remove one job so the child can focus on the other.
- Offer small scissors. Adult scissors are too large for small hands and force the fingers into the wrong loops.
- Cut vertically. Tape paper to a wall or easel so the child cuts with the elbow tucked and the wrist in a natural position.
For left-handed children, use true left-handed scissors, not just “ambidextrous” ones. The blades are reversed so the child can see the cutting line. Our guide to helping left-handed writers covers this in more detail.
Cutting activities by stage
You do not need a special curriculum. You need paper, scissors and a plan for progression. Here is a simple sequence you can rotate through centers or morning work.
- Snip a fringe: a strip of card with short lines drawn along the edge. Snip, snip, snip. Good for the first stage.
- Cut the strip: a narrow paper strip with a thick line across it every inch. Each cut produces a “ticket” the child can keep or glue.
- Cut the road: a wide, wavy path drawn with a marker. Any cut inside the road counts as a success.
- Cut the shape: large circles, squares and triangles printed on card. Start with circles, since there are no corners.
- Cut and glue: simple paper crafts where cut pieces are assembled into something recognizable. The purpose keeps children engaged past the point where pure practice would get boring.
- Cut the picture: coloring pages cut into pieces to make a puzzle. This is a good use for pages that have already been colored.
Rotate materials too. Play dough, straws, cooked spaghetti, yarn and old greeting cards all add novelty without adding prep.
Fitting scissors into the week
Scissor practice does not need its own block. Five minutes as a morning-work option, one cutting step inside a craft, or a snip-and-sort station in the fine motor center is enough for most children. What matters is frequency. Cutting once a month at holiday craft time will not build the skill.
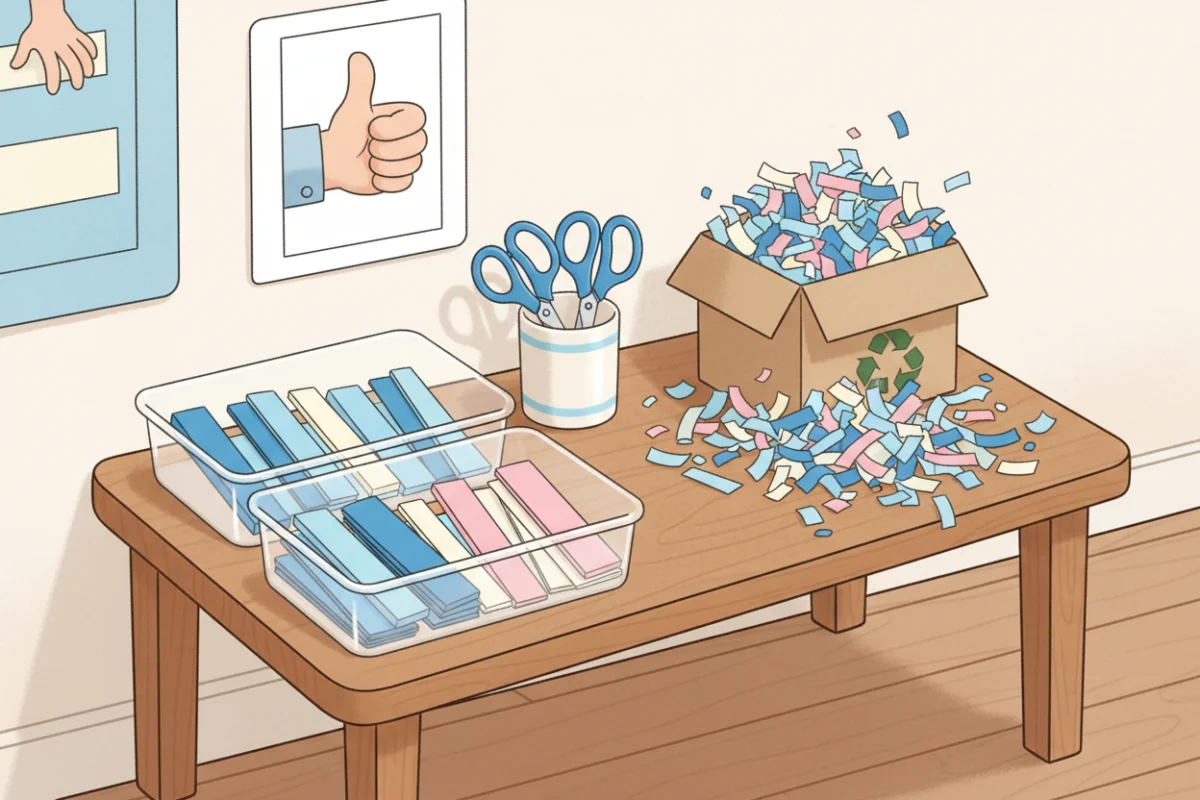
If you run fine motor centers, make one of them a permanent cutting station with a self-serve tub of strips and a recycling box for the snips. Children love the pile of confetti they make.
Red flags worth noticing
Most differences in cutting are just differences in practice. Still, mention it to families or a school occupational therapist if a child around age five:
- cannot open and close scissors with one hand after weeks of practice,
- keeps switching hands mid-task,
- cannot hold the paper with the helper hand at all,
- avoids cutting completely or becomes very upset when asked.
These may point to broader fine motor or coordination difficulties, and an early check is far easier than a late one.
Ready to put this into practice? See our guides to setting up a classroom cutting station and paper chains and garlands as cutting practice.
Frequently asked questions
What age should a child be able to use scissors?
Most children can snip with scissors by age three and cut along a straight line by age four. Cutting out simple shapes usually comes together between four and five. These ages assume regular practice.
Should I use safety scissors or real scissors?
Use real child-sized scissors with blunt tips. Plastic safety scissors often will not cut paper at all, which teaches children that scissors do not work. Loop or spring scissors are useful for children who cannot yet open the blades.
How do I stop a child from turning the scissors upside down?
Mark the thumb loop with a sticker or tape, use the cue “thumb to the sky,” and have the child cut on a vertical surface for a while. The wall makes the thumb-down grip almost impossible.
Does cutting really help with handwriting?
Yes. Cutting strengthens the same fingers used for a pencil grasp, trains the helper hand that will later hold the page, and builds the eye-hand control needed to follow a line. It is one of the best pre-writing activities there is.